
The following is a guest post by Alexis Susset of SORACOM, an IoT communications platform.
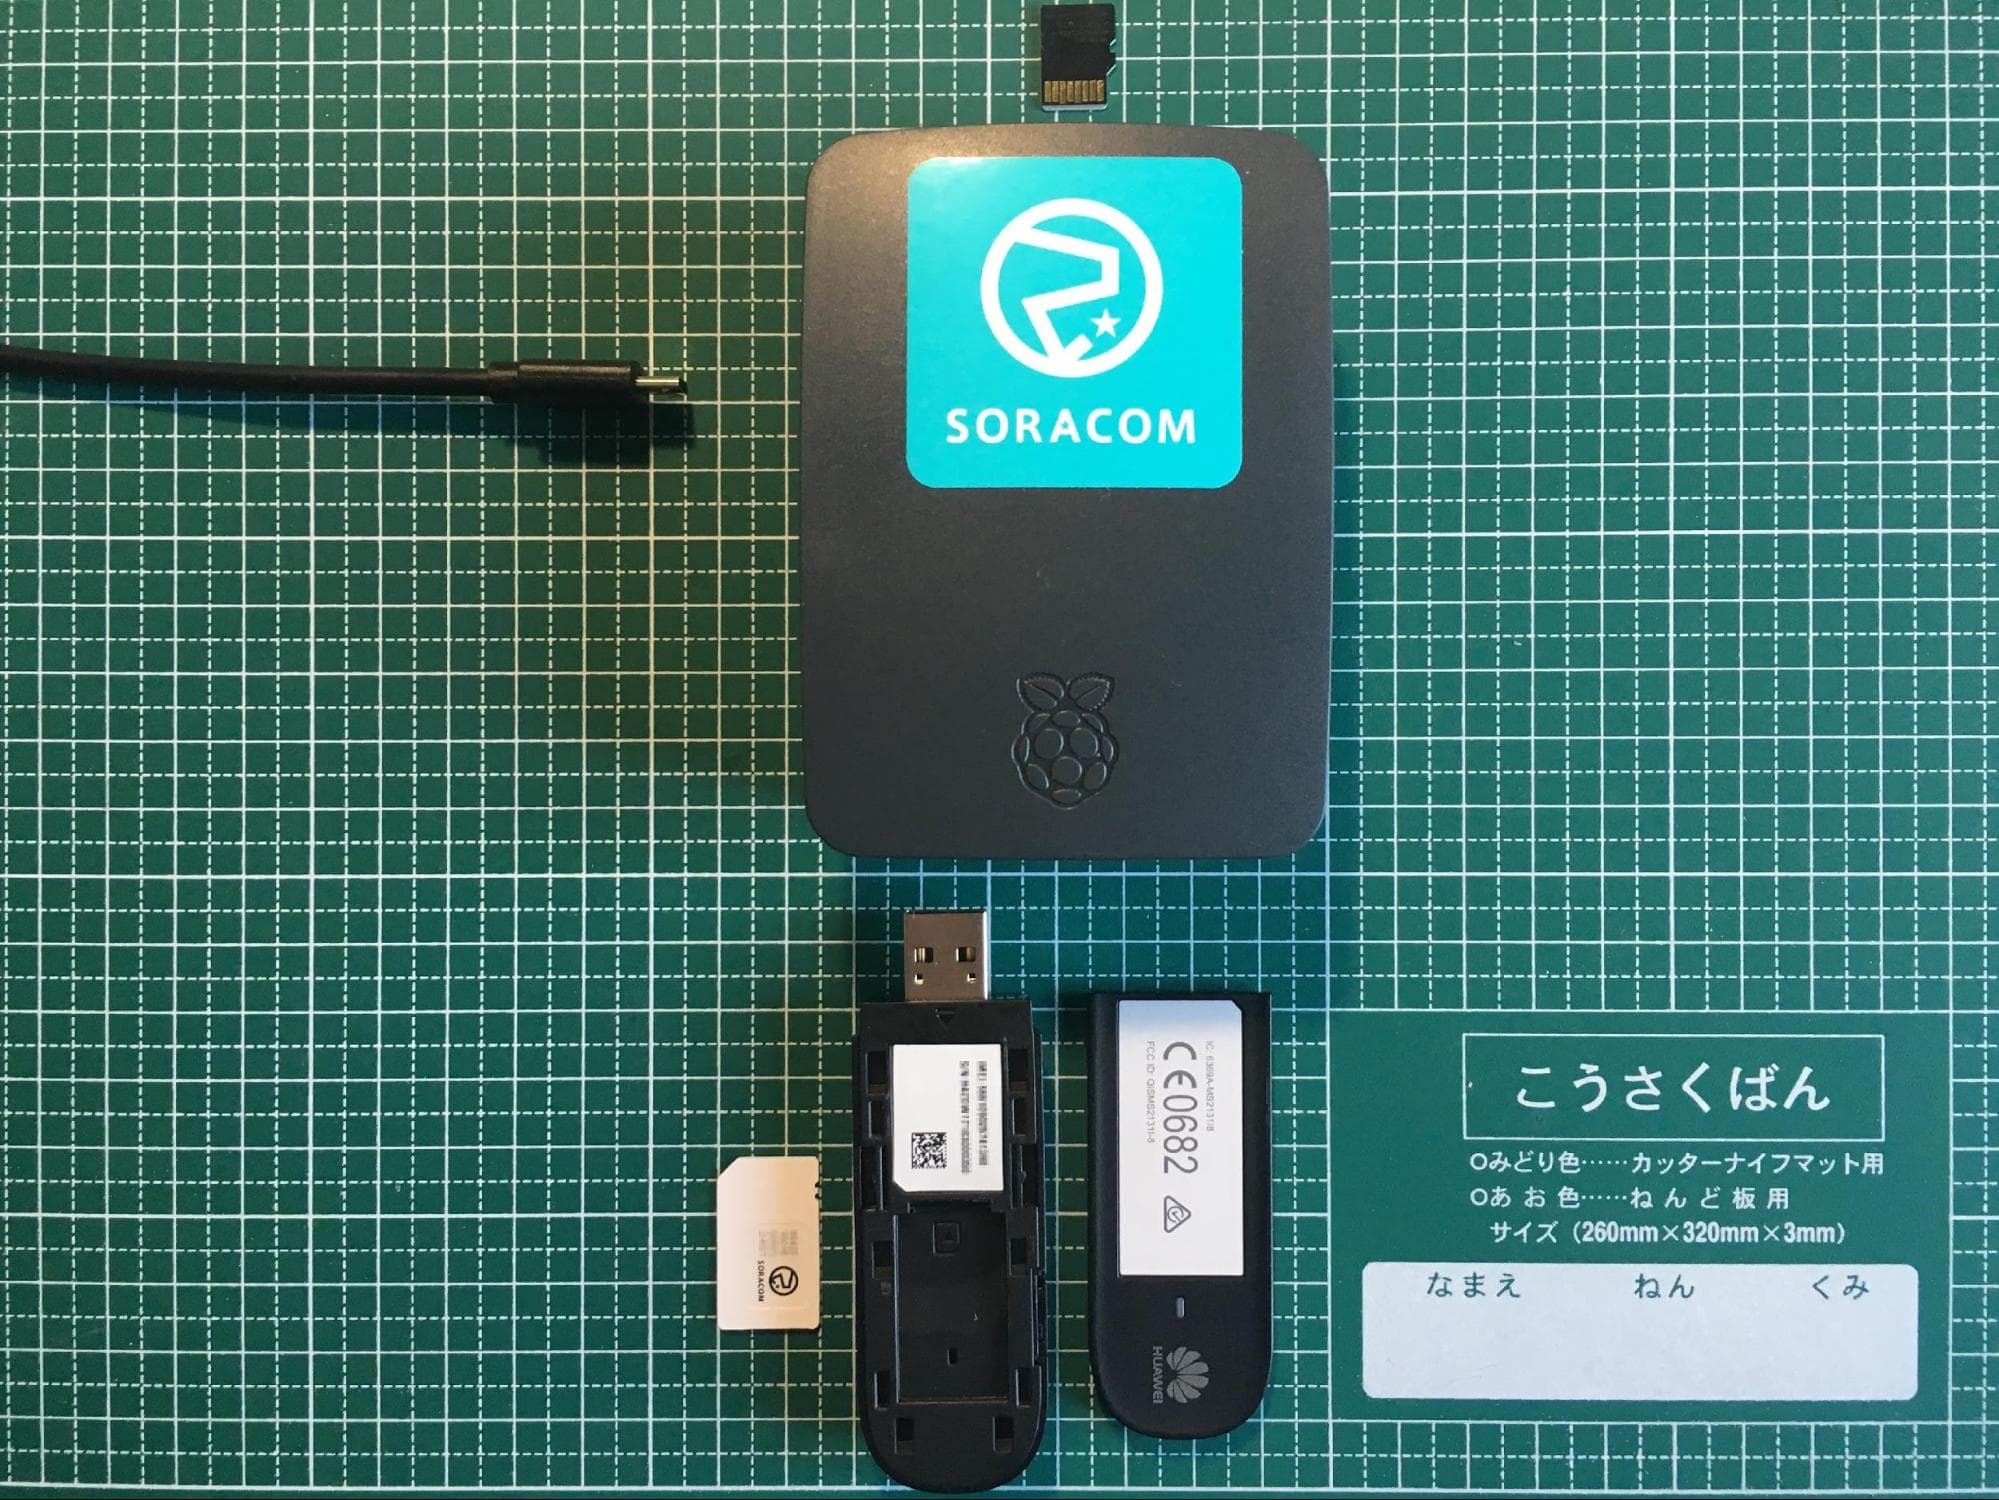
Today we are setting up resin.io devices with a SORACOM SIM card and our preferred enterprise 3G Dongle, the Huawei MS2131.
With this setup complete, we’ll be able to ship out devices that work anywhere in the world. Together with this tutorial, we’re also publishing base code so that you can leverage SORACOM’s Harvest service to keep track of your device performance.
Resin.io is a platform to develop, deploy, and manage connected devices, and resinOS is the host operating system running on a resin.io device. With the release of resinOS 2.0, resin.io introduced Network Manager to the stack, making cellular modem connection management work out of the box.
To get started, create your application in the resin.io dashboard and make sure to set RESIN_SUPERVISOR_DELTA to 1 in your application’s Fleet Configuration.
RESIN_SUPERVISOR_DELTA will ensure that only the binary differences or deltas are downloaded by your devices when you push updates. This is important on cellular as subscriptions are often running data consumption-based billing.
Then push your code to your application. Feel free to use our sample application, which will give you out of the box Raspberry Pi connection management and ssh access, as well as device analytics when you use a SORACOM SIM card
$ git remote add resin <user>@git.resin.io:<user>/app.git
$ git push resin master
Now that you’ve setup your application, go ahead and download your resinOS 2.x image.
Write the image on your Micro SD card using Etcher, disconnect the card, and re-connect it to your computer.
You will now see a file system called “resin-boot.” Go into “/system-connections” and create a file called “soracom-cellular with the following content:
[connection]
id=Soracom
type=gsm
[gsm]
apn=soracom.io number=*99***1# password-flags=1
[ipv4]
dns-search= method=auto
[ipv6]
addr-gen-mode=stable-privacy dns-search= method=auto
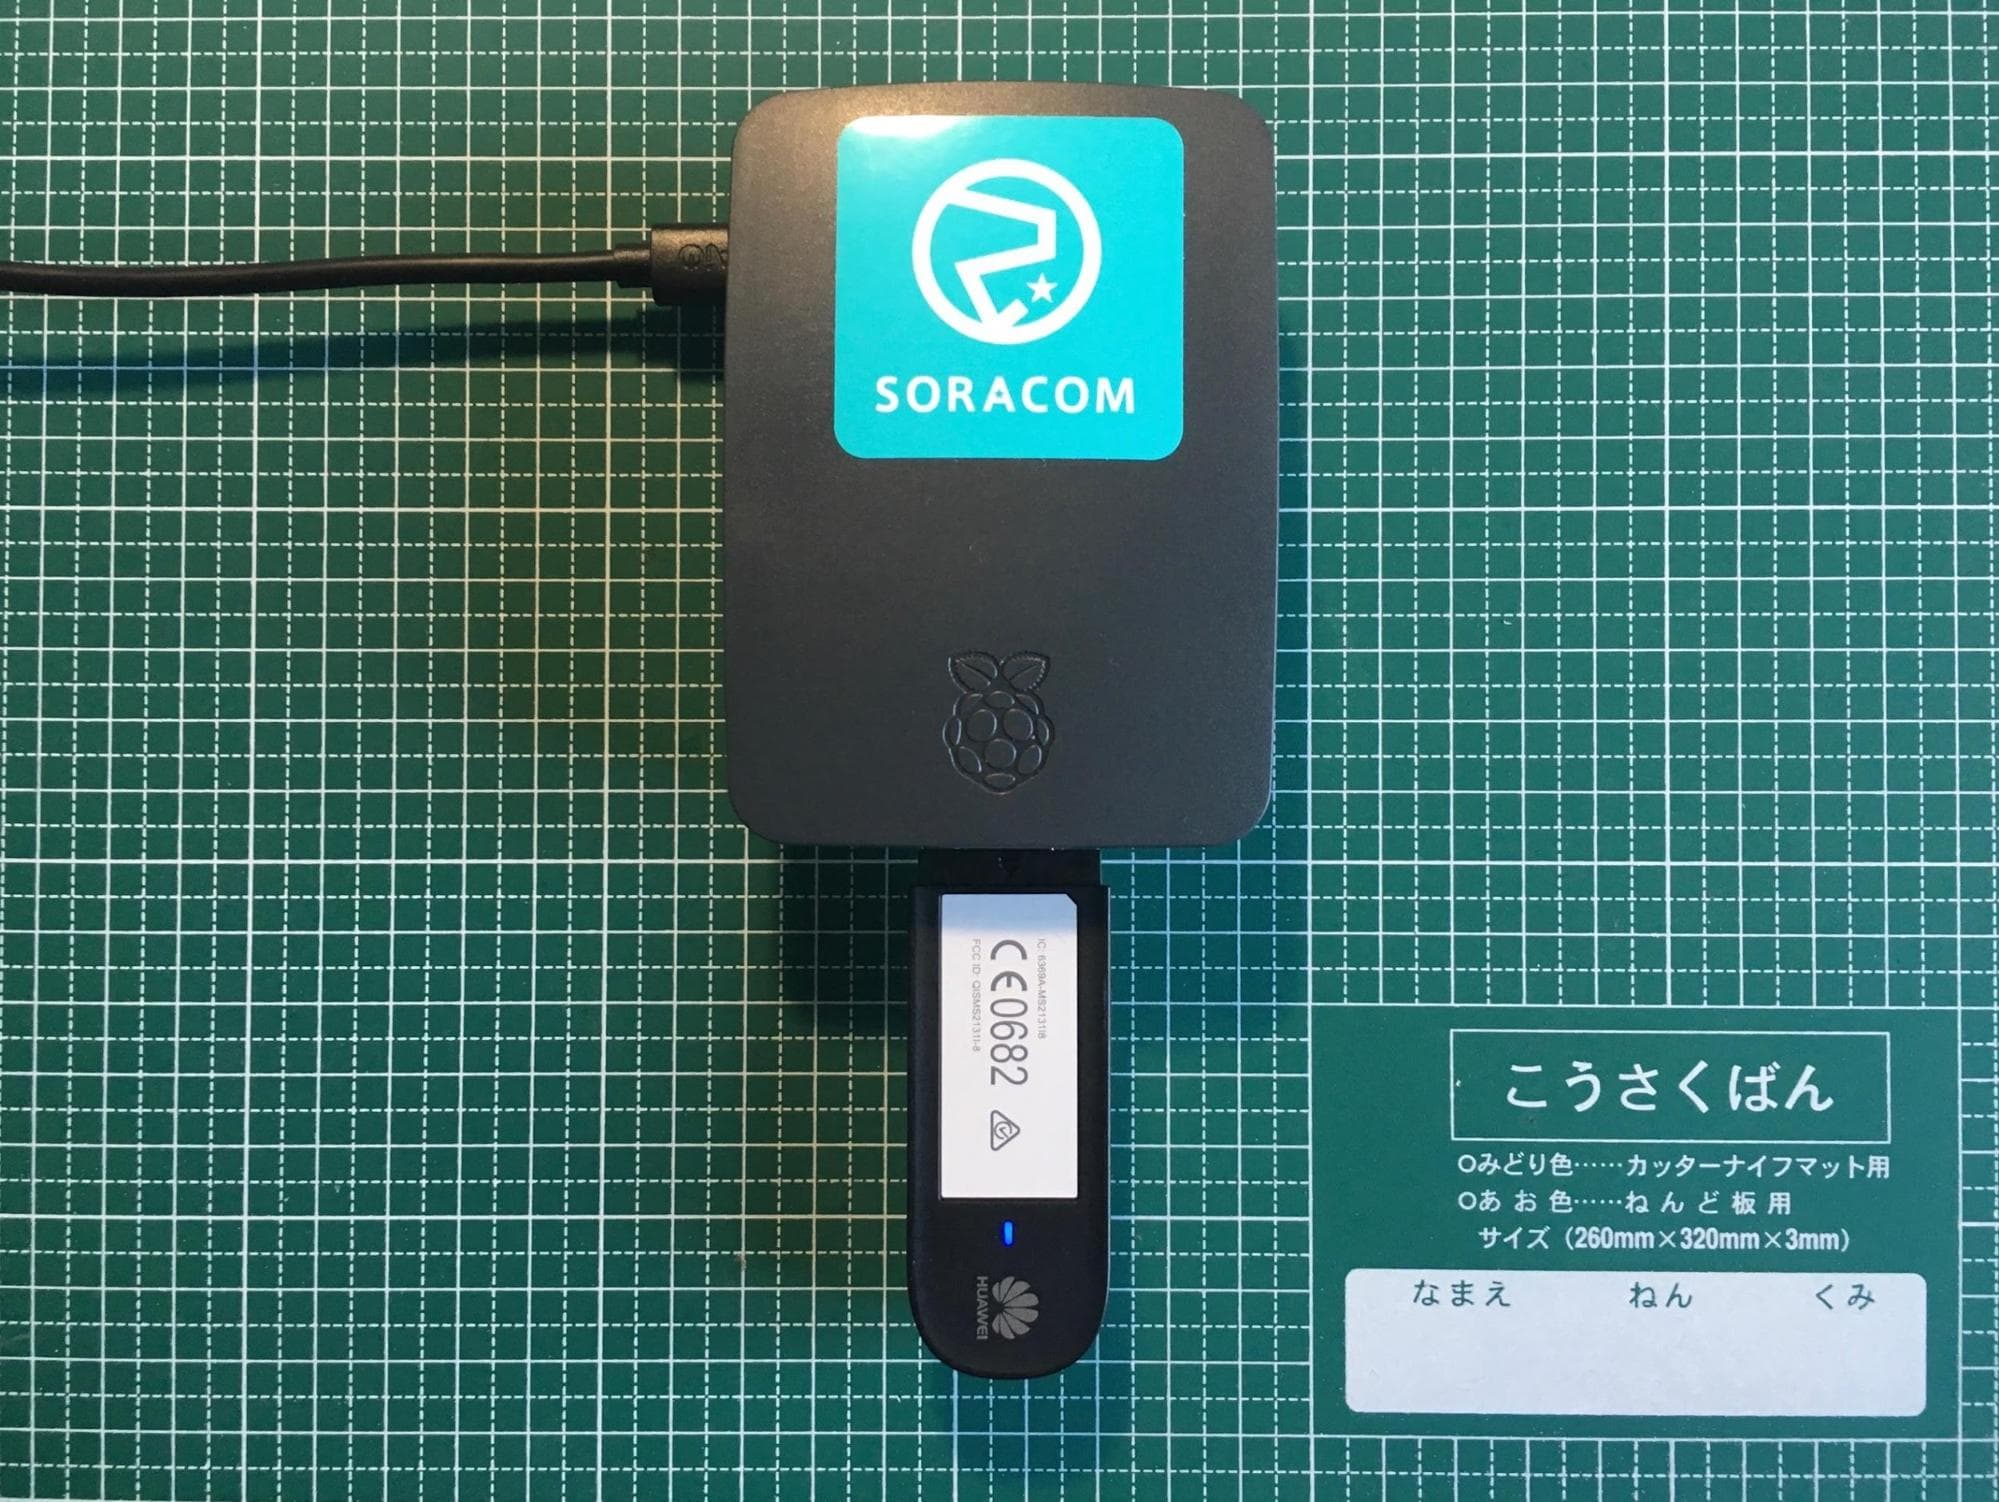
Now eject the disk, remove the Micro SD card from your computer and insert it into your device. Plugin the 3G Dongle, boot up the device, and that’s it, it should appear in your resin.io dashboard!
Should you want to save on bandwidth, we recommend doing the initial device setup over Ethernet or WiFi and then plugging in your 3G Dongle before rebooting the device.
It is also important to note that in some cases, connectivity may not be as stable as one would hope, so we created a reconnect script that will leverage resin.io’s Supervisor API to reboot the device until it has internet access.
Our sample Raspberry Pi application also uses environment variables to enable a couple of useful features to optimize bandwidth usage and leverage SORACOM Harvest and Gate services:
SSH_PASSWD: when set, this will startsshdand set the root password to the value ofSSH_PASSWD(very useful when using Gate, which gives you direct private-IP based ssh access to your device)CELLULAR_ONLY: setting this option to1disables WiFiCONSOLE_LOGGING: Set to1to get application logs in resin.io device console, otherwise logs are written to persistent storage on the device at/data/soracom.logDEBUG: Set to1to have debug logging, use in combination withCONSOLE_LOGGINGto see logs in resin.io device consoleSORACOM_HARVEST_INTERVAL: Set the time interval in milliseconds to publish device data to Soracom Harvest Analytics service
You can learn more about SORACOM services and order SIM cards at www.soracom.io.