
Updated 9th January 2020 – You can now add multiple projects to the same device. Try combining balenaDash with another project — oh the possibilities!
This is a short guide on how to set up a dashboard to use with our balenaDash project. If you’ve not yet built one, check out the guide too!
About Freeboard
Freeboard is a great way to get started with a dashboard quickly; they give you a 30 day free trial to figure things out.

After creating your new account, set a name for your new dashboard and click on “Create New”.

Freeboard works by adding a new panel and then connecting a data source to it. Let’s go ahead and add the two basic examples, clock and weather.


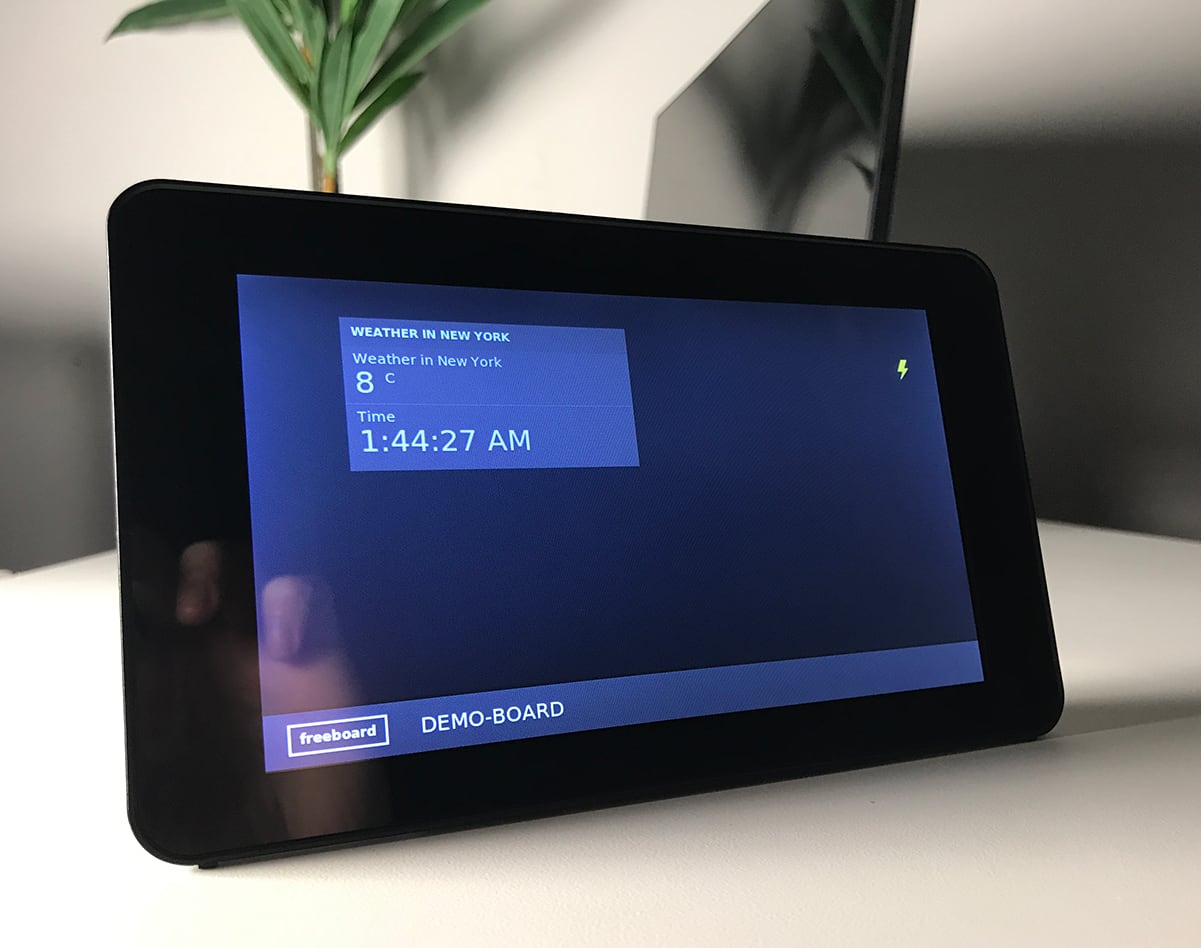
Now that we have two data sources configured, it’s time to add them to the panel. In this example, we’re going to add the current weather and time in New York.


And voilà, we can now track the current data (and realise how cold it is! ❄️).

To display this dashboard using balenaDash, you need to click on “Share”, copy the sharing URL and set as this as your WPE_URL variable. For the dashboard we just created, the link is: https://freeboard.io/board/tGeZ0t.

This is a simple example showing how to get started with freeboard. Now you can go ahead and add more panels and datasets.
Try building multiple projects on one device
If you’ve already built one of our projects and want to try this one too, good news! One of the great benefits of building with balena is that you can easily add more projects to the same device without needing to buy more hardware. This blog post that explains how to do just that: learn how to set up this project alongside what you’ve built already. Happy hacking!
Other dashboard examples you can try:
- https://london.my-netdata.io/default.html#menu_system_submenu_cpu
- https://play.grafana.org/d/000000012/grafana-play-home?orgId=1
- https://mozaik.herokuapp.com
- https://dashingdemo.herokuapp.com/sample
If you’ve built your own dashboard, we’d love to see it! Find us @balena_io on Twitter & Instagram and @balenacloud on Facebook or head on over to our forums!