

Remote work brings more opportunity to tackle projects from different parts of the home. However, without strong enough Wi-Fi strength, your productivity might sink. Use this project to create a Wi-Fi access point or repeater out of a Raspberry Pi so you can improve signal coverage while working from home or remotely on the road.
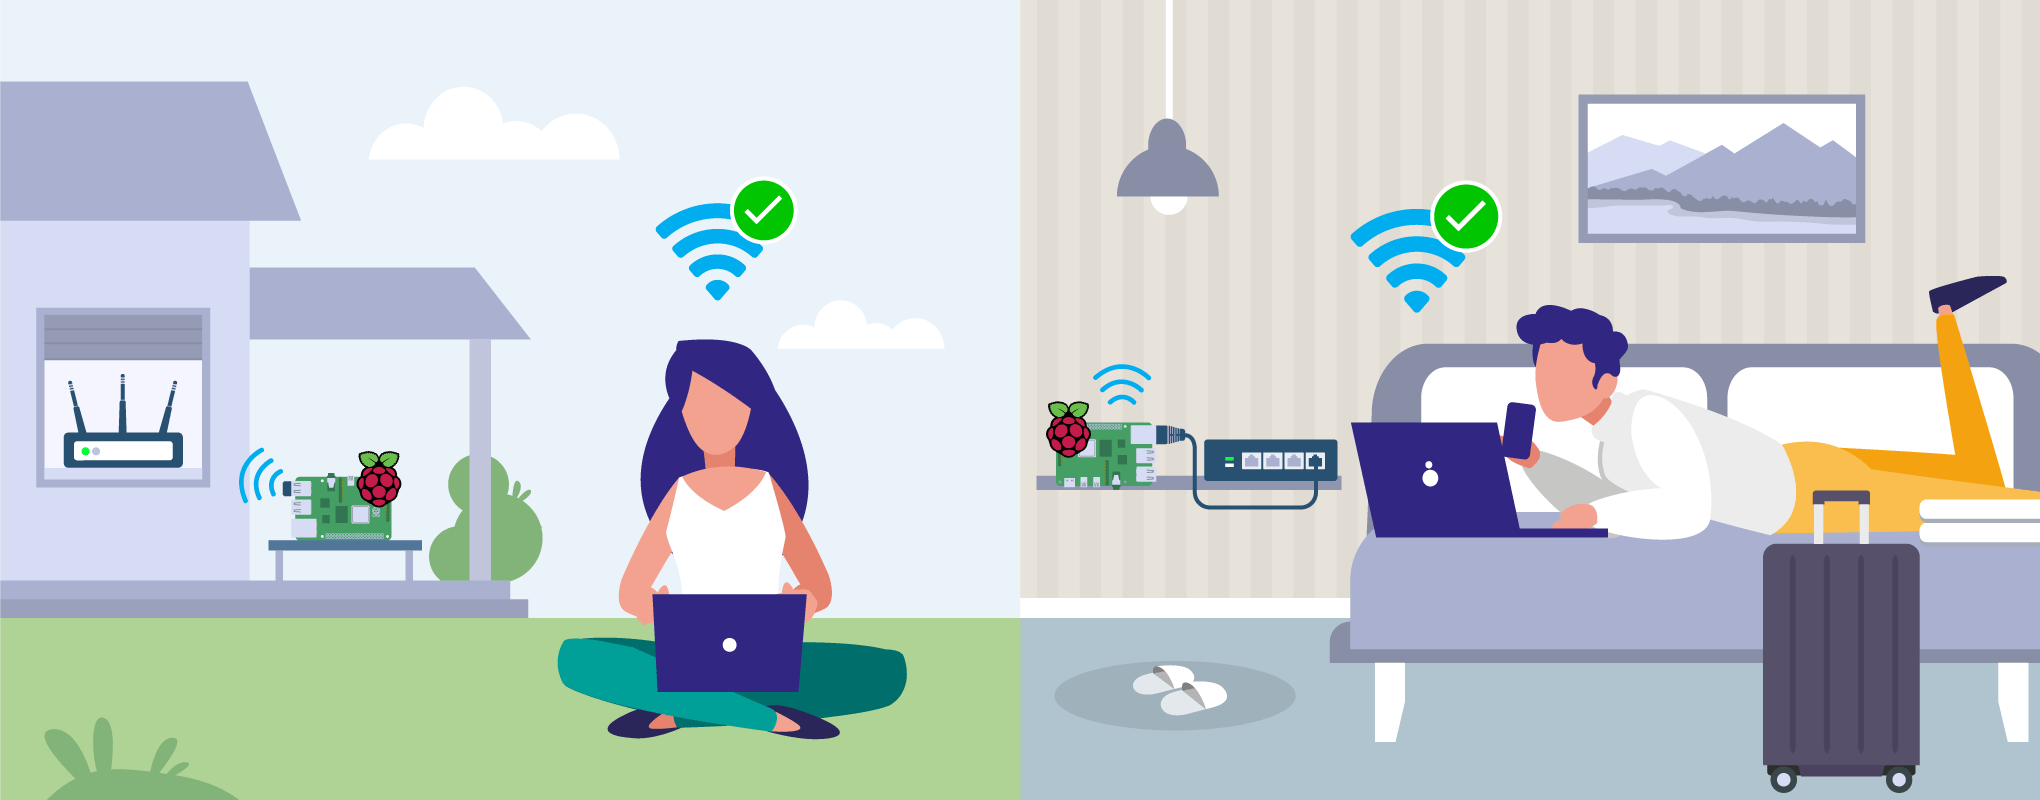
In today’s modern life, wireless access to the internet is in many cases a necessity, though it’s not always guaranteed (even in the home). Fear not, we’ve got you covered. Read on to learn how to easily create a portable Access Point with Wi-Fi repeater capabilities. This is especially helpful if you live in a type of place that might have a lot of interference with your current setup!
Before you start
Introduction
Changing network configuration on a device at runtime can be dangerous. It could lead to the device being unrecoverable if, for example, you get locked out of the device and have no way of accessing it. This project allows you to dynamically extend an existing wired or wireless network in a safe way depending on what connection source you have available:
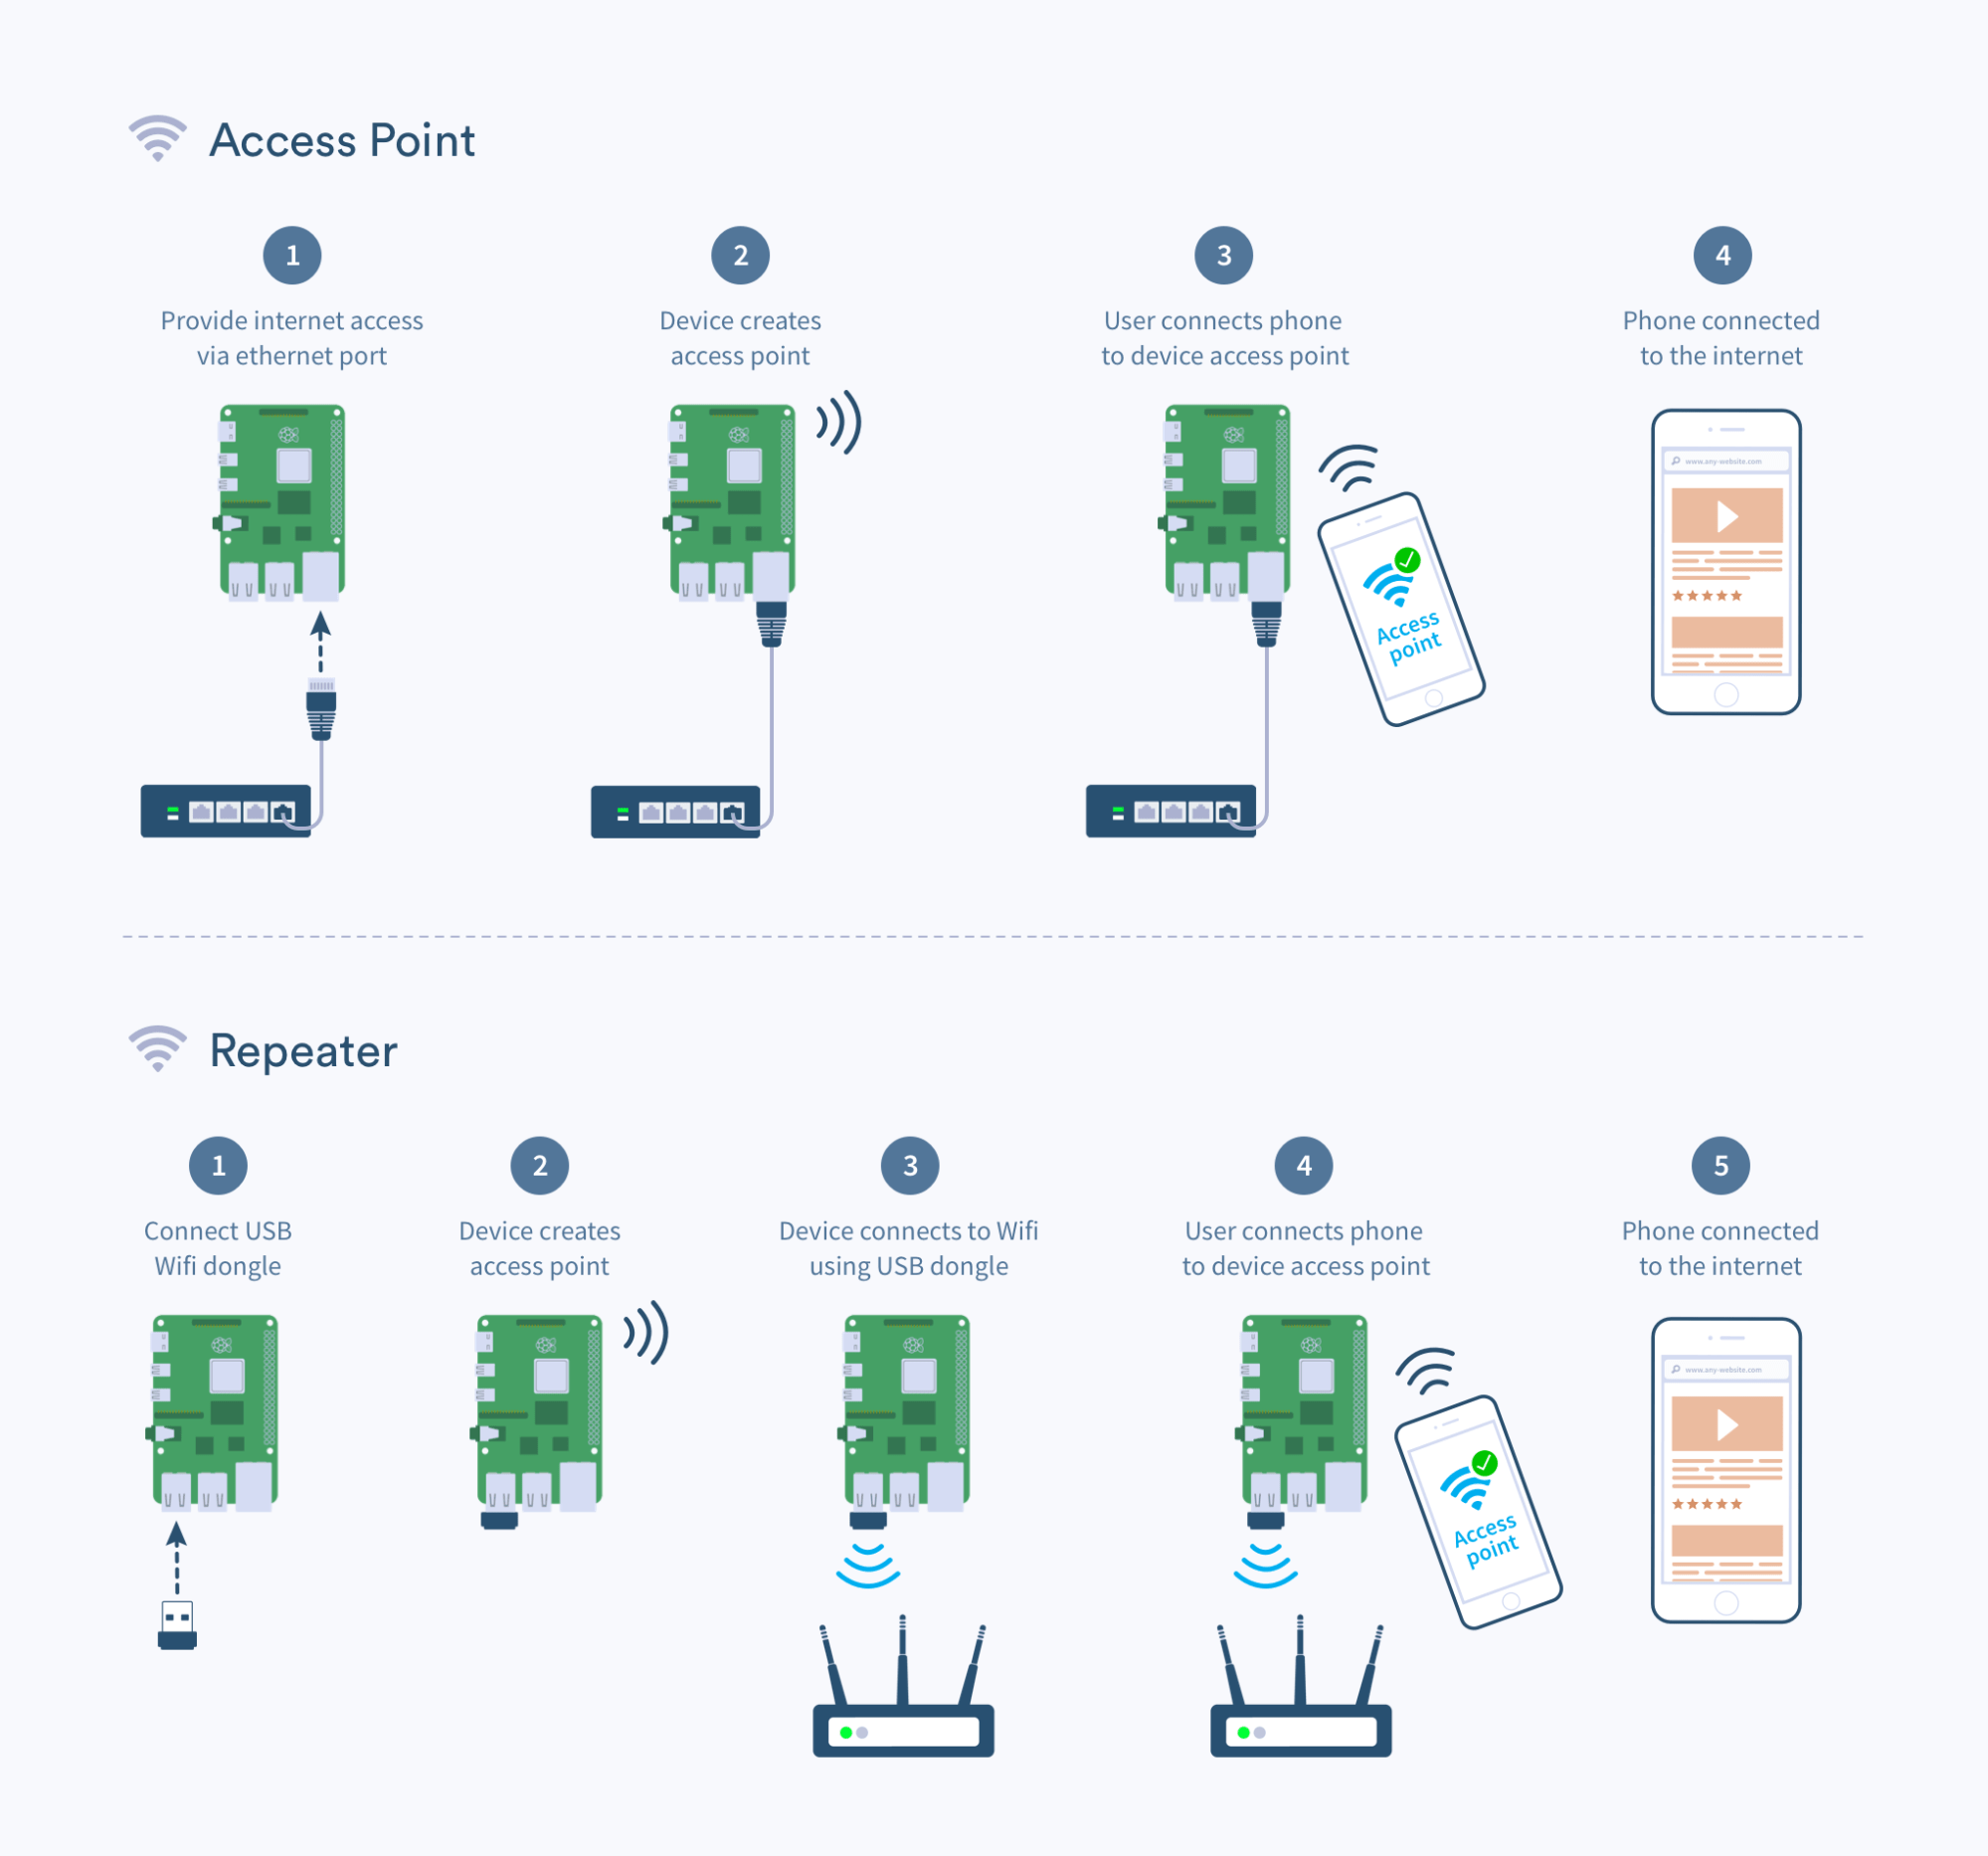
As you can see, the project can configure your device in one of the following modes of operation:
- Access Point: extend an existing ethernet connection with an access point network
- Repeater: extend an existing wireless connection with an access point network. Requires the use of a USB Wi-Fi dongle
Important note: Before you begin, please ensure that you have either an Ethernet cable or USB Wi-Fi dongle connected to your device. Otherwise you might find that your device becomes unresponsive once connected to the application.
If this does happen because you’ve forgotten to connect the Ethernet cable or USB Wi-Fi dongle, simply connect the method you’re using and power cycle your device.
Hardware required
To build this project you’ll need the following:
- Raspberry Pi any with built-in Wi-Fi
- An SD Card (we recommend SanDisk Extreme Pro SD cards)
(optional) Wi-Fi USB dongle for repeater mode (Amazon, Ali Express)
Software required
- A download of the project from here
- Software to flash an SD card (such as balenaEtcher)
- A free balenaCloud account to setup and manage the Pi
- An installation of the balenaCLI on your development computer used to push code to the cloud (Install instructions, Documentation)
Tutorial
Set up the Raspberry Pi
Once you’ve found all the hardware and prepared all the software, we’re going to start setting up the Raspberry Pi.
Sign up for the free balenaCloud account
The first thing you’ll need to do is sign up for an account. If you’ve already got a GitHub or Google account you can use that to login and bypass the signup process. balenaCloud is forever free for your first 10 devices. If you already have a balenaCloud account, you can skip this step.
Create and deploy this balenaCloud application
Use the Deploy with balena button to quickly create and deploy this project to your account.
Choose the correct device type for your application, change the name of the application if you’d like, and confirm.
balenaCloud will create your new application, and take you to the application to the devices page. You’ll want to wait a moment for our builder to start creating your very first release (you’ll see a progress bar start very soon near the top of the devices section).
Add a device to your application
Once your application has been created, you can setup and add a device within that application by clicking the green ‘add device’ button. When you add a device you specify your device type, which is important that it matches the device you’re using, and if you are connecting to a wireless network you can set your Wi-Fi SSID and passphrase here too.
Note: we’ve used a Raspberry Pi 3 in the image below but be sure to select the correct device type for the device you are using!
This process creates a customized image configured for your application and device type and includes your network settings if you specified them. The wireless network details provided in this step will only be used to provision the device initially.
Note: When you’re first getting started, a development image will be most useful, as it permits a number of testing and troubleshooting features. More details on the differences between development and production images can be found here. If you’re confident you can go ahead and deploy the production image straight away.
Flash your SD card with the balenaOS disk image and boot the device
Once the OS image has been downloaded, it’s time to flash your SD card. You can use balenaEtcher for this.
Once the flashing process has completed, insert your SD card into the Raspberry Pi and connect the power supply. You should also connect either an ethernet cable or the USB Wi-Fi dongle, depending what mode of operation you desire.
When the device boots for the first time, it connects to the balenaCloud dashboard, after which you’ll be able to see it listed as online and move onto the next step.

Troubleshooting: It should only take a few minutes for the new device to appear in your dashboard, If your device still hasn’t shown up on your dashboard after a few minutes, something has gone wrong. There’s an extensive troubleshooting guide in the documentation, with lots of information on why this could be, but if you still can’t get your device online, come on over to the forums where we’ll be able to help out.
Add configuration variables (optional)
At this stage it’s a good idea to add any device configuration variables you might want. The following variables are available:
| Variable | Description | Default value |
|---|---|---|
| AP_SSID | Access point network name | Wi-Fi Repeater |
| AP_PASSWORD | Access point network password | charlietheunicorn |
| WIFI_SSID | Wi-Fi network name | None, only required for Repeater mode |
| WIFI_PASSWORD | Wi-Fi network password | None, only required for Repeater mode |
If you plan on using the device in Access Point mode, you don’t need to add any device variables (unless you want to customize the SSID name or password).
If you want to set your device as a Wi-Fi repeater, you’ll need to provide WIFI_SSID and WIFI_PASSWORD of the target network you want to extend.
Device configuration variables can be added from the balenaCloud dashboard: from your device page click on Device variables. For a more detailed explanation visit our documentation.
Deploy the code
Now you’ve got your Raspberry Pi online within the balenaCloud dashboard, it’s time to deploy the project code.
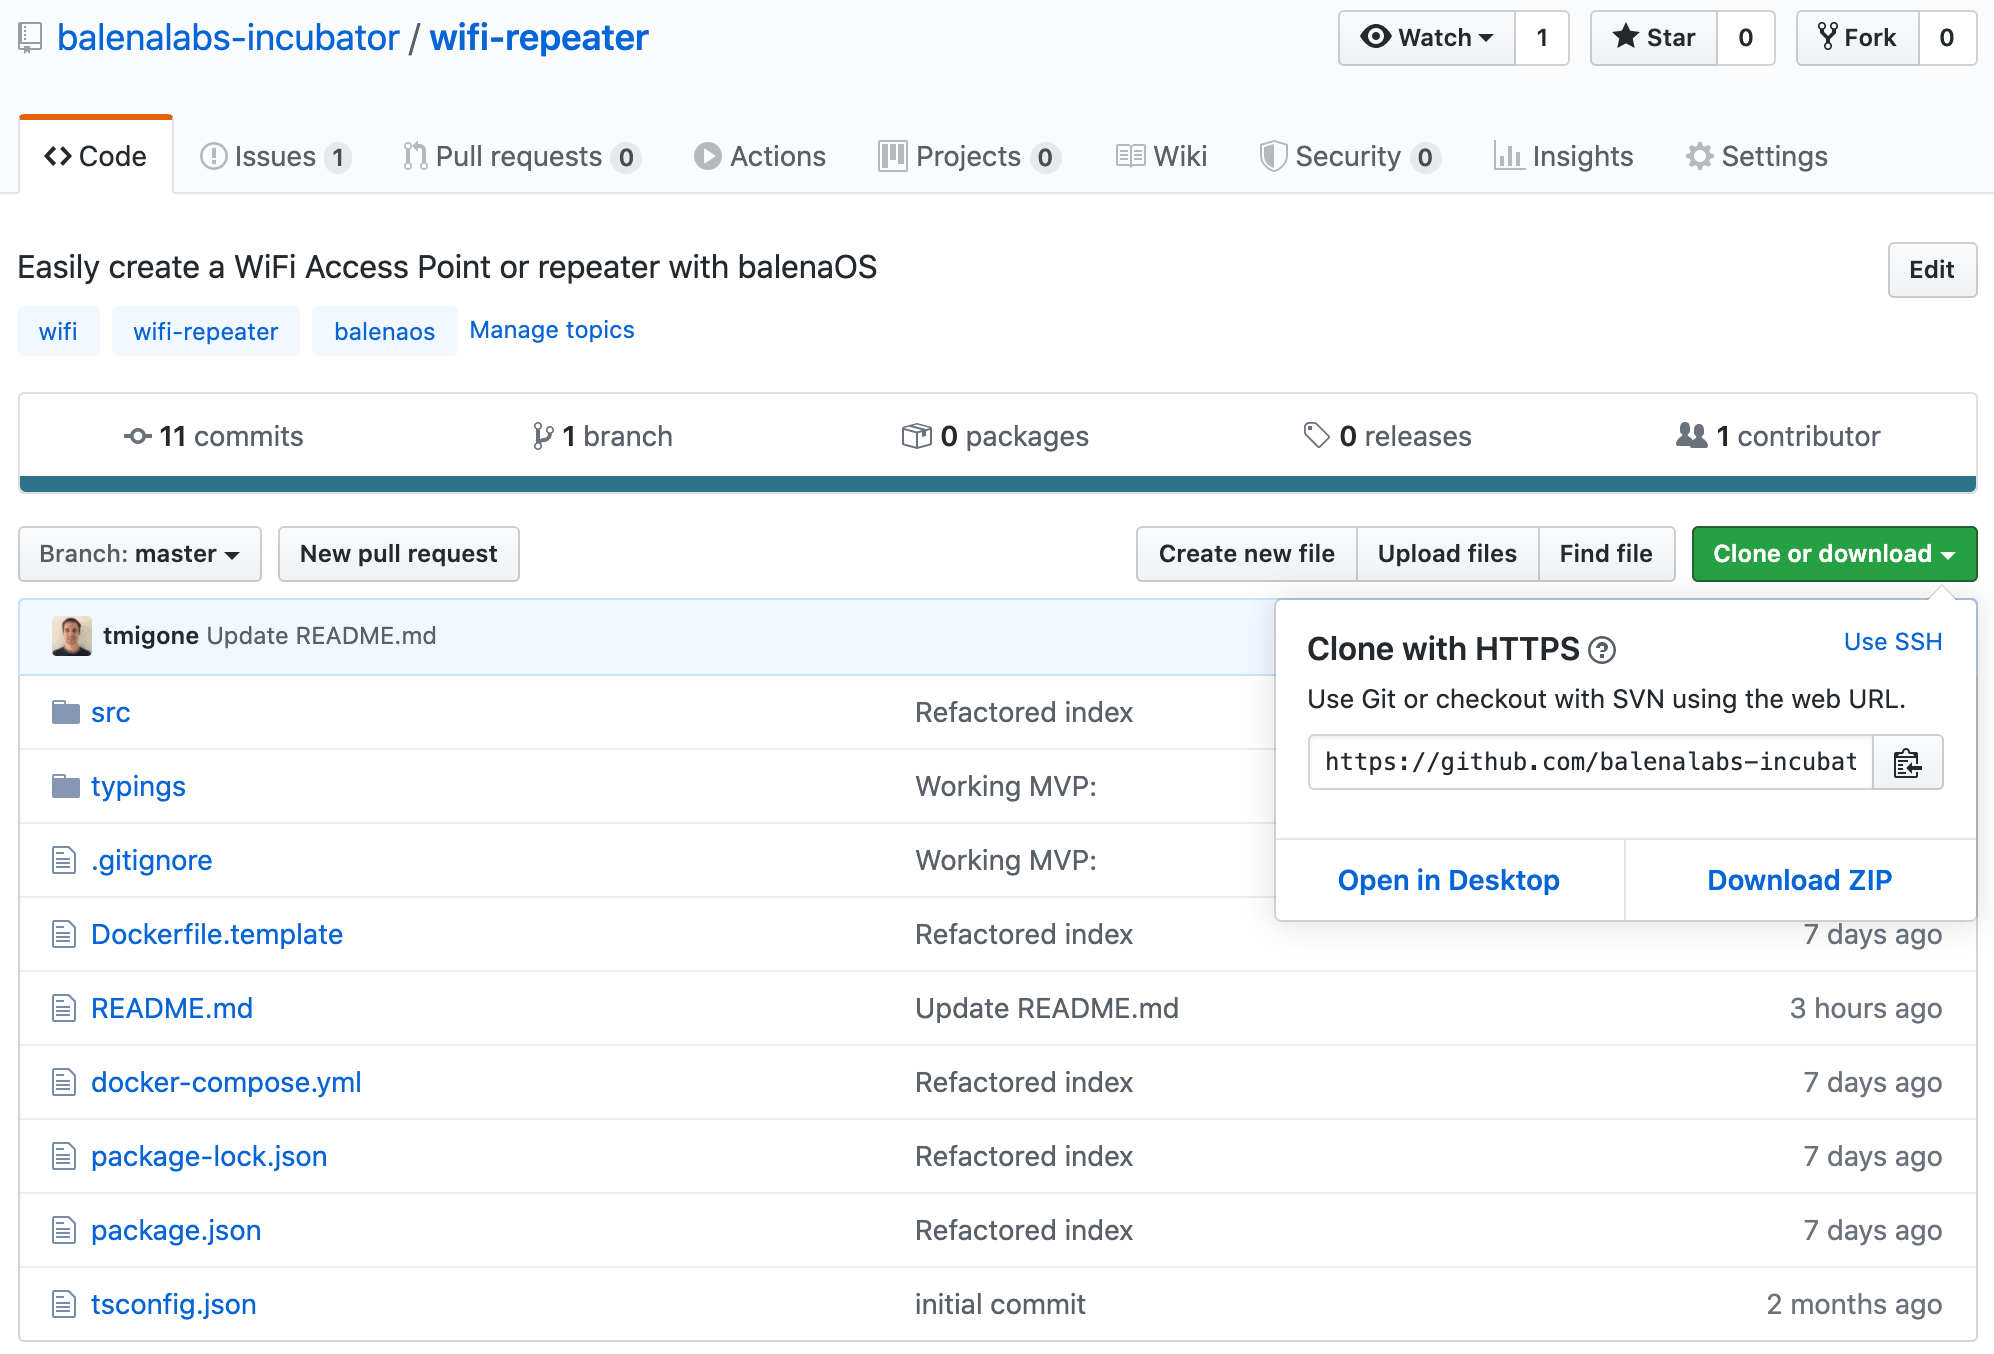
Download the project from GitHub
As we mentioned in the software required section, you’ll need to grab a copy of the Wi-Fi Repeater project from GitHub. You can download the ZIP from GitHub as shown below but if you’re familiar with Git you can use git clone in the normal way.
Push the project code to your Raspberry Pi
It’s now time to push the code and get things running!
From within the unzipped project directory, execute balena push appName, where appName is the application name you set earlier in the guide. For example: balena push wifi-repeater.
If everything worked out correctly, after a few minutes your device information screen in the dashboard should look something like this, showing the wifi-repeater service running:
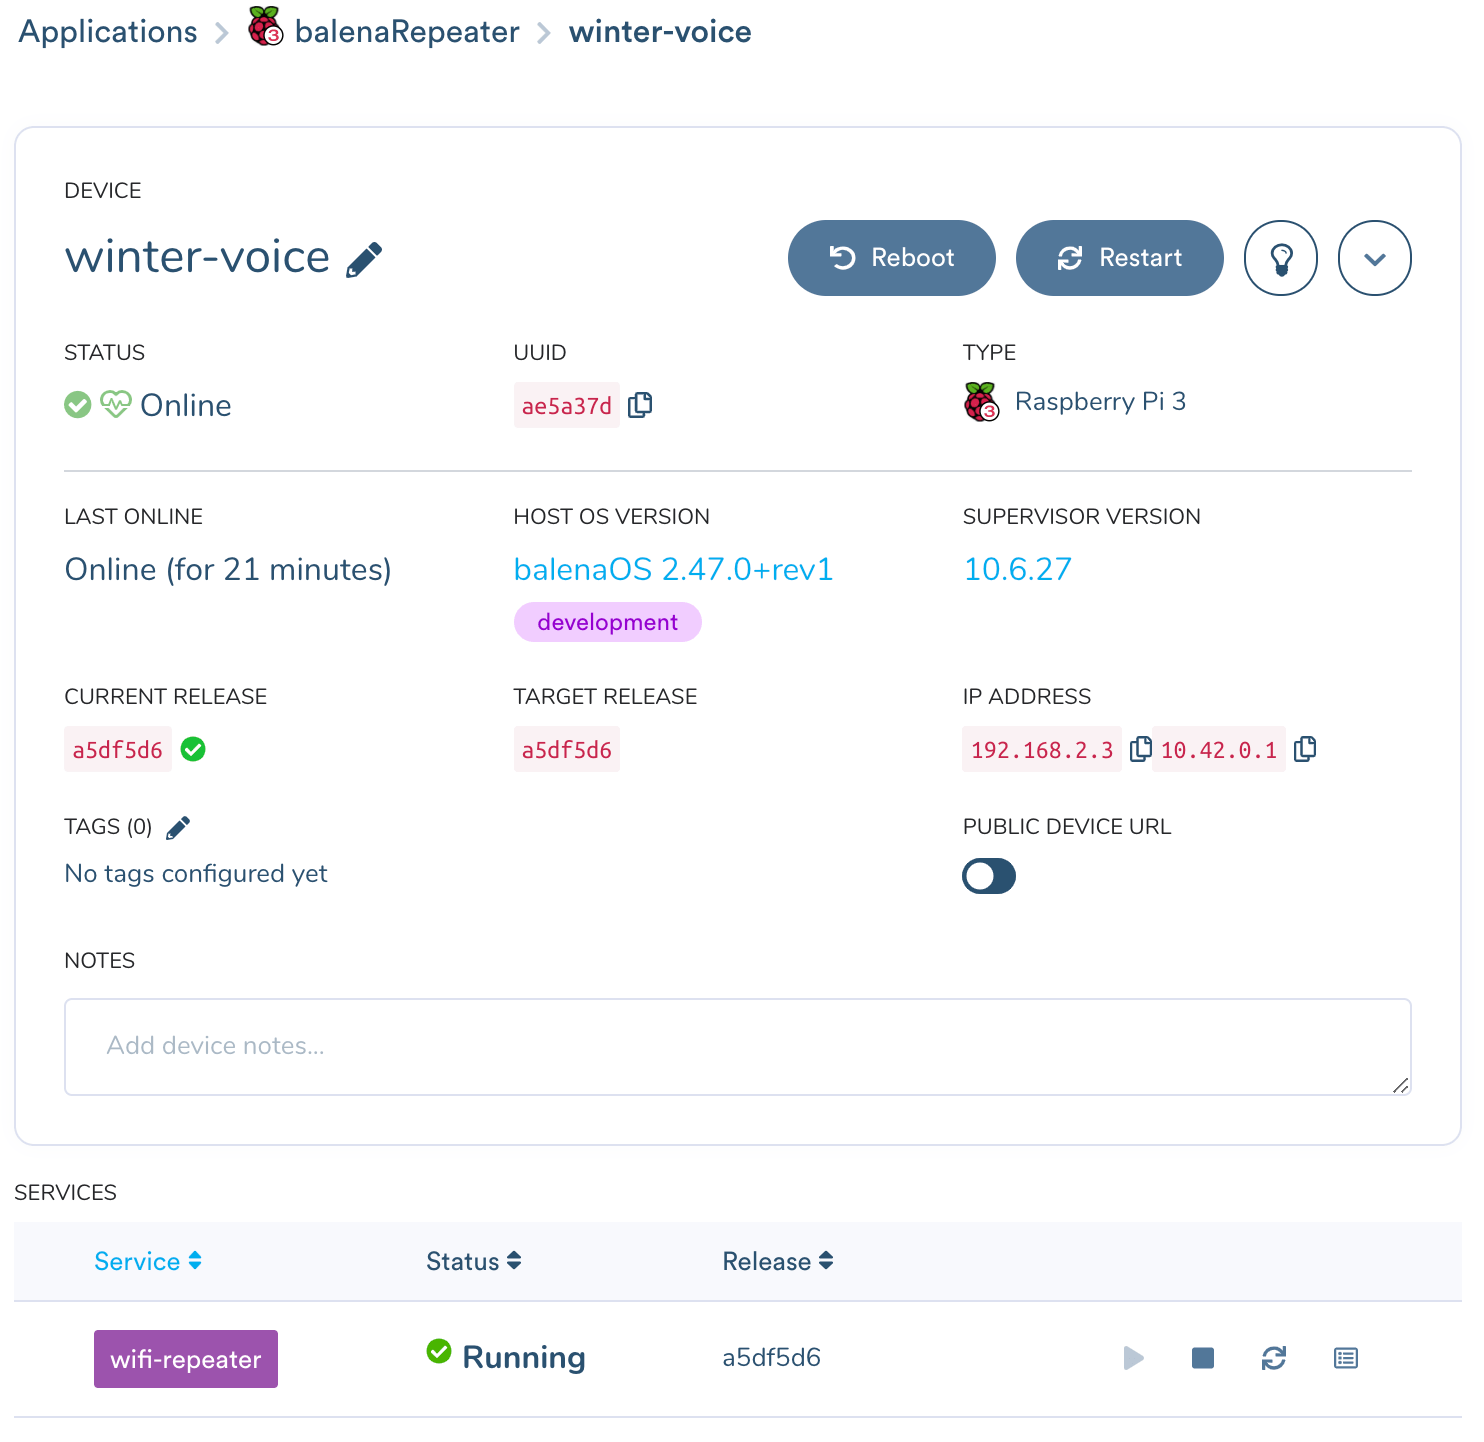
At this point, you’re ready to move on, grab your phone or computer and give it a try! If you scan for wireless networks you should see WiFi Repeater network being broadcasted. Connect to it using the default password charlietheunicorn and you should be ready to surf the internet!
Using the project
Troubleshooting
If you can’t find the wireless network, can’t connect to it, or just don’t get internet connectivity, chances are your configuration is not correct. We included a simple debugging mechanism with blink patterns on the ACT LED. Each pattern has a different meaning and potential solutions for it. Check out the pattern list here.
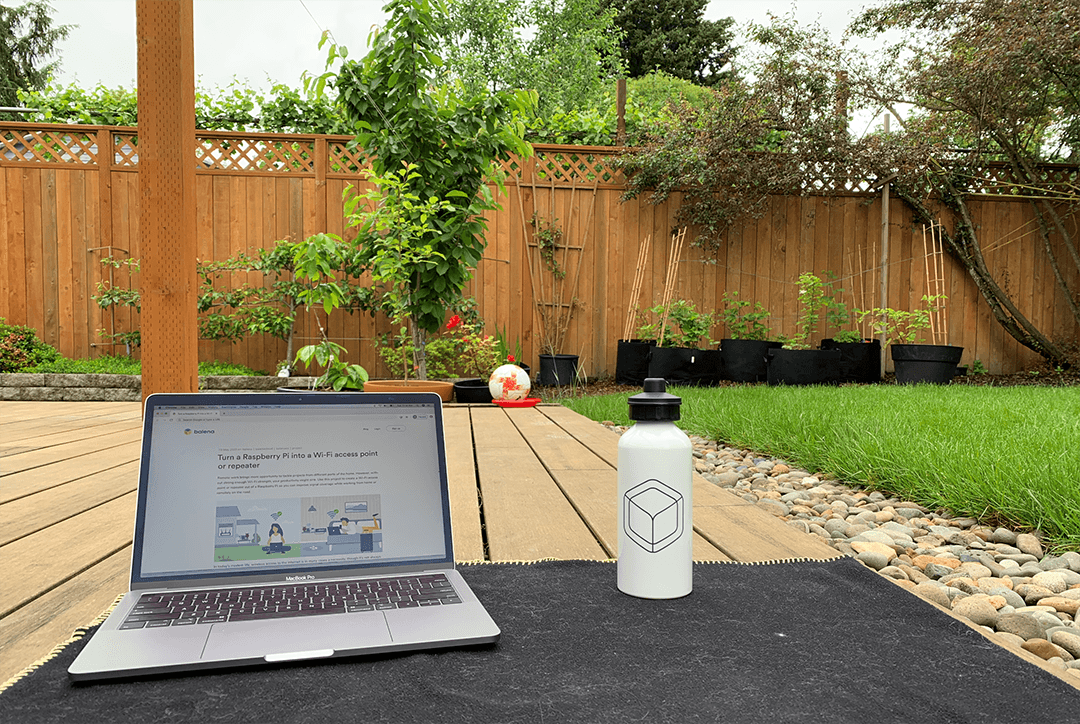
We put it to the test
One of our balenistas tested the Wi-Fi Repeater project in Access Point mode and achieved some interesting results and notes. Keep in mind that this is one user’s test results and notes and that overall performance can vary (where you live, what kind of internet access you have, etc.).
- Access Point yielded higher Wi-Fi speeds than old router, though latency (lag) varied
- Accessibility from the AP mode increased dramatically across a 1200 sq-ft space, even in formerly troublesome spots
- Speeds outdoors, through exterior home walls, were higher on the Wi-Fi Repeater than default home network, though latency (lag) varied
- Some devices may flag the Wi-Fi Repeater project for not having robust enough security (e.g. iOS devices will say the security is weak) because the project uses WPA and not WPA2 protocol. This could affect the experience of users who might have strict or specific IT policies around working remotely.
- Keep in mind that changing device variables will cause the Pi to stop the project container and restart– be sure you don’t have anything important running while you hack on the Pi!
BOTTOM LINE: General browsing and video watching is a success outdoors (weather permitting). However, performance might be questionable for activities that require low latency, like gaming or social media live streaming.
These are just the test results of one user. Give the project a try and report your results in our forums.
About the multi-container environment
Chances are you would like to have this project running alongside others. Thankfully this can easily be done by using multi container deployments via docker-compose.yml file. To add Wi-Fi Repeater to an existing compose file you only need to add the following to it under the services tag and re-deploy your application:
yml

wifi-repeater:

  build: .

  privileged: true

  labels:

    io.balena.features.dbus: '1'
For instance, you can add more practical functionality to balenaSense by adding Wi-Fi repeating capability to it. Now the device helps you monitor air quality and temperature around the home while also strengthening your Wi-Fi network. Very neat!
Become a balena poweruser
Want to learn more about what makes balena work? Try one of our masterclasses. Each lesson is a self-contained, deep walkthrough on core skills to be successful with your next edge project.
Check them out at our docs. Also, reach out to us on the Forums if you need help.
Until next time…
Thanks for checking out this guide! If you have feedback, feature requests or want to report issues feel free to do so on the project’s repository here.
Find, try, and submit your own projects on balenaHub
You’ll find this edge project and many others at balenaHub. With a quick search, find your next edge project, from digital signage, surveillance, edge AI, audio analysis, and more. Or create your own project and share it with the world.
As always, you can always find us on our forums, on Twitter, on Instagram or on Facebook.