
Use this guide to learn how to build a standalone LoRaWAN server solution that runs on a Raspberry Pi and balena.
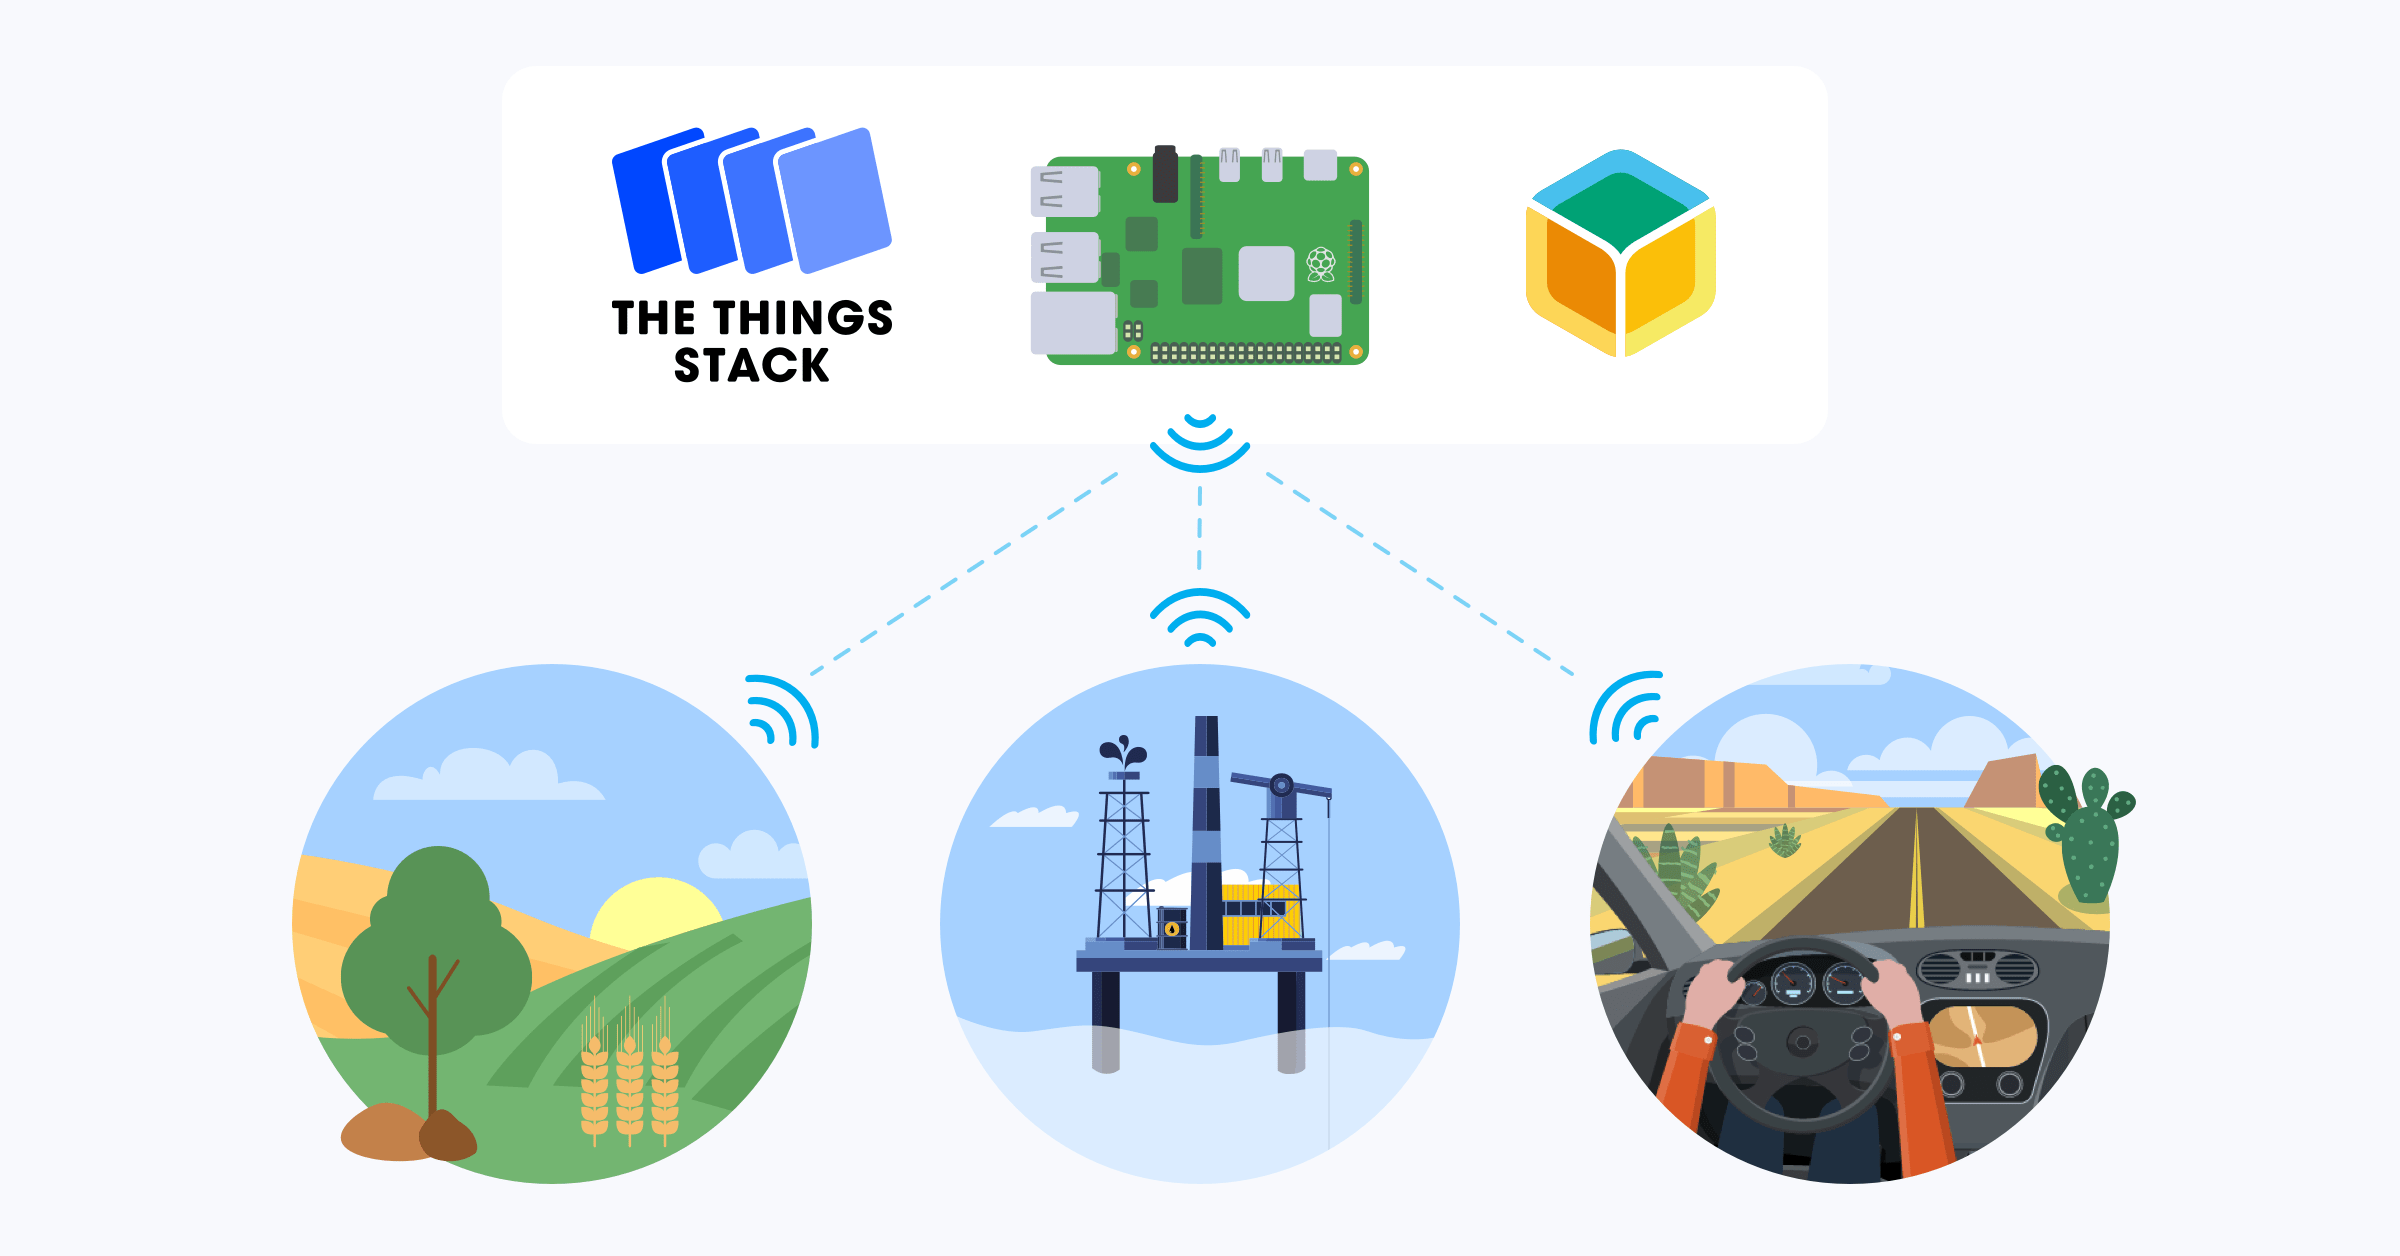
This solution uses The Things Stack LoRaWAN Network Server Open Source Edition and you can run it with one click. Running it using containers on balena means that it can run alongside with other services such as the balena LoRaWAN BasicsTM Station gateway. As a result, you can have all the LoRaWAN stack (gateway + network server) running together on a single Raspberry Pi.
Before you start
Introduction
I think that Low-Power Wide Area Networks (LPWAN) are amazing. LoRaWAN (LoRa Wide Area Network) is an example of LPWAN. Using LoRa (Long Range) radio-frequencies, you can send tiny packages of data over long distances (even miles away depending on the topology) with simple battery-powered devices. The radio packets are captured by gateways which relay over the Internet the LoRa packages to network servers.
The Things Stack is an example of a LoRaWAN network server. This runs on the The Things Industries clusters that are distributed worldwide. However, if you want to manage your own data without sharing it with any cloud provider, the data collected can’t leave your country, or other similar requirements, then the solution is to deploy The Things Stack LoRaWAN Network Server using balena on a Raspberry Pi.
About TTS and recent changes
The Things Stack (TTS) is an open source LoRaWAN network server, built by The Things Industries. After the successful The Things Network (TTN) LoRaWAN network server, followed by thousands of developers all around the world, The Things Industries decided to migrate to a new open source network server. At the end of 2021 TTN (v2) is moving to the newest The Things Stack (TTS) (v3).
NOTE: TTN clusters will shut down in December 2021 and all the traffic from LoRa nodes need to be redirected to TTS v3.
TTS and the balena community
In the past, at balena we have helped developers from the TTN community to deploy their LoRaWAN gateways using balenaCloud and manage the fleet. The latest version of the LoRaWAN gateway balena introduced is the BasicsTM Station, and how to migrate the gateway from TTN V2 to TTS V3. You can use Deploy with balena by clicking the button Fork a fleet if you want to run your own TTS Basics Station gateway from balenaHub.
TTS allows you to build and manage LoRaWAN networks on your own hardware or in the cloud. In this case, you can run the complete stack on a Raspberry Pi 3 or 4. Manually installing the stack on a Pi can be challenging, but balena provides built-in capabilities to provision, deploy, and manage everything in one device. You can also easily scale the number of devices using the platform as well.
The project is open to more contributors who would like to introduce new services such as the Dashboard block, WiFi connect, NodeRed and more.
Hardware required
To build this project, you’ll need the following:
- Raspberry Pi 3 / 4 or balenaFin
- An SD card if you’re using a Raspberry Pi
- Power supply and (optionally) Ethernet cable
In case you want to add a LoRaWAN gateway service on the device you will need:
- LoRa concentrator (SX1301, SX1302 and SX1303). Some examples are:
- (SX1301) RAK 2245
- (SX1302) RAK 2287 pi hat and concentrator
- (SX1303) RAK 5146
Software setup
For the software, you’ll need:
- A balenaCloud account (remember that the first ten devices are fully-featured and free!)
- Software to flash an SD card e.g. balenaEtcher
Network setup (optional)
This is optional as the device runs automatically with its local IP. However you may want to have this in case you want to use it not for testing purposes or you would like to access it remotely:
* A static IP for the device (either in the device or using a DHCP on your router)
* A domain or subdomain pointing to the device IP.
Tutorial
Create the The Things Stack network server
To create the The Things Stack local network server on your Raspberry Pi click the Deploy with balena button below to automatically deploy the application on balenaCloud.
Clicking the deploy button will create an application with all the necessary code to deploy your The Things Stack.

Once all the services have been deployed on your device, copy your local IP and introduce on your browser https://your-local-ip-address-here. Otherwise, you can use the Public Device URL.
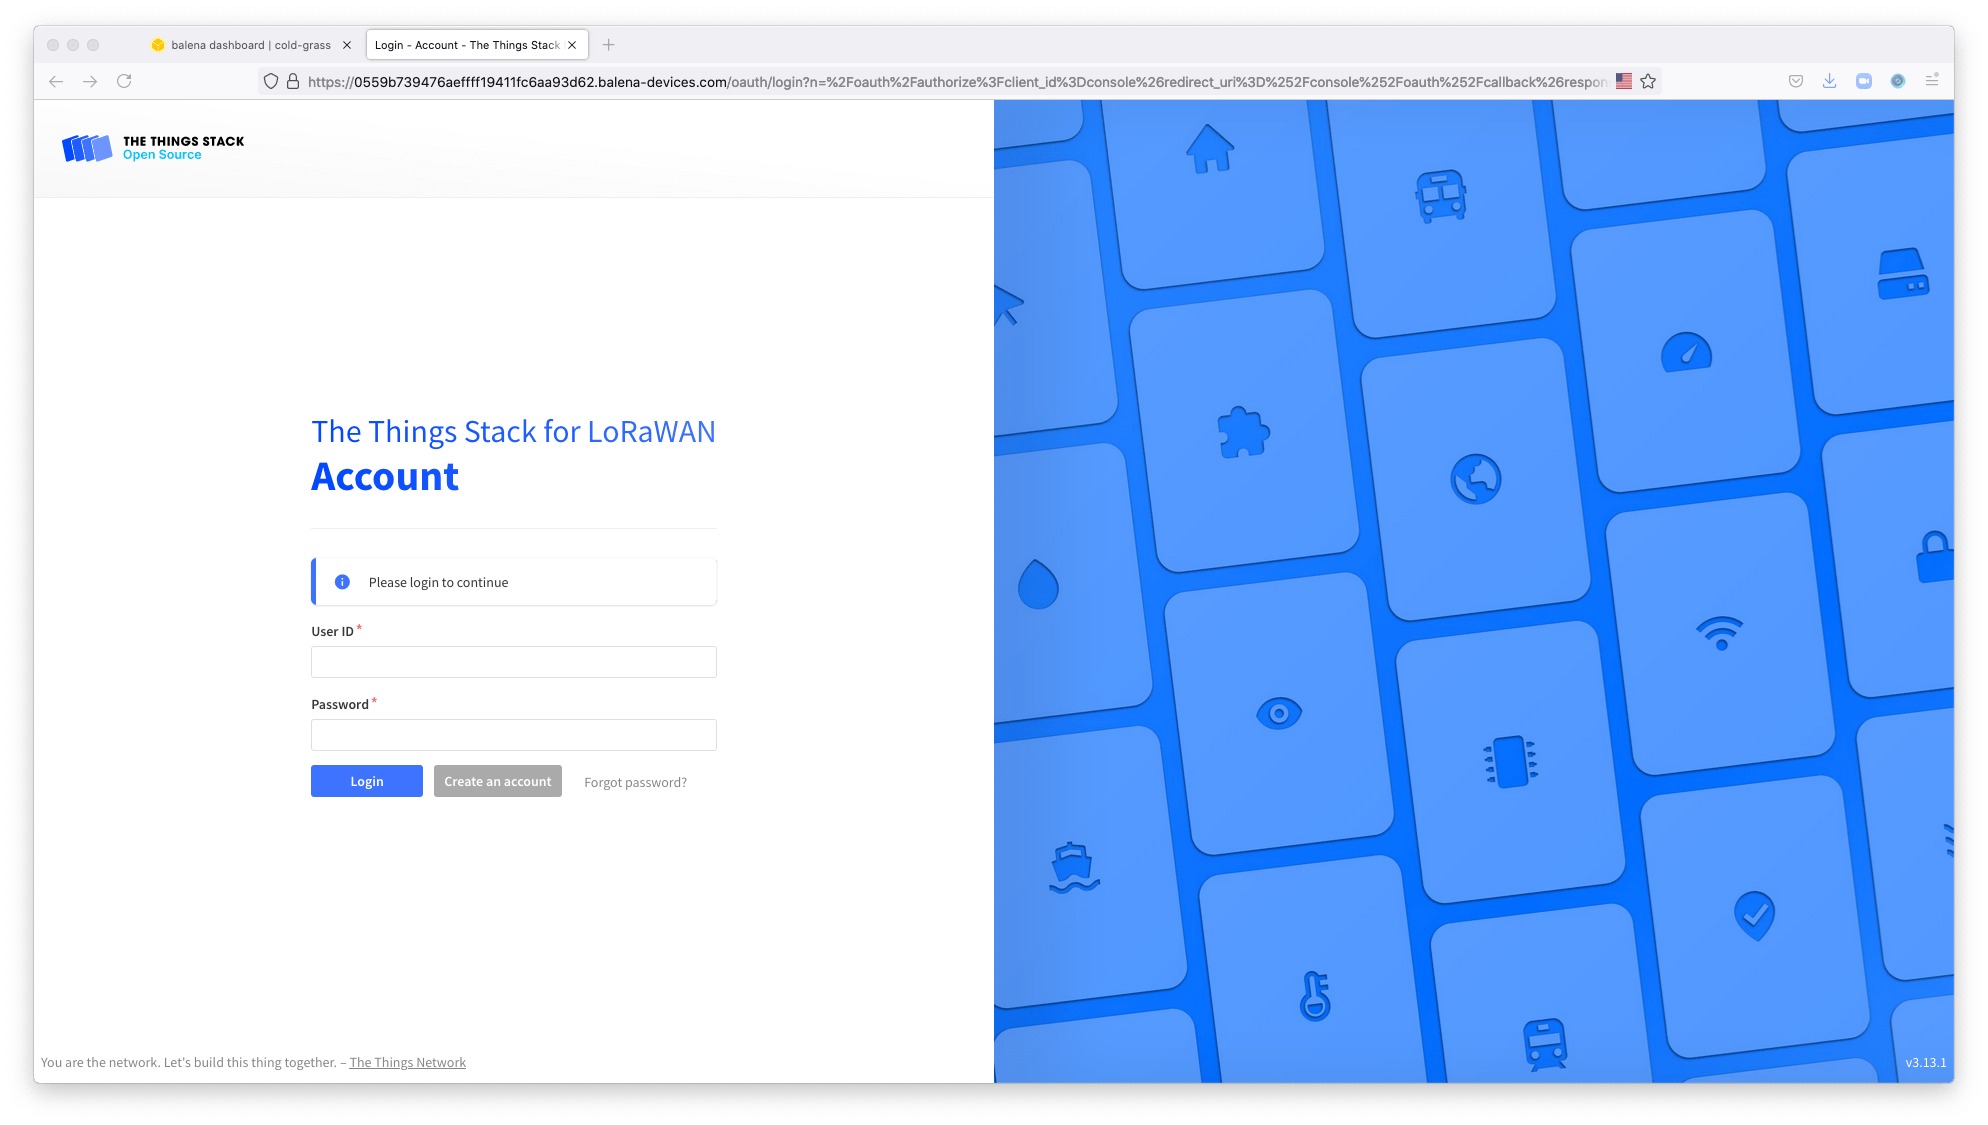
To access The Things Stack, use admin as a User ID and changeme as a password.

Now you are ready to add a new Gateway or a LoRa application connected to your private The Things Stack network server.
Adding a gateway into the stack
To deploy the BasicsTM Station gateway service along TTS local network server on your Raspberry Pi, click the Deploy with balena button below to automatically deploy the application on balenaCloud.
Clicking the deploy button will create an application with all the necessary code to deploy your The Things Stack plus basicstation service.
It’s time to connect your LoRa concentrator compatible with your Raspberry Pi or balena Fin (SX1301, or SX1302 and SX1303 such as RAK2245 or RAK 2287), to run the LoRaWAN gateway running alongside with The Things Stack network server.
Deploy it from balena CLI
The previous application was running The Things Stack Open Source Edition network server. However if you would like to run a gateway and the network server alongside on the same device, this is possible.
You will need the git CLI and balena CLI installed on your computer.
First thing you need to do is to clone the the-things-stack-balena repository on your device and update the submodules.
cd ~/workspace

git clone https://github.com/xoseperez/the-things-stack-balena

.git

cd the-things-stack-balena

git submodule update --init
Let’s add to the stack the LoRaWAN Basics Station gateway. To add the project to the balena application:
Make sure the submodule is checked out on your local repository. If not, run git submodule init.
Edit the docker-compose.yml and uncomment the basicstation service.
# -----------------------------------------------------------------------------------------------

  # git submodule add https://github.com/mpous/basicstation

  # -----------------------------------------------------------------------------------------------

  basicstation:

    build: ./basicstation

    restart: unless-stopped

    privileged: true

    network_mode: host

    labels:

      io.balena.features.kernel-modules: '1'

      io.balena.features.firmware: '1'

      io.balena.features.dbus: '1'

      io.balena.features.supervisor-api: '1'

      io.balena.features.balena-api: '1'
Make sure you have the balena CLI installed on your computer.
Push the code with balena push <your-application-name>. It will take 3-5 minutes to build this on the balenaCloud builders.
See the magic happening, your device is getting updated 🌟Over-The-Air🌟!
Add BasicsTM Station LoRaWAN gateway protocol
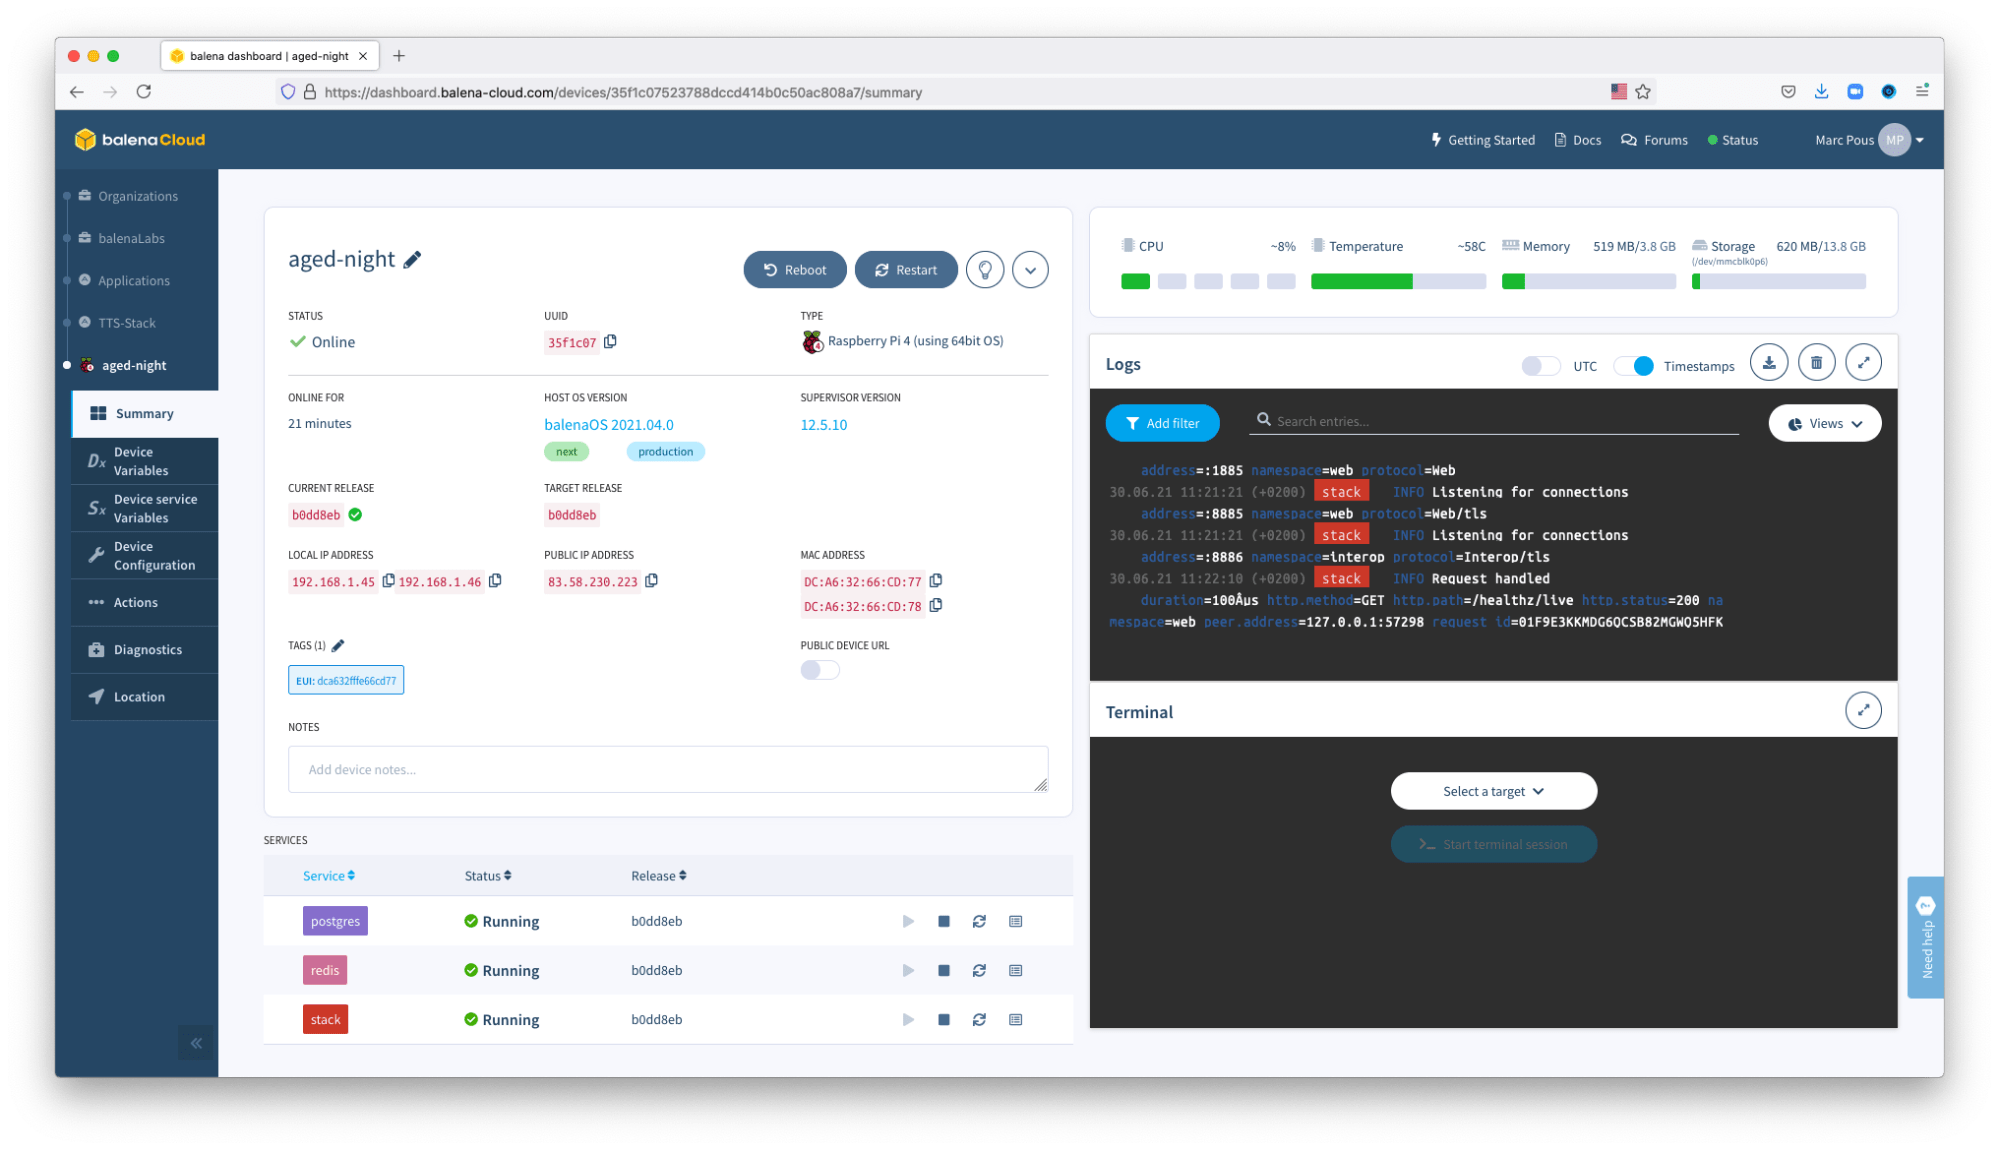
The service basicstation will appear on the list of services.

NOTE: You’ll notice that the services will reboot a few times. This is intended behavior as things get set up.
Now go to the Device Variables list and:
Add or modify MODEL depending on the LoRa concentrator model you have (SX1301, SX1302 or SX1303).
As explained in the Basics Station tutorial on TTS v3, now it’s time to configure the gateway on The Things Stack local server.
Copy your local IP address and paste it into the browser with https. You will need to accept the self-signed certificate that the device has generated automatically for your local IP address. You also can use the public URL generated by balena at this point.
As done before Login using the credentials User ID admin and the password changeme. Feel free to change your Password after you log in.
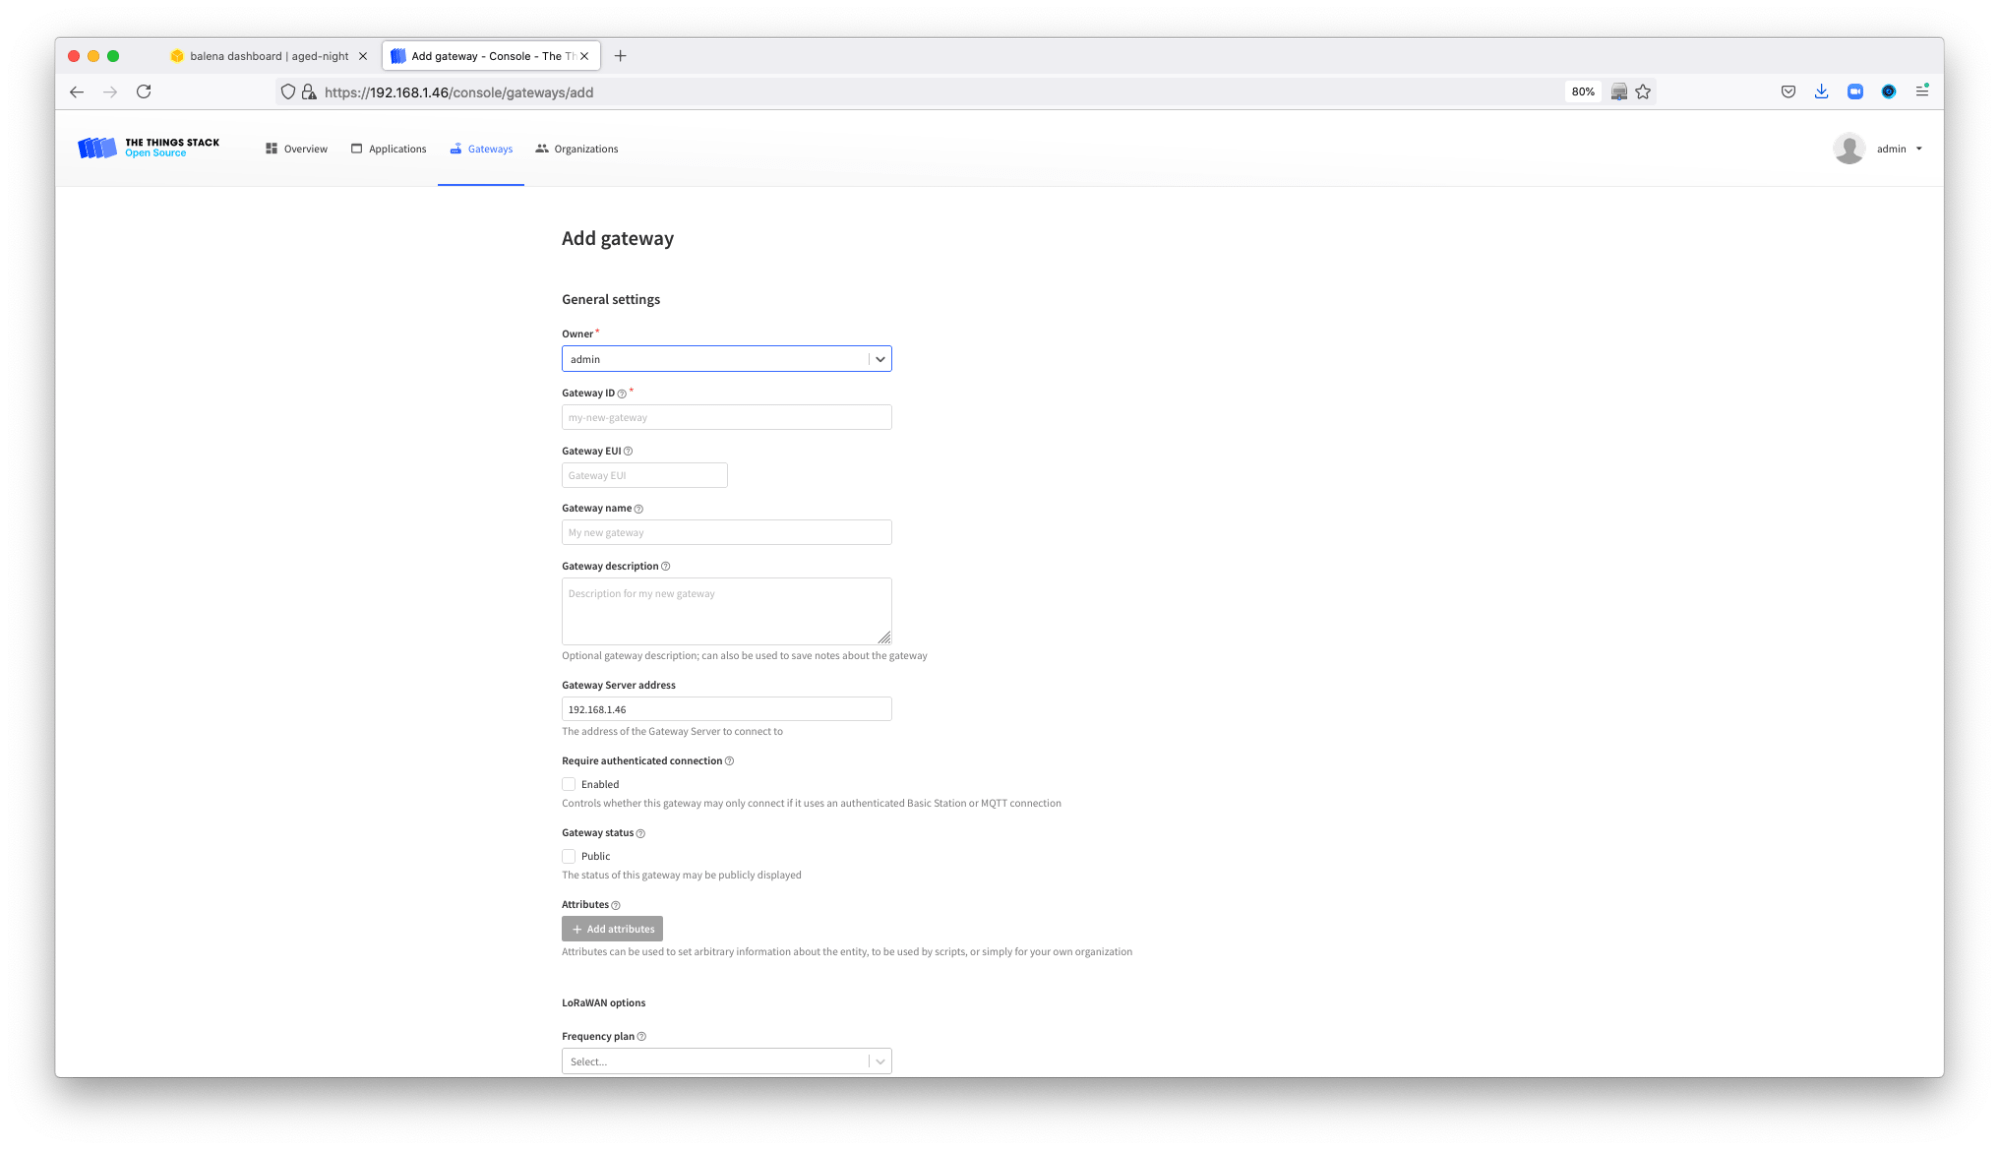
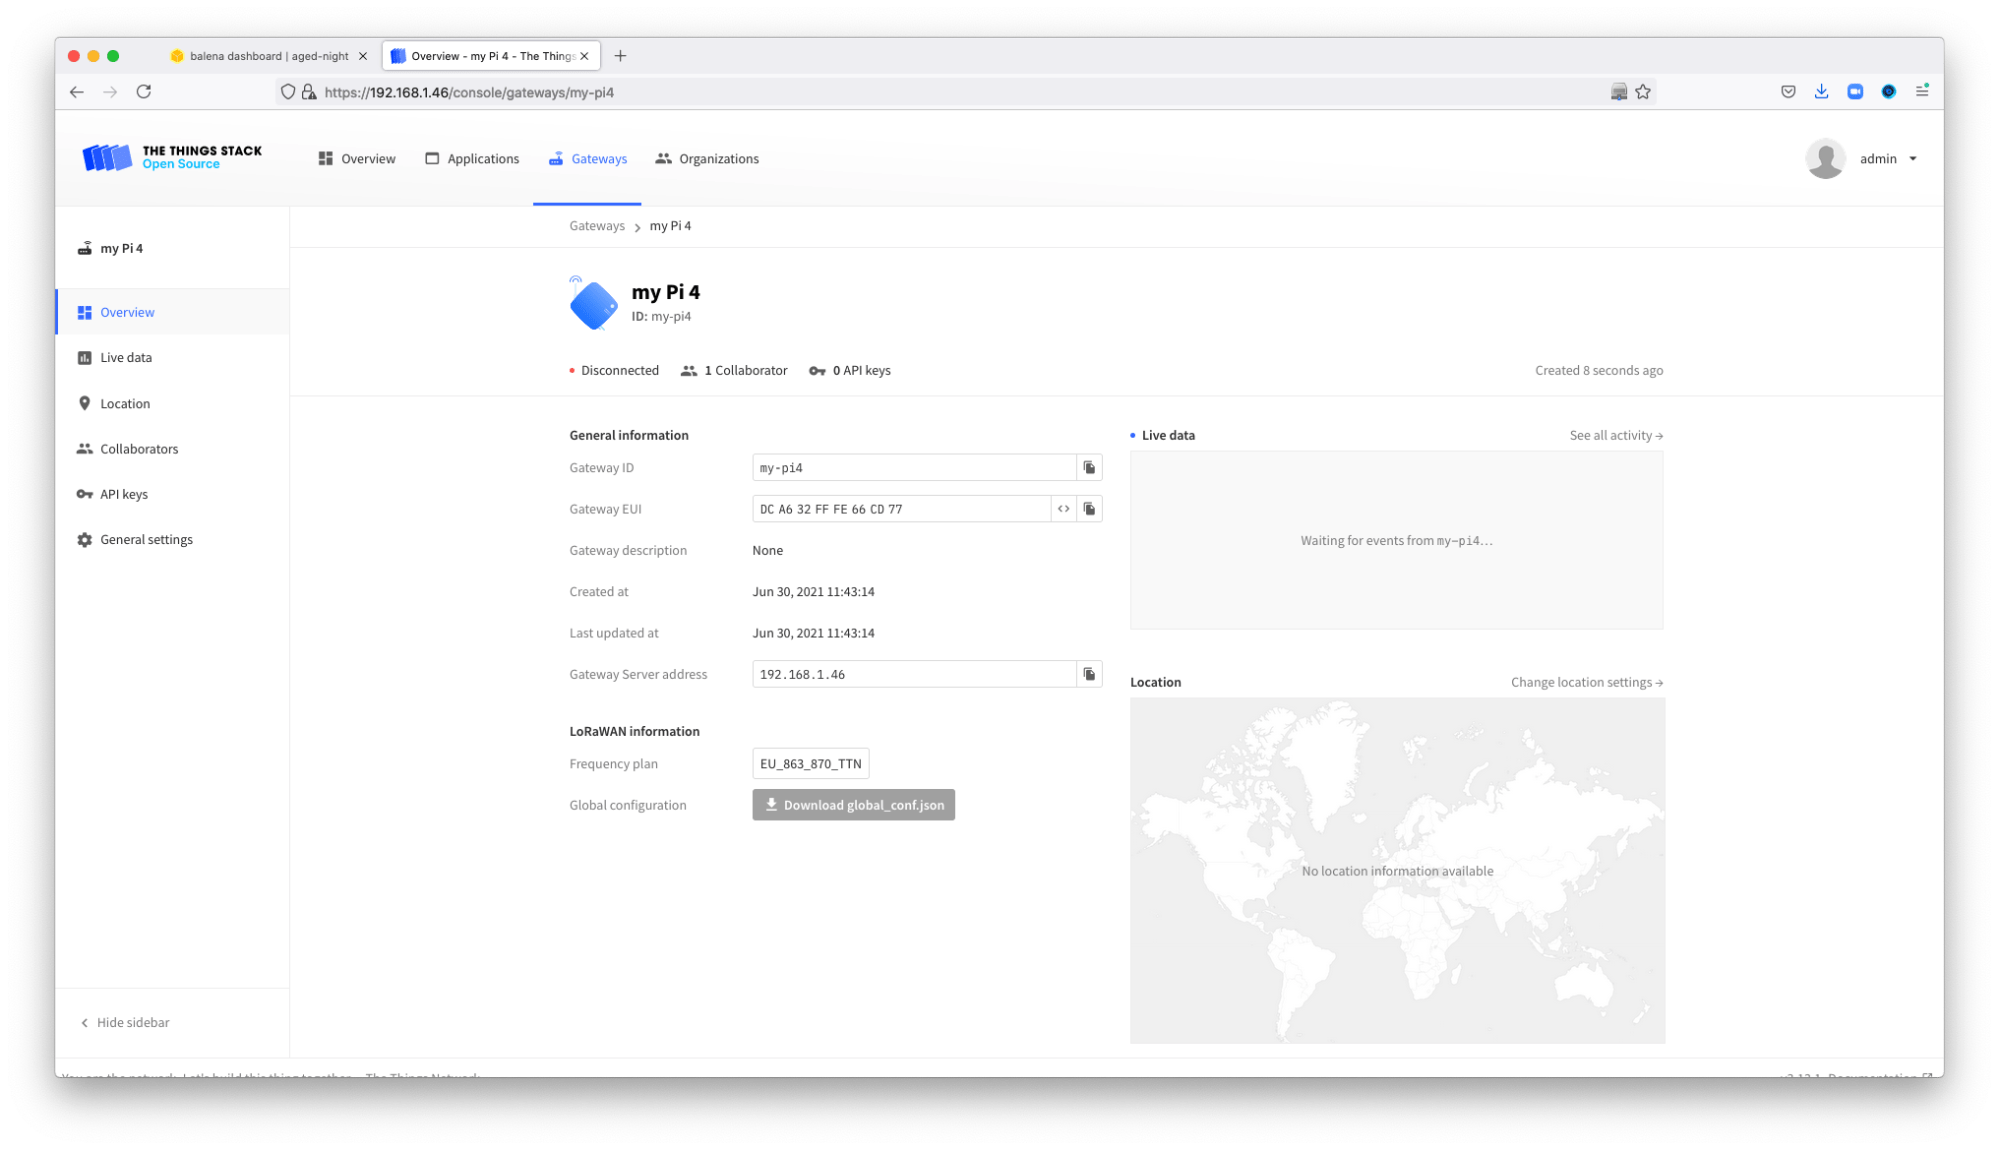
Go to Gateways and click Add new Gateway. Copy the EUI that the basicstation service introduces as a TAG of the device on the balenaCloud dashboard and paste it as the EUI of the gateway that you are registering.
Introduce the other data required.
Once the gateway is created, remember to generate an API Key. Go to Add API Key, then select Link as a Gateway .... Copy the key.
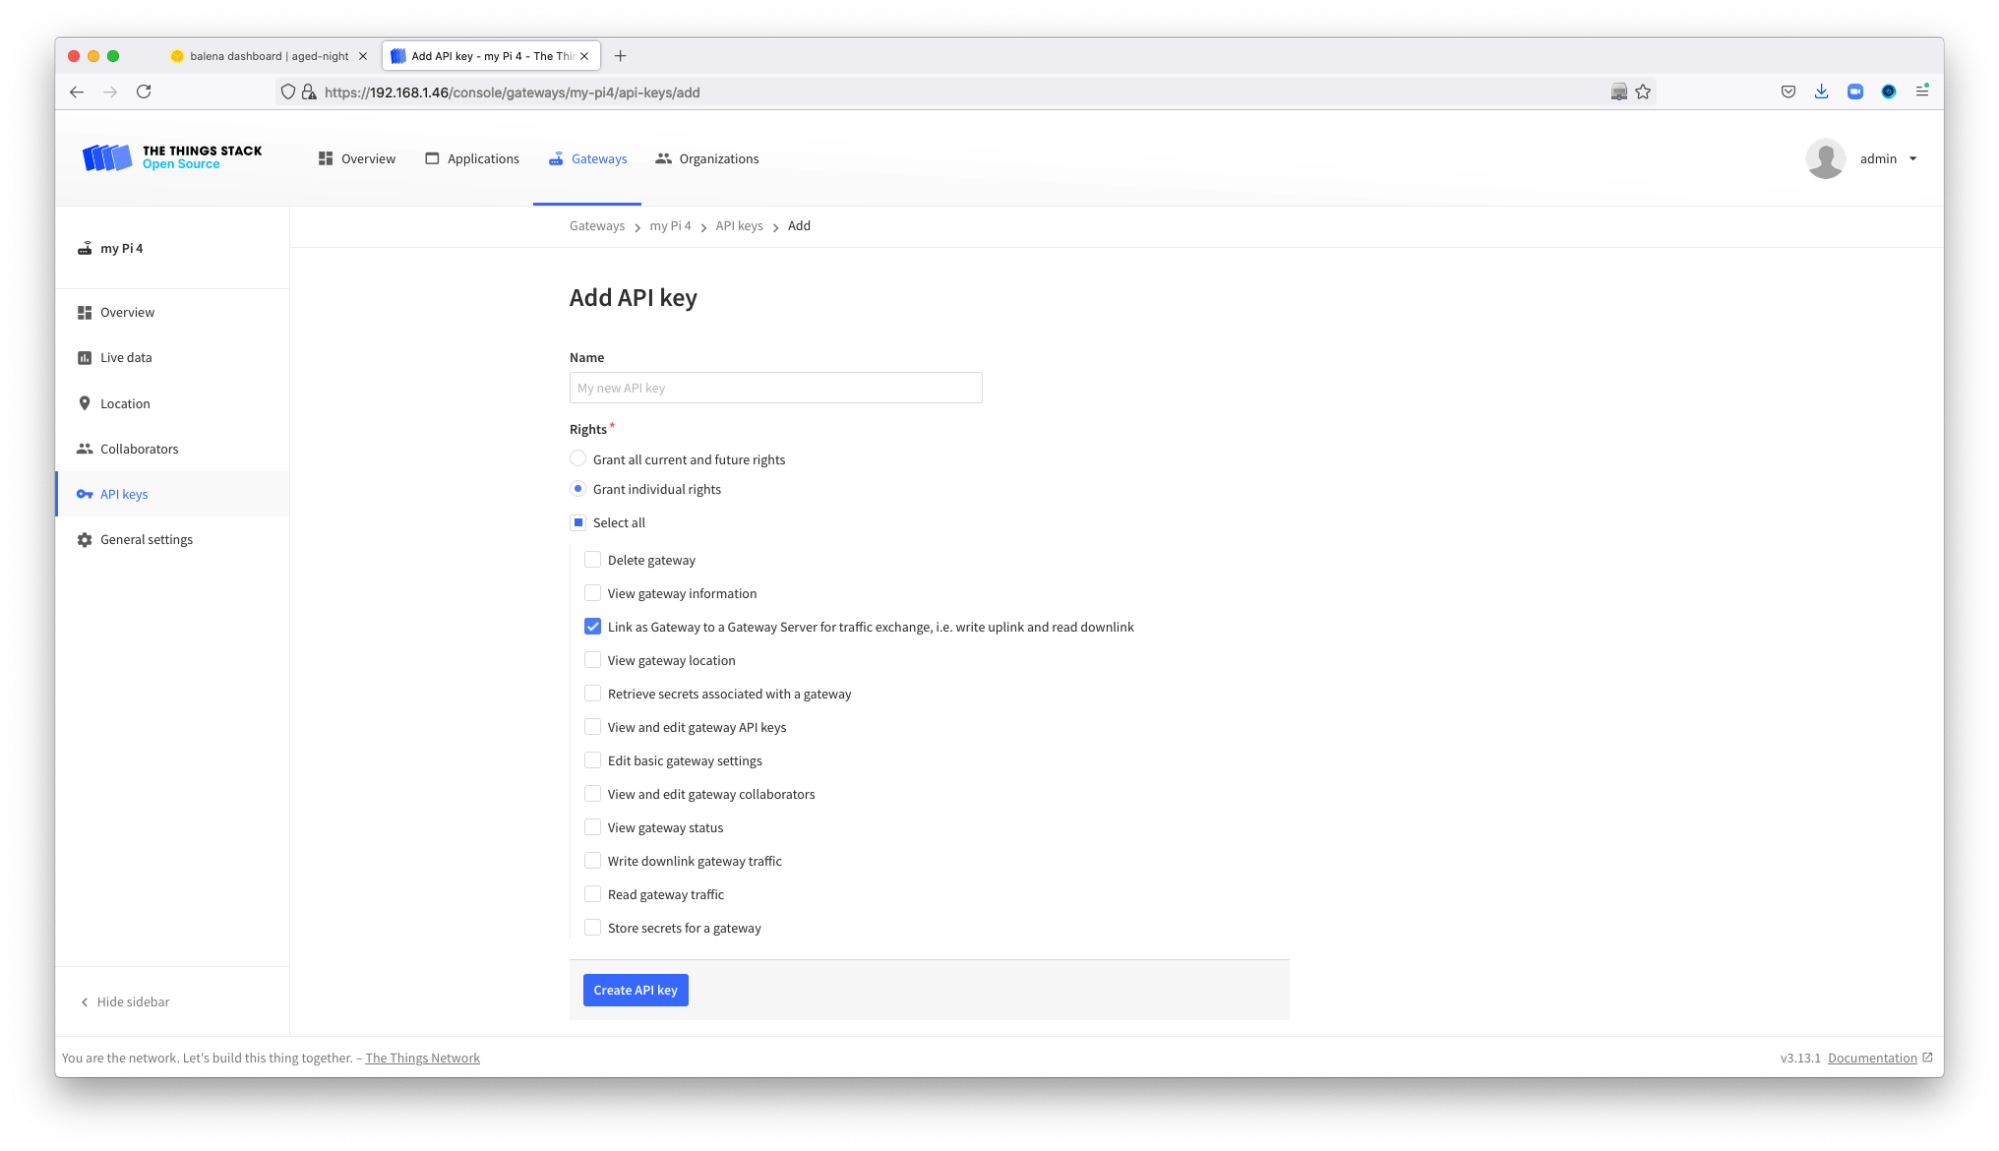
Paste the key on the Environment Variables of the device on balenaCloud as TC_KEY. The device will restart all the services a couple of times as the self-signed certificates are going to be regenerated.

From that moment, the device will be online on the The Things Stack network server and able to receive data.

NOTE: If you don’t use advanced networking configuration with static IP addresses and others, the IP address assigned to your device may change.
Configuring advanced networking
The previous version is running on the local IP assigned to your device by your router. However, this local IP may change after a reboot or other. If you would like to have a more stable solution we strongly recommend using a static IP or a domain if you would like to reach your network server from outside your local network.
Configuring a static IP
To configure a static IP on your balena device you will need to configure the network profile of your connectivity. There are two options:
- Configure a static IP on the Raspberry Pi following the Network Manager balenaOS tutorial to set the static IP. This can be done directly on your SD card before booting it on your device, or editing the file and restarting the NetworkManager of the device.
- Configure a static lease on your router linking the MAC address of the Raspberry Pi with an IP address. Requesting the IP using DHCP the router will return always the same IP address.
Configuring domain or subdomain
Once your device is always accessible with the same IP address (via DHCP or static IP) you can define a domain name pointing to the IP address. To set up the domain or subdomain there are two possibilities:
-
Using a DNS in your LAN such as dnsmask or PiHole (which runs a DNS server). To use PiHole as a DNS server you will need to change the balenaOS by default DNS servers pointing to 8.8.8.8 to the PiHole address. To do that, edit the file
/mnt/boot/config.jsonand add the following line:
"dnsServers”: “<local-ip-your-piHole>” -
Using a 3rd party service, such as Cloudflare. If you manage your domain from there you can just add an A register for a subdomain pointing to your local static IP address.
After setting up the new domain or subdomain, wait for the domain name to propagate and it should work. Remember, the variable TTS_DOMAIN on balenaCloud Environment Variables will create all the redirections and generate the self-signed certificates to enable The Things Stack network server to run properly under the new domain name.
Troubleshooting
This project involves a lot of services running together. If there is any issue not reported here, feel free to report it at the balena forums.
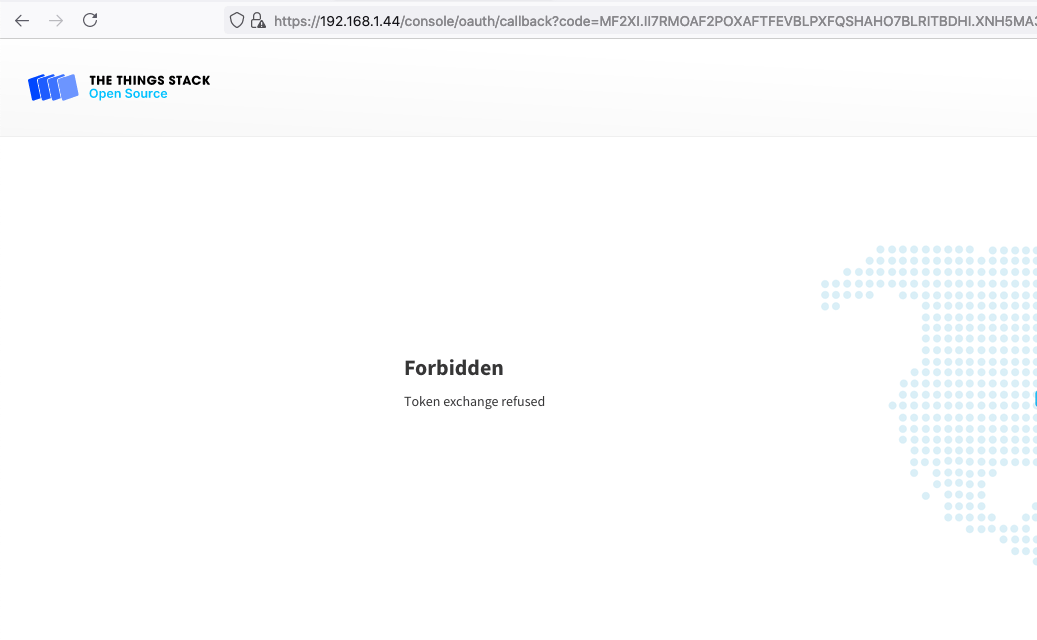
What happens if “Token exchange refused”?
If you are having certificates problems after the log in on The Things Stack or “token rejected” messages, you should try to regenerate the credentials by changing any of the SUBJECT_* variables. Another alternative is to access the stack service terminal and delete /srv/data/certificates_signature file and restart the service.
If the token exchange is still refused, get into the balenaCloud Environment Variables and check the variable TTS_DOMAIN. If you are not using advanced networking as explained before, copy your local IP and paste it at the TTS_DOMAIN variable. Then wait until the device gets restarted and the new self-signed certificates get generated with the local IP as if it’s not being propagated automatically.
What happens if the database fails
If the database fails to initialize on the logs, the best way to force the start script to init again is to change any of the TTS_ADMIN_* variables or TTS_CONSOLE_SECRET. Another alternative is to access the stack service terminal and delete /srv/data/database_signature file and restart the service.
Until next time
We’d love to hear from you if you try this project and add more sensors. We’re always interested to see how the community puts these projects to work. Get in touch with us on our Forums, Twitter, and Instagram to show off your work or to ask questions. We’re more than happy to help.
Acknowledgements
This project is made possible by the awesome work of Xose Pérez from RAK.
Thank you for your message Andrew! Looking forward to see how people use this
Feel free to post your messages here.
Hi Folks!
I use “The Things Stack network server on a Raspberry Pi with balena” and so far everything works perfectly!
One question: Is it possible to update The Things Stack? The current version is v3.15.0. Version v3.13.1 is used at balena. That would be important to stay up to date.
Regards
Martin
Hey Martin i think it’s possible but i haven’t tested myself.
Try to update this line the-things-stack-balena/Dockerfile.template at 5038bb91cd0d5eaf56cb256211a7911108ee8705 · xoseperez/the-things-stack-balena · GitHub
use
FROM thethingsnetwork/lorawan-stack:3.15.0-armv7this should work. Could you please test and let us know?
Thanks
Hi Marc.
Thank you for the feedback.
But I am not sure if you understood me correctly. I want to update a running (The Things Stack network server) system. You can’t do that with your description, right?
Regards
@loeffma if you clone the repo on your computer, change that line and deploy using balena CLI
balena pushto your fleet. Did you try this?Could you please try and let us know if this works?
I clone the repo on my computer, change the line and push it to my fleet. This process worked. But after that, the-things-stack doesent´t run any more. See the Screenshot of the Logs…
After that, I push the original repo and than the system ran again without any errors.
Do you have any suggestions for a solution?
I found the solution myself
From version 3.13.0.x to 3.14.x there was a change in the database.
Therefore you have to migrate the database.
So I uploaded version 3.15.0 again and then executed the command “ttn-lw-stack is-db migrate” in the terminal. And voilà! 3.15.0 is online!
Good to hear that @loeffma do you think you can PR the original repo?
Thanks!
Hi,
Big thanks to this Tutorial!
For my master thesis I started working with this balena stack.
Main goal is to create a own LoRaWAN infrastructure (GW + TTS Server) which should work offline. This means that it will work at places where no internetconnection is.
I added a nodered service to this stack and to configure everything I worked online. All works fine. Communication with some nodes in the field works fine. Going offline without a reset also works fine. Nodes still communicate with the private Net.
But after reseting the GW and TTS Server (RaspberryPi with RAK833 Hat) the system won’t work anymore. Nodered server is still available but the tts server is not able to run and the nodes are also not able to cummunicate with the server. The tts console is also not able to load (Static IP).
Connecting the RaspberryPi with RAK833 again to the internet and restarting the stack service the system works again.
I thing that has to do because the stack is exchaging some key or something like this.
Do you my have an idea how to solve my problem? So that the whole system is able to run offline also after an reset?
Best regards
Corsin Obrist
Hello @Balena_Obrist thanks for your message and welcome to the community!
Could you please share more information (logs, etc) when you reset the GW and TTS Server? what did you do? Reset services from balenaCloud? unpower the pi? What do you use?
Hi,
Thanks for this fast reply!
I may have to explain it a little more detail:
I connected the Raspberry with a static IP (192.169.1.111) to my laptop via LAN. The laptop has also a static IP in the same net. No connection to internet via LAN.
Then I connect the Laptop and Raspberry to the same WLAN with internet connection. This I do that I can see the device in the balena dashboard.
So over 192.168.1.111:80 i can access the TTN console. After connection is made the nodes are sending bidirectionally, All is fine. Than I turn off the WLAN.
The TTN console is still running (192.168.1.111) and there is still a bidirectional connection to the nodes over LoRaWAN.
Then I restet the Raspberry via a Power off (plug off powersupply then plug in again). The WLAN is still off so only connection to the Raspberry is over the LAN cable IP:192.168.1.111.
Then entering the 192.168.1.111 in the browser pups on the ttn console for a second an then its offline and the url looks like this: http://oauth/authorize?client_id=console&redirect_uri=%2F%2F%2Fconsole%2Foauth%2Fcallback&response_type=code&state=wkVr8nGkFiOUD5Ez
Over the Balena Dashboard I can not access the Device because of no Internet connection but with balena cli its possible and the nodered server is running on 192.168.1.111:8080 and I can access it over the browser.
How can I access the logs with balena shh? Where do I find the log files of the stack service?