
Finding hardware to develop on in 2023 can be difficult; Why not develop your applications directly on your development machine? This blog post walks you through setting up a virtual balena device, in a virtual machine (VM), on MacOS (using a GUI). We’ll specifically focus on getting up and running with an unmanaged virtual aarch64 device, that you can join to a fleet using the balena-cli.
Hardware requirements
- None! (Unless we’re counting your MacBook…)
Software requirements
- MacOS (this tutorial assumes you’re using an ARM-based Mac)
- UTM
- balena-cli
Getting Started
You can choose to skip ahead and download our .utm file for aarch64 balenaOS, which configures the following settings for you, out-of-the box. Bear in mind, that this version is pinned to balenaOS v2.105.16, which may be out of date by the time you are reading this. Alternatively, keep on reading to see how you can set up a VM for your virtual balena device of choice.
Ensure you have installed UTM and balena-cli.
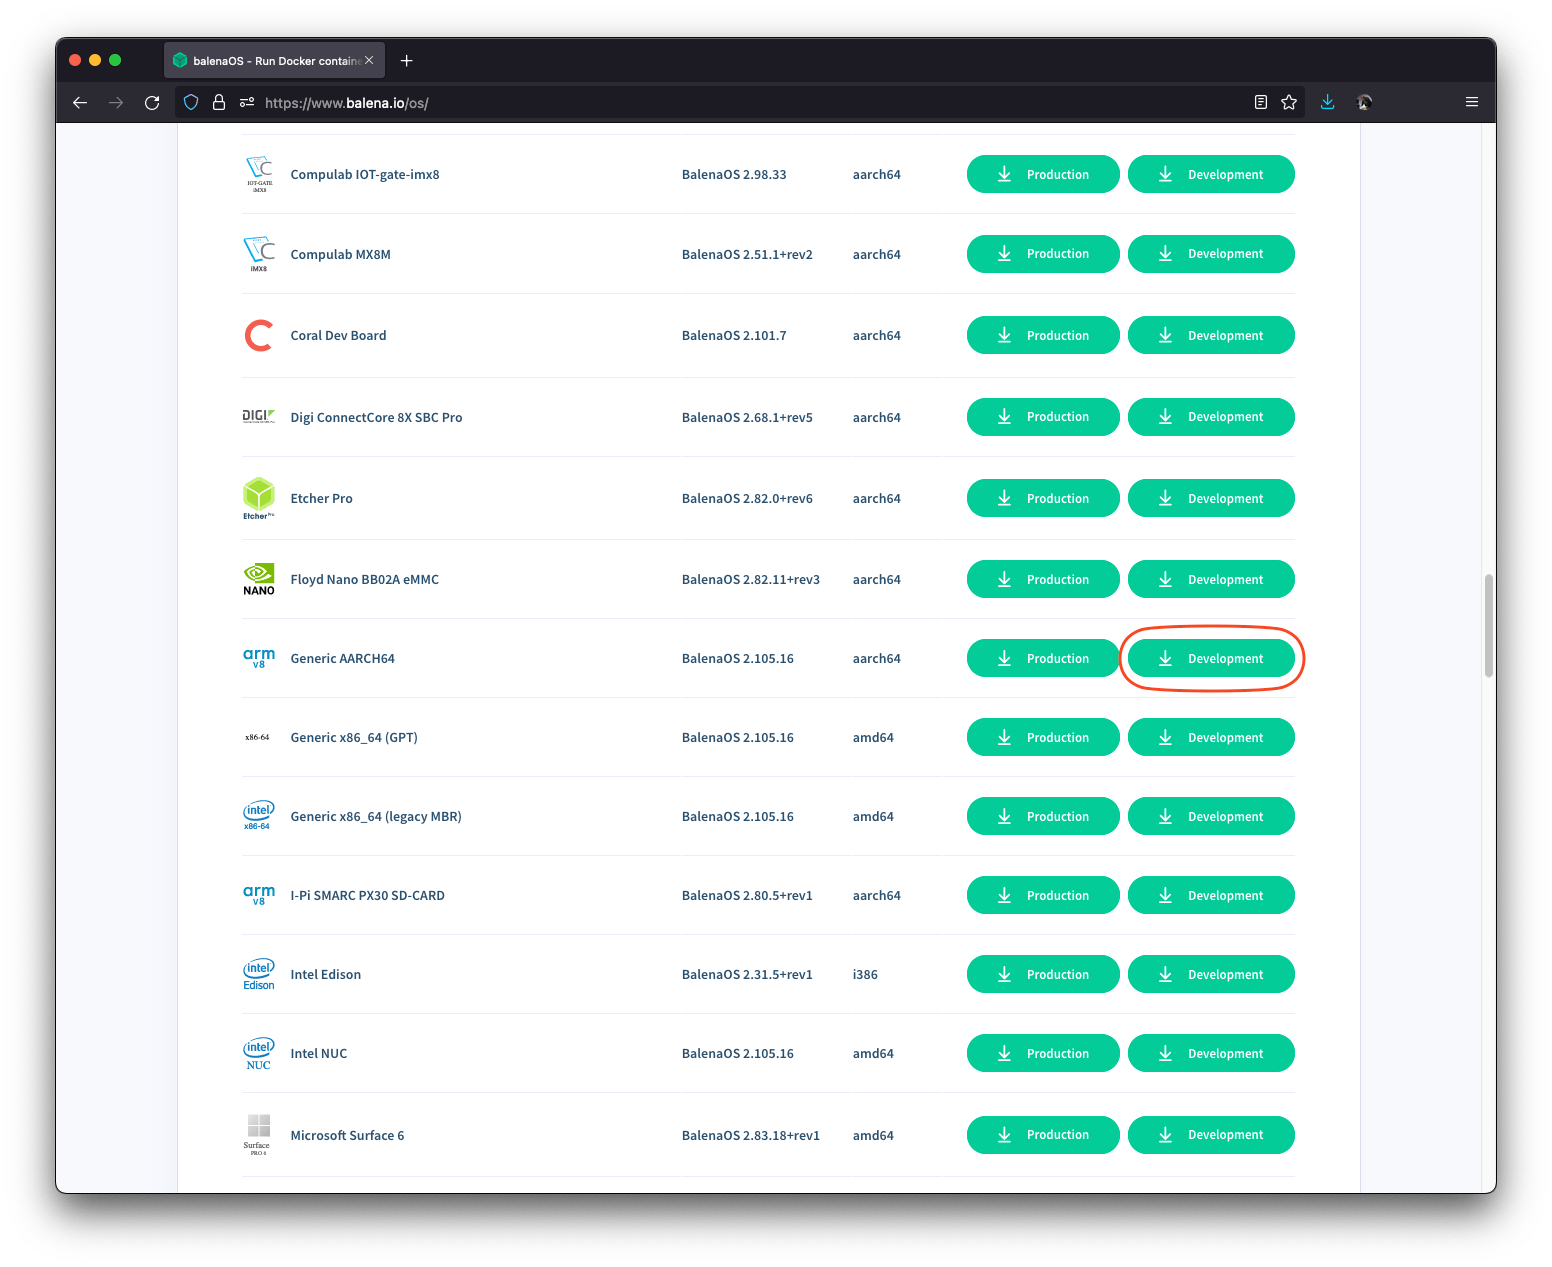
First download the development variant of the generic aarch64 balenaOS image and extract the zip file. You should now have a .img file for your chosen version of balenaOS.
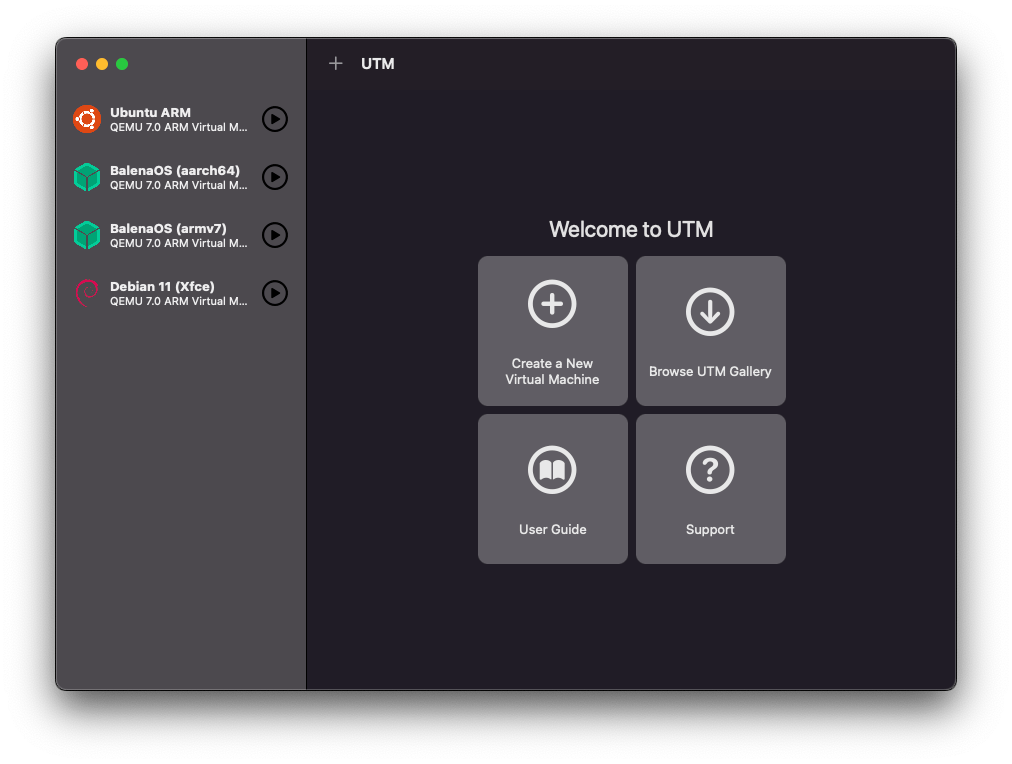
Now open UTM and create a new virtual machine.
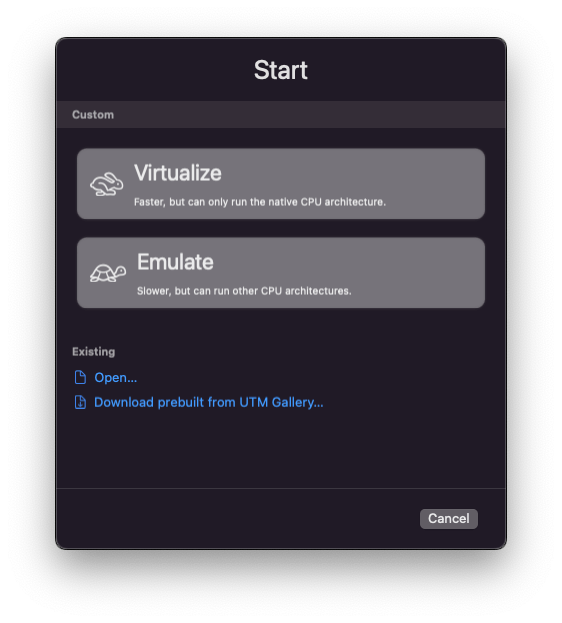
If you are using an ARM64 MacBook (M1, M2, etc.), select virtualize, otherwise select emulate.
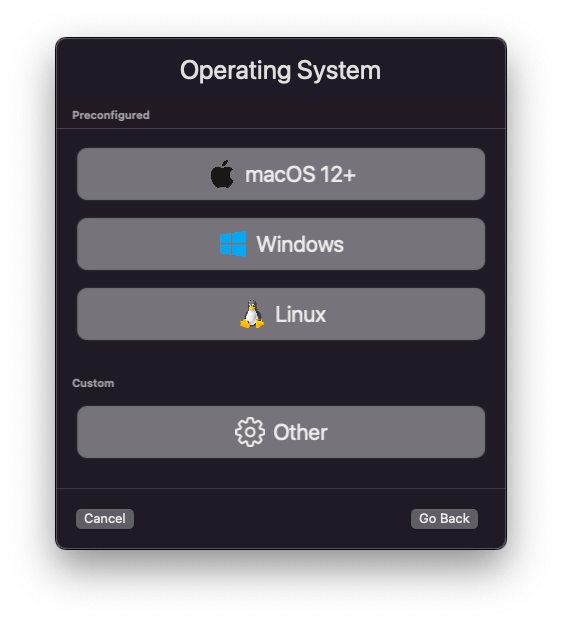
Select other for operating system.
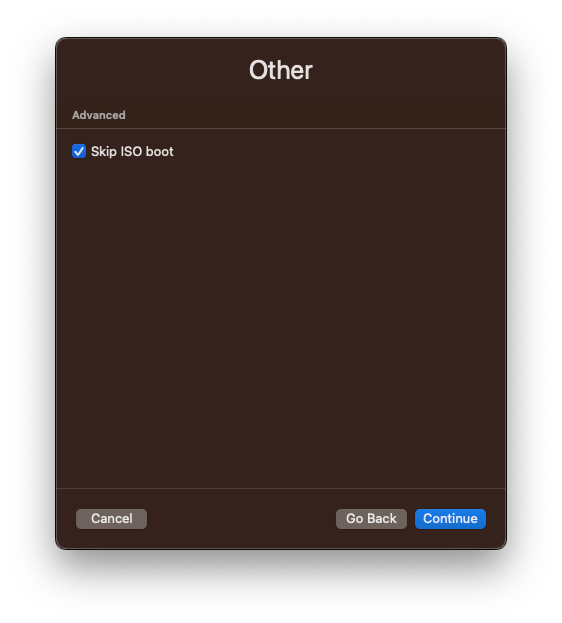
Select skip ISO boot.
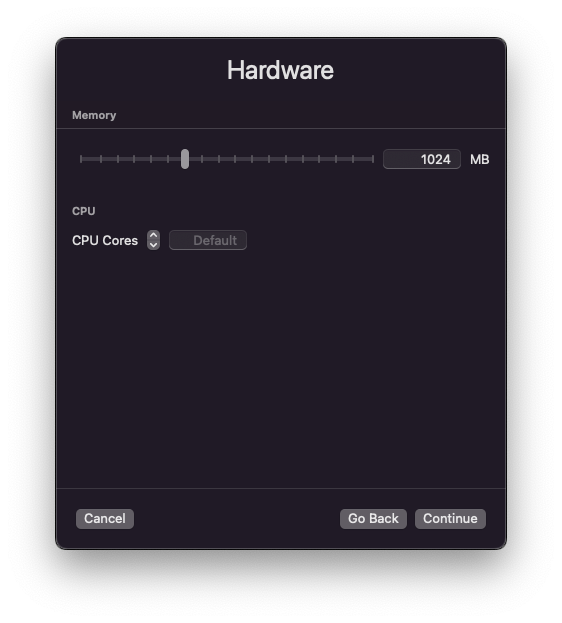
Allocate at least 512MB (balenaOS requirement) of memory, ideally 1024MB.
Optionally, allocate more CPU cores.
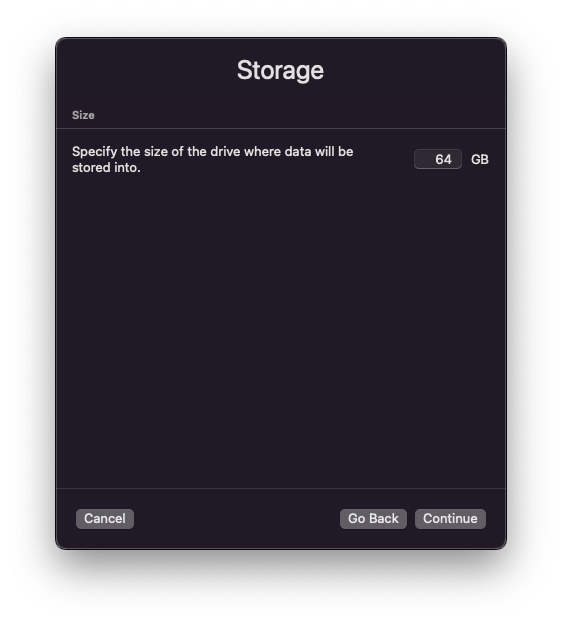
Leave storage size for now.
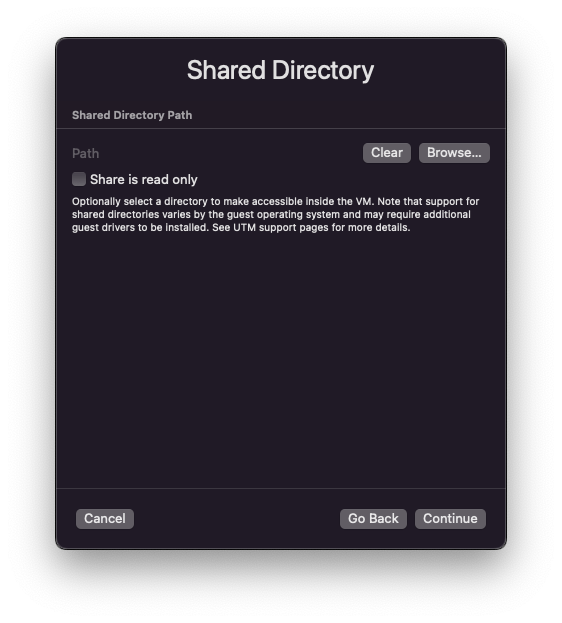
Leave the option to share directories, unselected.
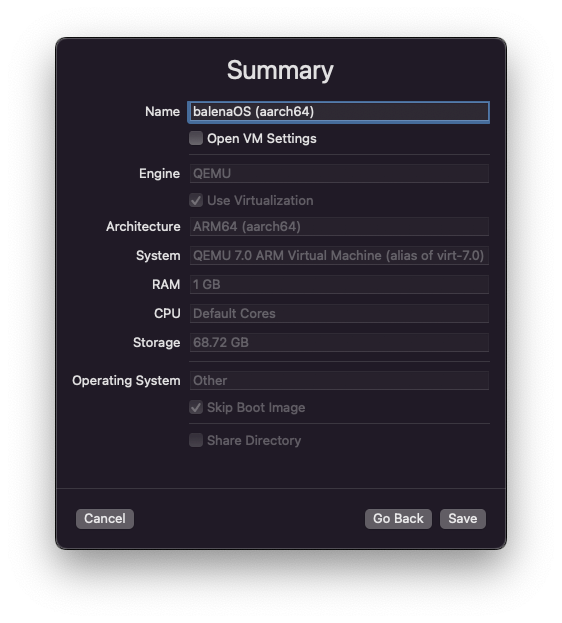
Now name and save your selection. I chose balenaOS (aarch64) as the name.
Configuring the Virtual Machine
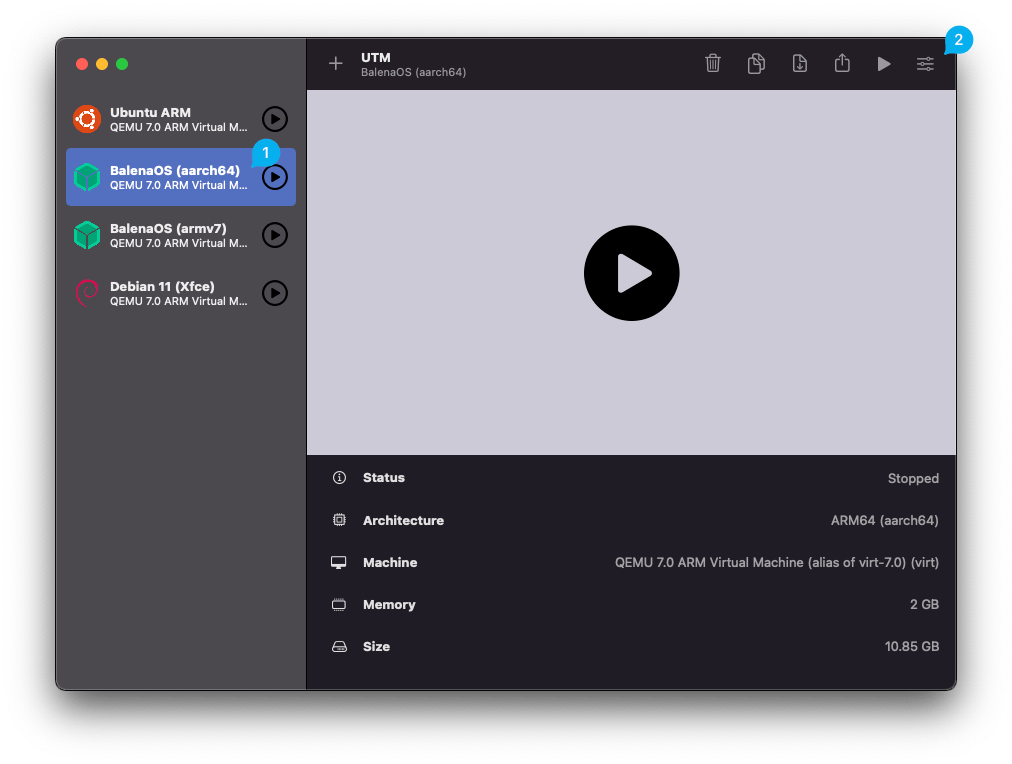
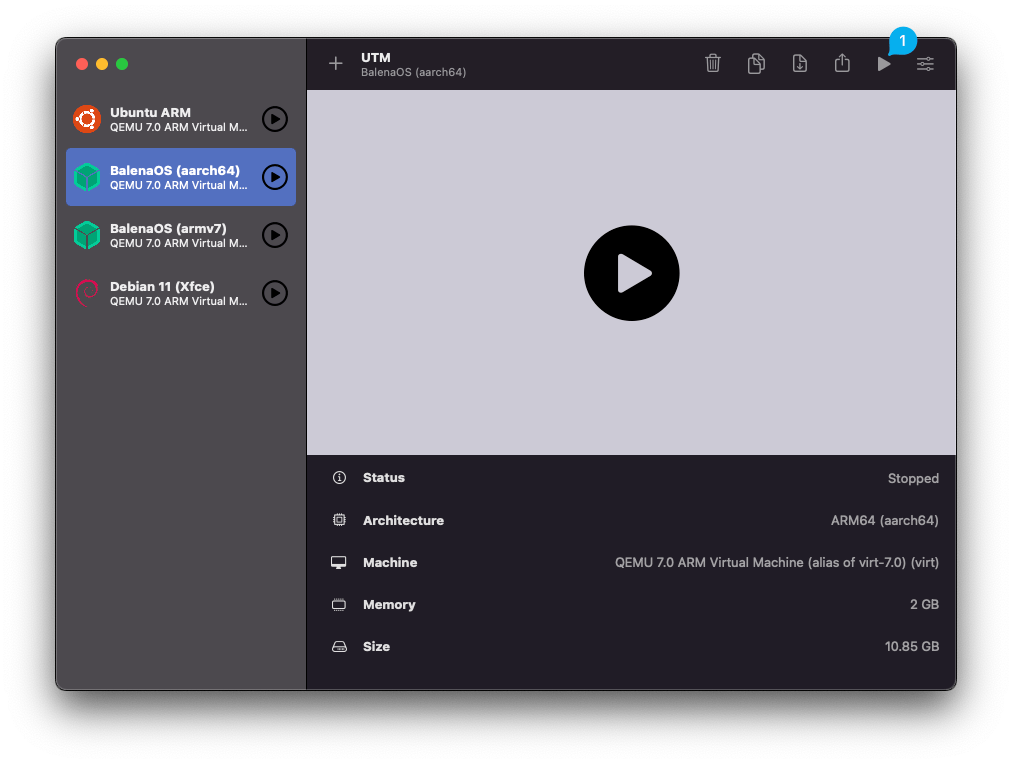
You should be back at the menu again, select your new VM (1) and click the edit button (2).
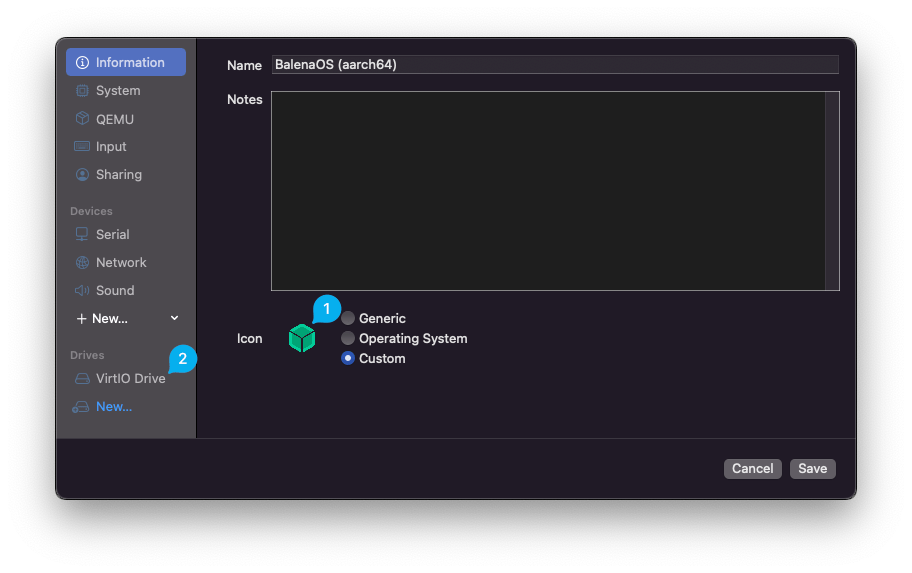
I’ve added a custom icon (1) to make it easier for me to find, however this is optional.
Click on VirtIO Drive (2).
Drives
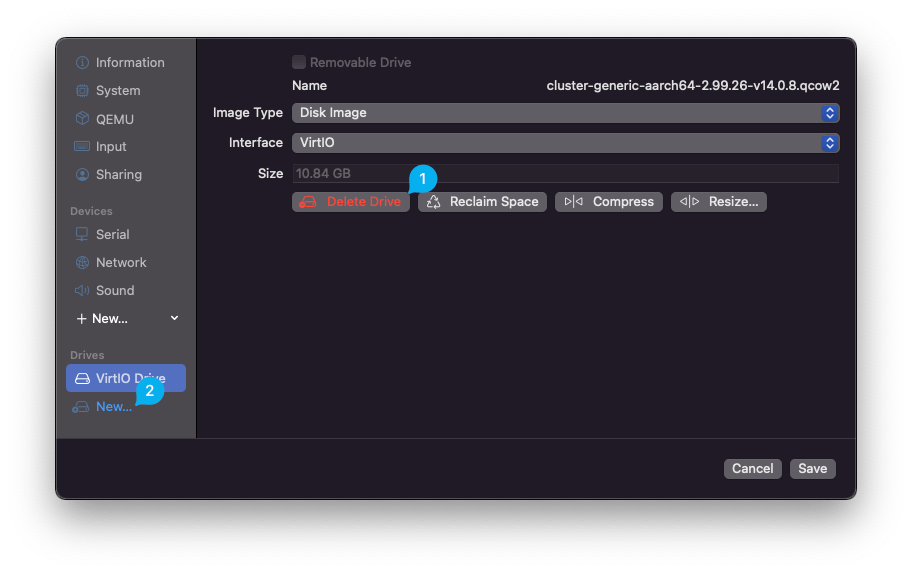
Now delete this drive (1) and create a new drive (2).

Set this to a reasonable size, ideally at least 16GB (1), and import the extracted balenaOS .img file from the earlier step (2).
Now click the resize button and expand the disk to something appropriate for your previous size, e.g. 16GB. Ignore the experimental warning (if there is one), then save and return to the main screen.
Serial Terminal
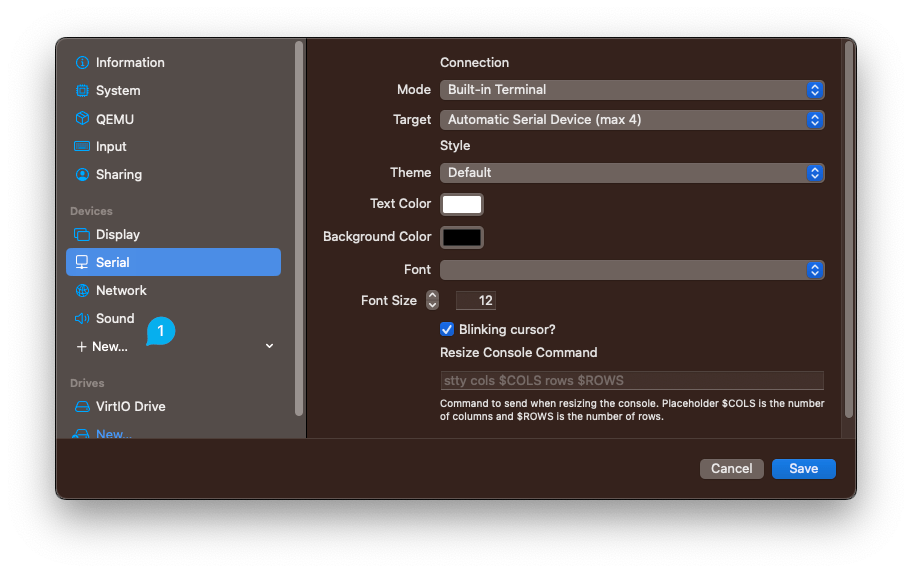
Next you need to add a Serial terminal. Click New (1) and leave the default options on Serial terminal.
Display (Optional)
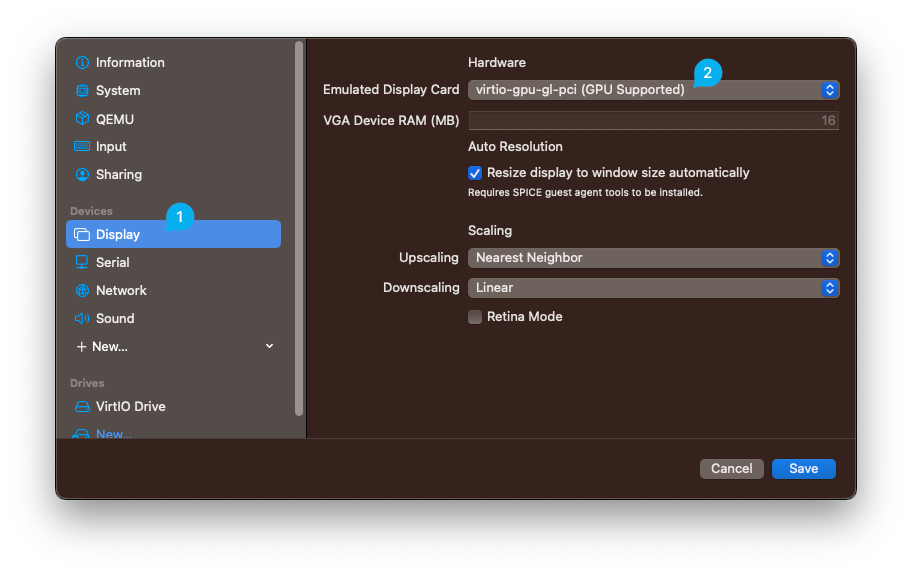
If you’d like to add a display to your device, you can do so by editing the Display (1) and selecting virtio-gpu-gl-pci (2). Alternatively, you can remove the display entirely and just use the Serial if you like.
Networking
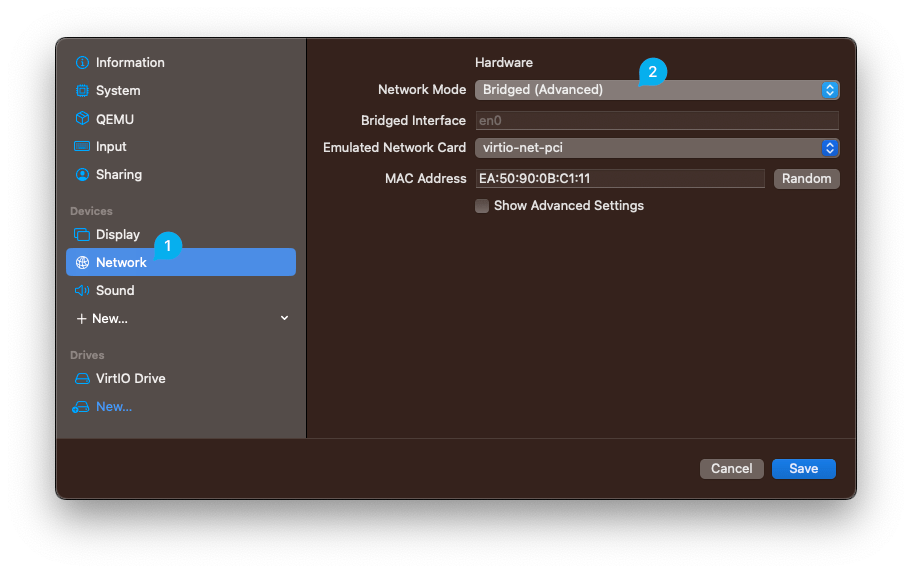
Next you’ll need to update the Network (1) to use a Bridged Network (2) instead. Again, leave the settings as default.
Powering on your VM
Now you should be able to power on your virtual machine (1).
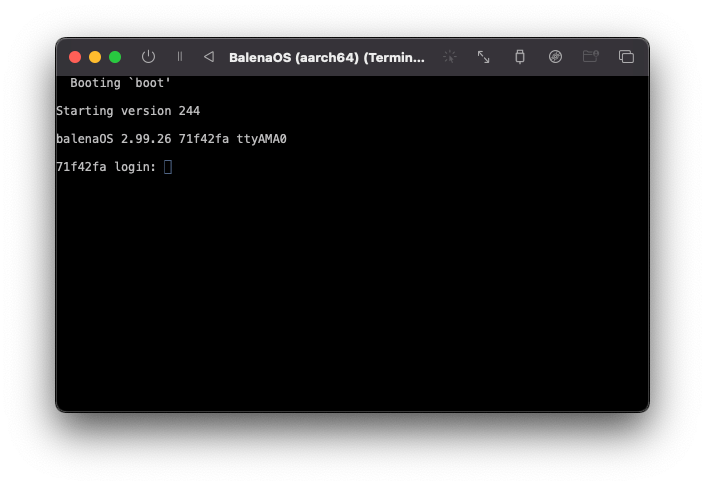
Allow the terminal/console to appear and boot into a login prompt. This may take a couple of minutes. If you want, you can access the shell by entering the username root. Take note of the uuid specified before login, in this example it is 71f42fa.
Joining a Fleet
Congratulations, your virtual balenaOS device is online! Currently this virtual device is unmanaged meaning that it is not attached to a fleet. To connect or join the device to a fleet you will need to use the balena-cli.
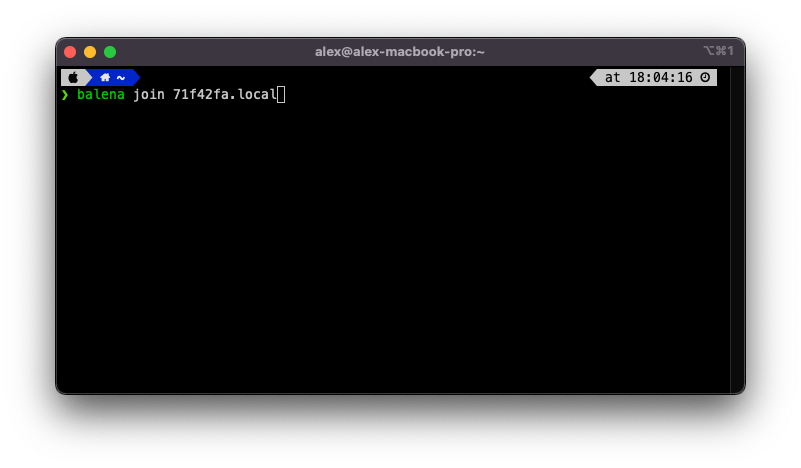
Open your favourite terminal application, ensure you have balena-cli installed then run the following command, balena join <uuid>.local, where <uuid> is the device’s UUID from the previous step, e.g. 71f42fa.
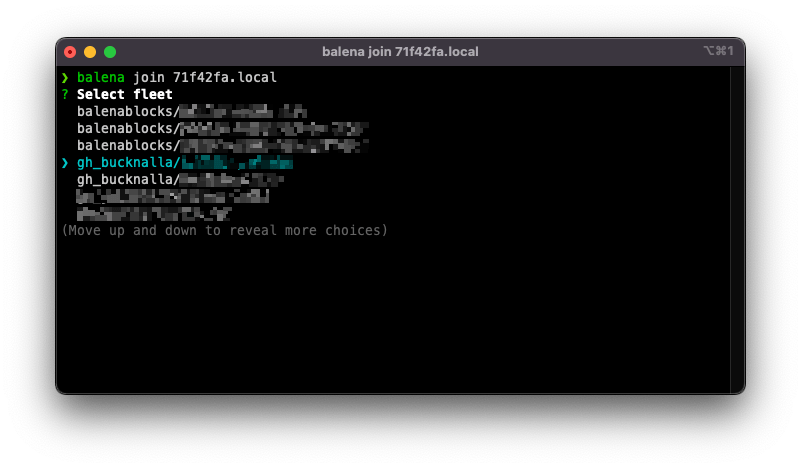
You’ll then be able to choose one of your balenaCloud fleets to join the device to. If you don’t see any fleets, you may need to create one on balenaCloud first (create a fleet for the Generic AARCH64 device type).
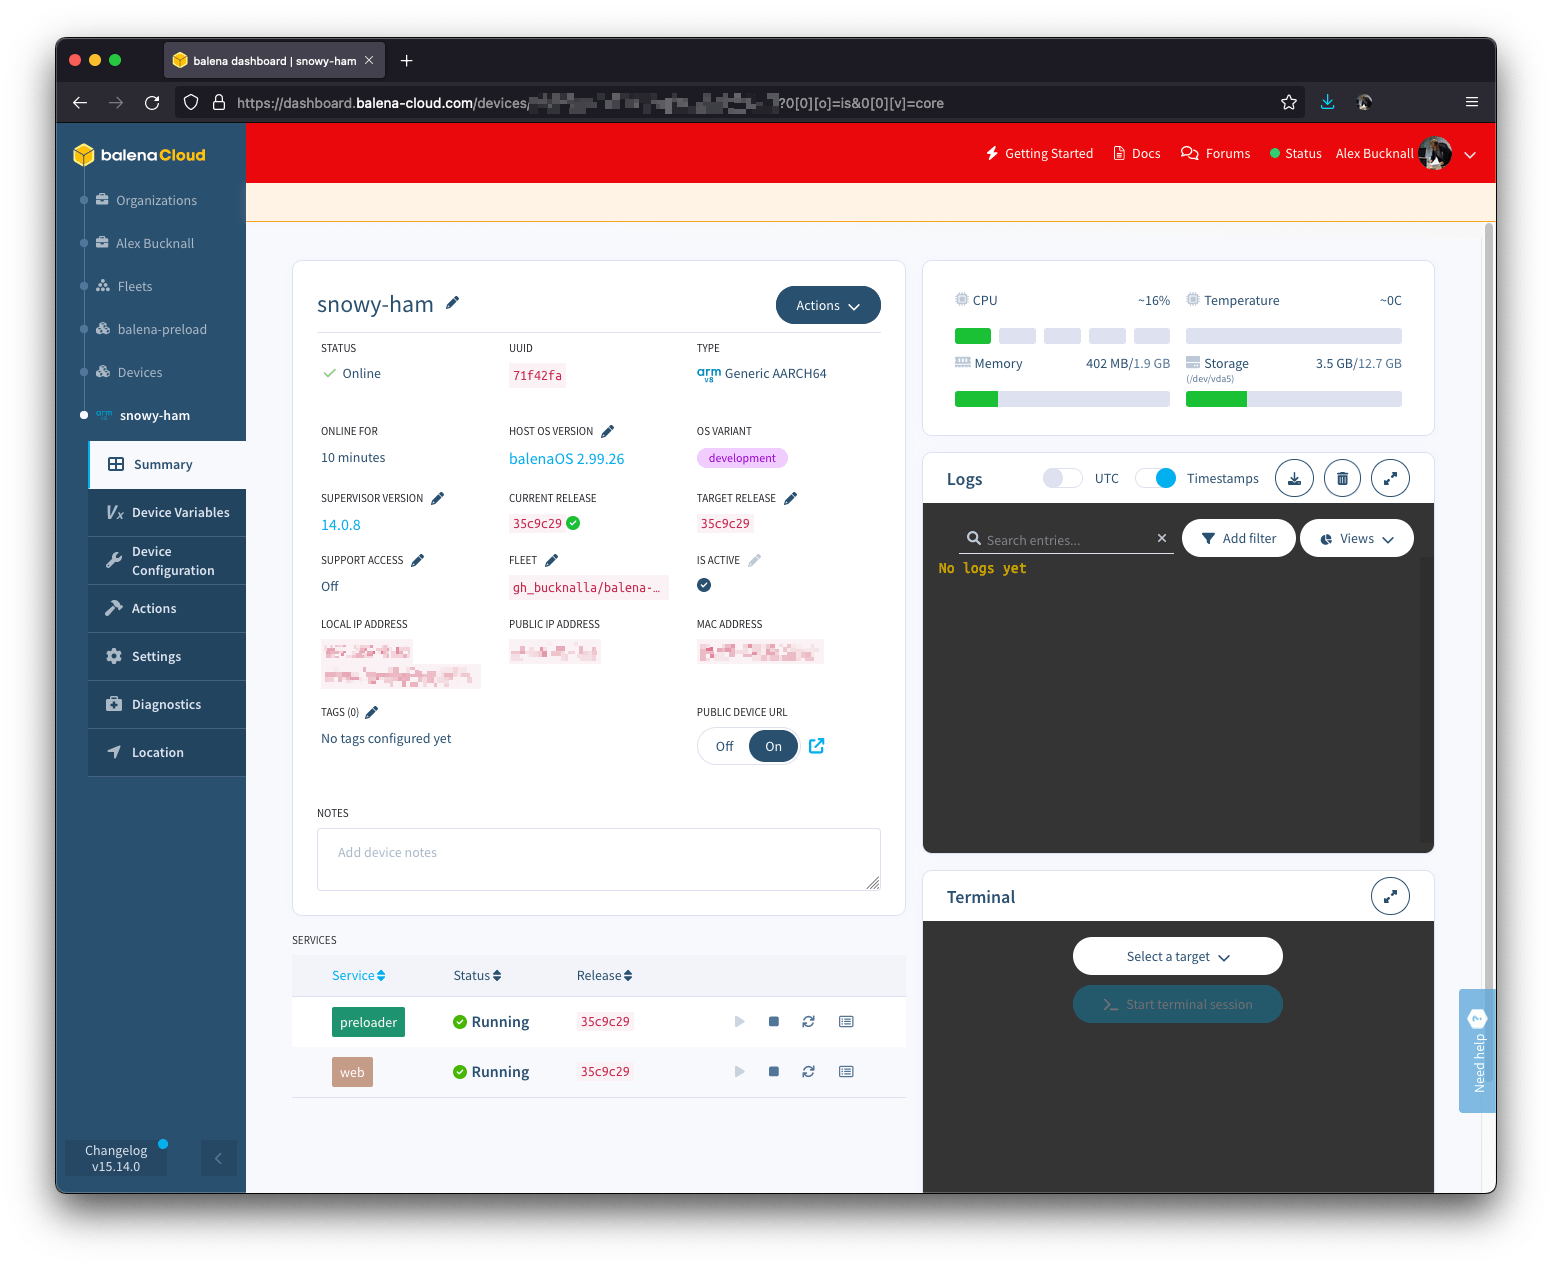
Visit balenaCloud to check that the device has joined fleet that you expected it to. Don’t forget your first 10 devices on balenaCloud are free!
At balena, we enjoy the flexibility of using virtual devices to develop and test our operating system, while on the go.Although real hardware is always best, it’s nice to quickly demo/test/experiment with a virtual device when there’s no hardware at hand.
Fun stuff
There’s a few fun extra features I use on a day-to-day basis to help with development work.

You can see in the screenshot above, I am forwarding a USB modem from my MacBook, through to my VM and connecting to it within balenaOS. This allows me verify that a modem is working correctly from within the VM. Super handy for writing OS tests!
Credit
Thanks to my colleague Rahul for initially working through some of the quirks of UTM and documenting the process!
Hello and thank you!
Will this work with custom OS?
I am wondering if there are any “OS dependencies” installed in balenaOS or at buildtime with bitbake to make img “VM ready”.
Have a nice day