

We receive quite a few inquiries from people wanting to use balena on their own developer machines in a VM. Maybe the board you’re using is still in the mail and you can’t wait to get started? Or perhaps you’d like to try balena with a fleet of devices, but don’t have enough boards. This post will show you how to use an x64 NUC image to create one or more virtual balena devices with VirtualBox.
balenaCloud setup
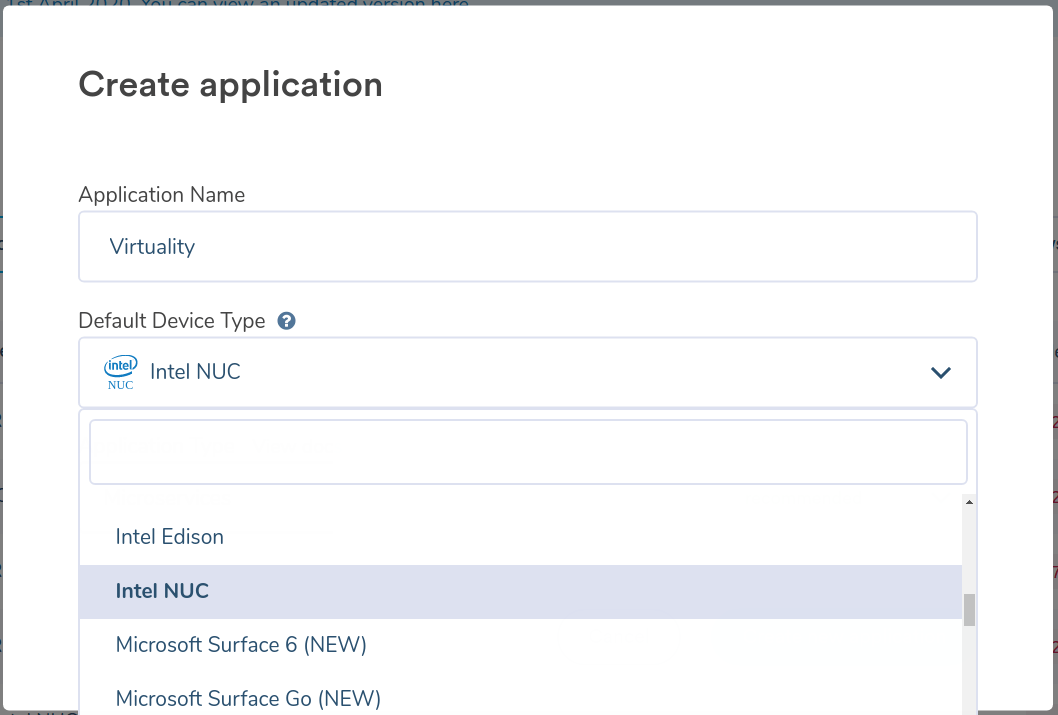
To run balenaOS in VirtualBox running on a PC, you need an x86 image that matches your system’s architecture. Fortunately Intel NUC is already supported on balena, and you can use that as the base image for your virtual device.
If you haven’t yet, you can follow the sign-up and development setup procedures in the docs. Then create a project, selecting Intel NUC as your device.
From the dashboard, download the device OS, setting network connection to Ethernet only.
VirtualBox setup
Install VirtualBox on your development machine, then start by creating a new virtual machine, setting the type to “Other Linux 64-bit”.

Select a comfortable RAM size, such 2048 MB, and do not add a virtual hard disk yet. The VM will require two disks: One to become the main operating system (balenaOS) and one to serve as an initial boot device. You’ll create those in later steps.
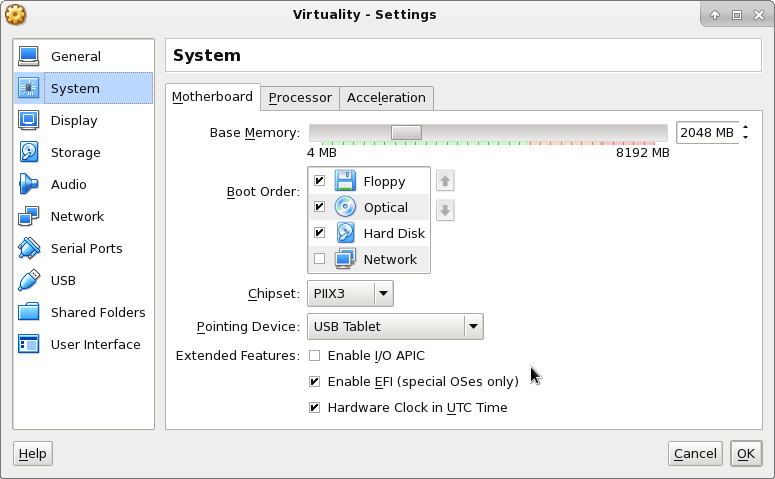
When your new virtual machine is set up, its Settings need to be adjusted from the defaults to:
- Disable I/O APIC (default setting can result in a boot crash)
- Enable EFI (the NUC image is set up for UEFI boot)
The NUC image you downloaded earlier cannot be used directly in VirtualBox because it contains internal partitions. You must unzip the file and convert it to a virtual hardware image using the VBoxManage tool and create a Virtual Machine Disk (VMDK) file (where <balena-cloud-app>.img represents the image download from the dashboard):
VBoxManage convertdd <balena-cloud-app>.img <balena-cloud-app>.vmdk --format VMDK
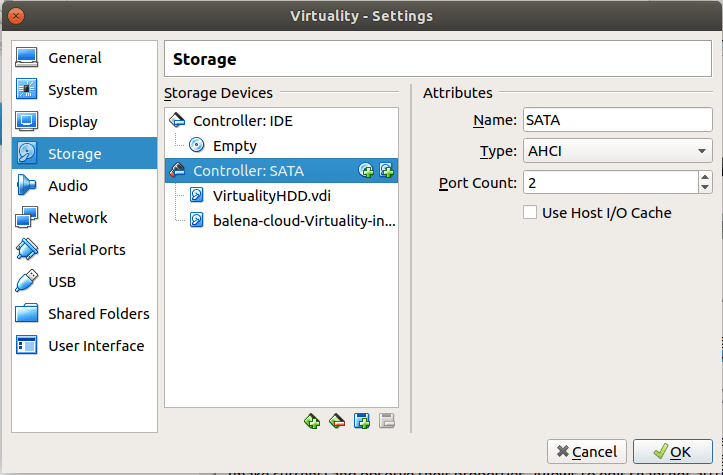
With the new .vmdk file created, return to your VirtualBox virtual machine settings and add a new SATA storage controller and a virtual hard disk. The virtual hard disk can be any image format; no need to choose VMDK. Make the disk at least 8 GB in size.
Next, add the .vmdk image file you created in the previous step as a second SATA hard disk (“Choose existing disk”). When you’re done, the hard disk setup should look something like this:
You might need to adjust your Network settings to enable communication with the outside world. The default setting of “NAT” works well in most cases for normal use, but if you are planning on using Local Mode for rapid iteration on a local network and/or accessing the virtual machine from the host machine, you’ll need to do some additional configuration. For the network adapter, I chose one attached to my physical wifi card. Substitute here with your own active wireless or cable network interface name here instead. For more information of VirtualBox’s network configuration, we recommend reading VirtualBox Network Settings: Complete Guide.

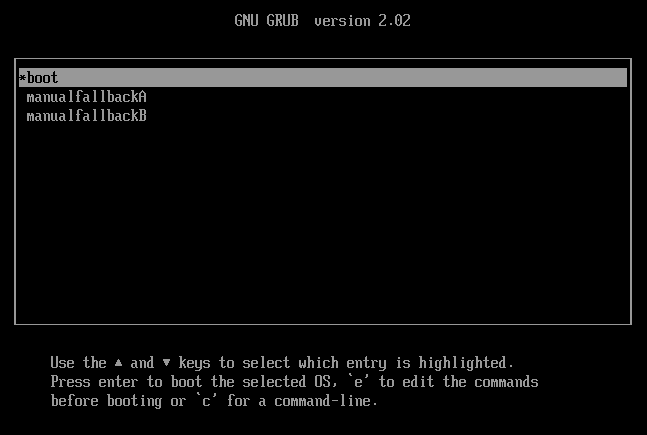
Finally, your virtual machine is ready to run! You’ll see an initial Flash boot screen, which tells you the system has booted your .vmdk file and is flashing the balenaOS filesystem to your primary virtual SATA disk.
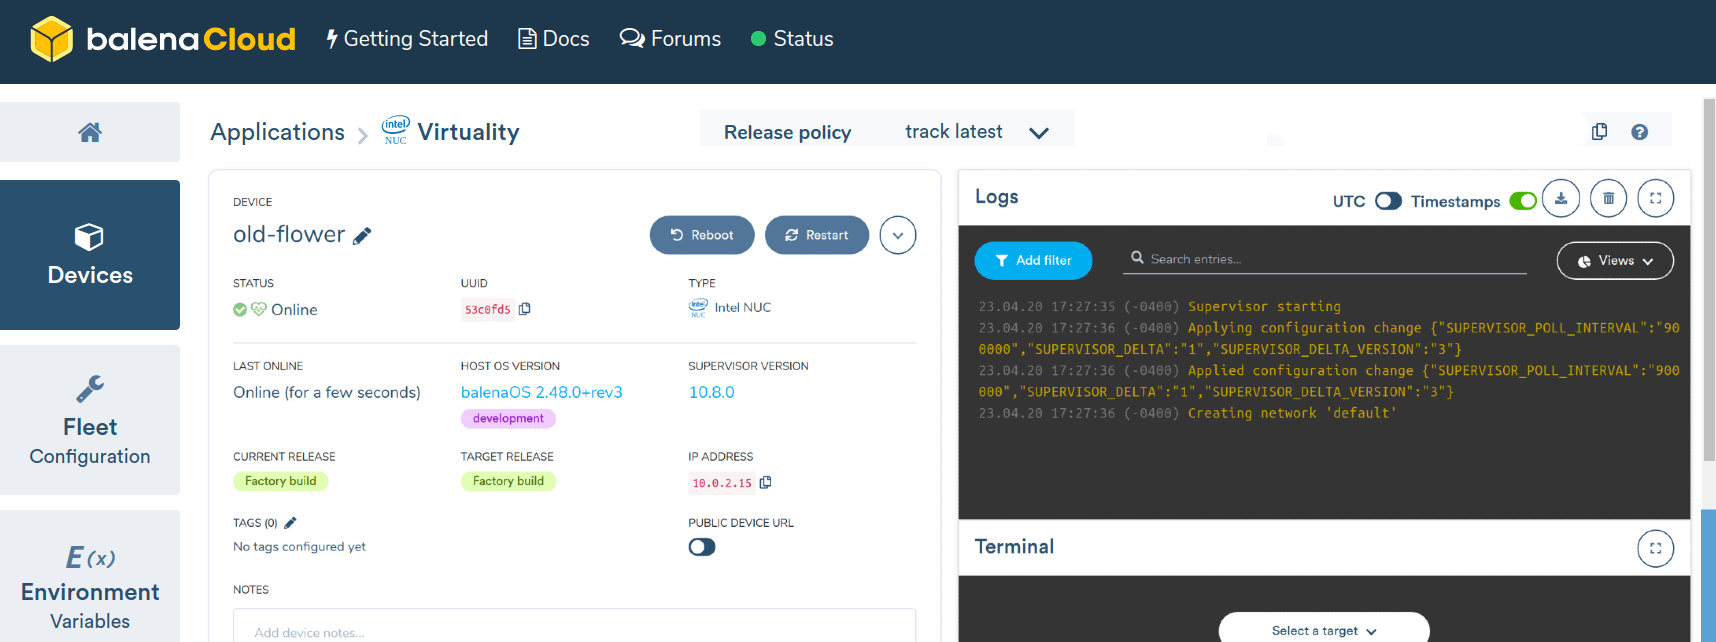
After a few moments, a new device should appear in your balenaCloud application dashboard, first reporting flashing the host OS, then being in post provisioning.
At that stage, the virtual machine should have shut itself down. Restart it from the VirtualBox interface. In the dashboard, it should report being online, and everything’s ready to push your code onto the device!
You can create as many virtual machines for your balenaCloud application as you want, but make sure not to reuse an image you extract from the .zip file. This runs the risk of creating image clones, not unique systems.
Conclusion
We hope you’ve found this explanation of how to create a minimal virtual balenaOS device with VirtualBox. Similar steps should work with other virtualization tools. Just make sure to create a system hard disk that’s separate from the application image from which you initially boot.
Of course, using a virtual machine is not a solution to all development problems. For example, a virtual machine does not emulate any external hardware on the device that might be present on single-board computers, such as BlueTooth or GPIO. Since this procedure deploys an x86 device, it’s also not testing Docker containers with ARM packages installed, and sometimes there are different packages provided by the OS maintainers for the different architectures.
This approach should be still useful for local development, trying hardware (shared through VirtualBox with the virtual machine), or quickly creating a fleet of devices.
Have you tried this virtual machine deployment? Do you have any other use cases, or interesting tricks to make it more useful? Have any requests regarding using balena on virtual machines? Reach out to us on the balena forums!
Hi Sergei,
There could be a number of reasons why the application is not being pulled down. I just followed the tutorial and got the application pulled down and running. At first I made a mistake of not adding the 2nd drive to the VM, which caused the entire process to fail.
So far I see two possible reasons: 1. your device is showing offline, so it could be a networking issue, or 2. there is some kind of error applying a boot config, which could indicate something wrong with the storage that you selected.
Here are the steps that I followed, which worked:
testnucbalena-cloud-testnuc-intel-nuc-2.98.33-v13.1.11.img.zipVBoxManage convertdd balena-cloud-testnuc-intel-nuc-2.98.33-v13.1.11.img testnuc.vmdk --format VMDK6.1 Disable I/O APIC (default setting can result in a boot crash)
6.2 Enable EFI (the NUC image is set up for UEFI boot)
git clone https://github.com/balena-io/balena-cli-masterclasscd balena-cli-masterclass && balena push builder555/testnuc(you’ll need to replace the last part with your own username/fleet)After a few seconds, in the logs it showed “Hello world”
Please try these steps and see if you get the same result