
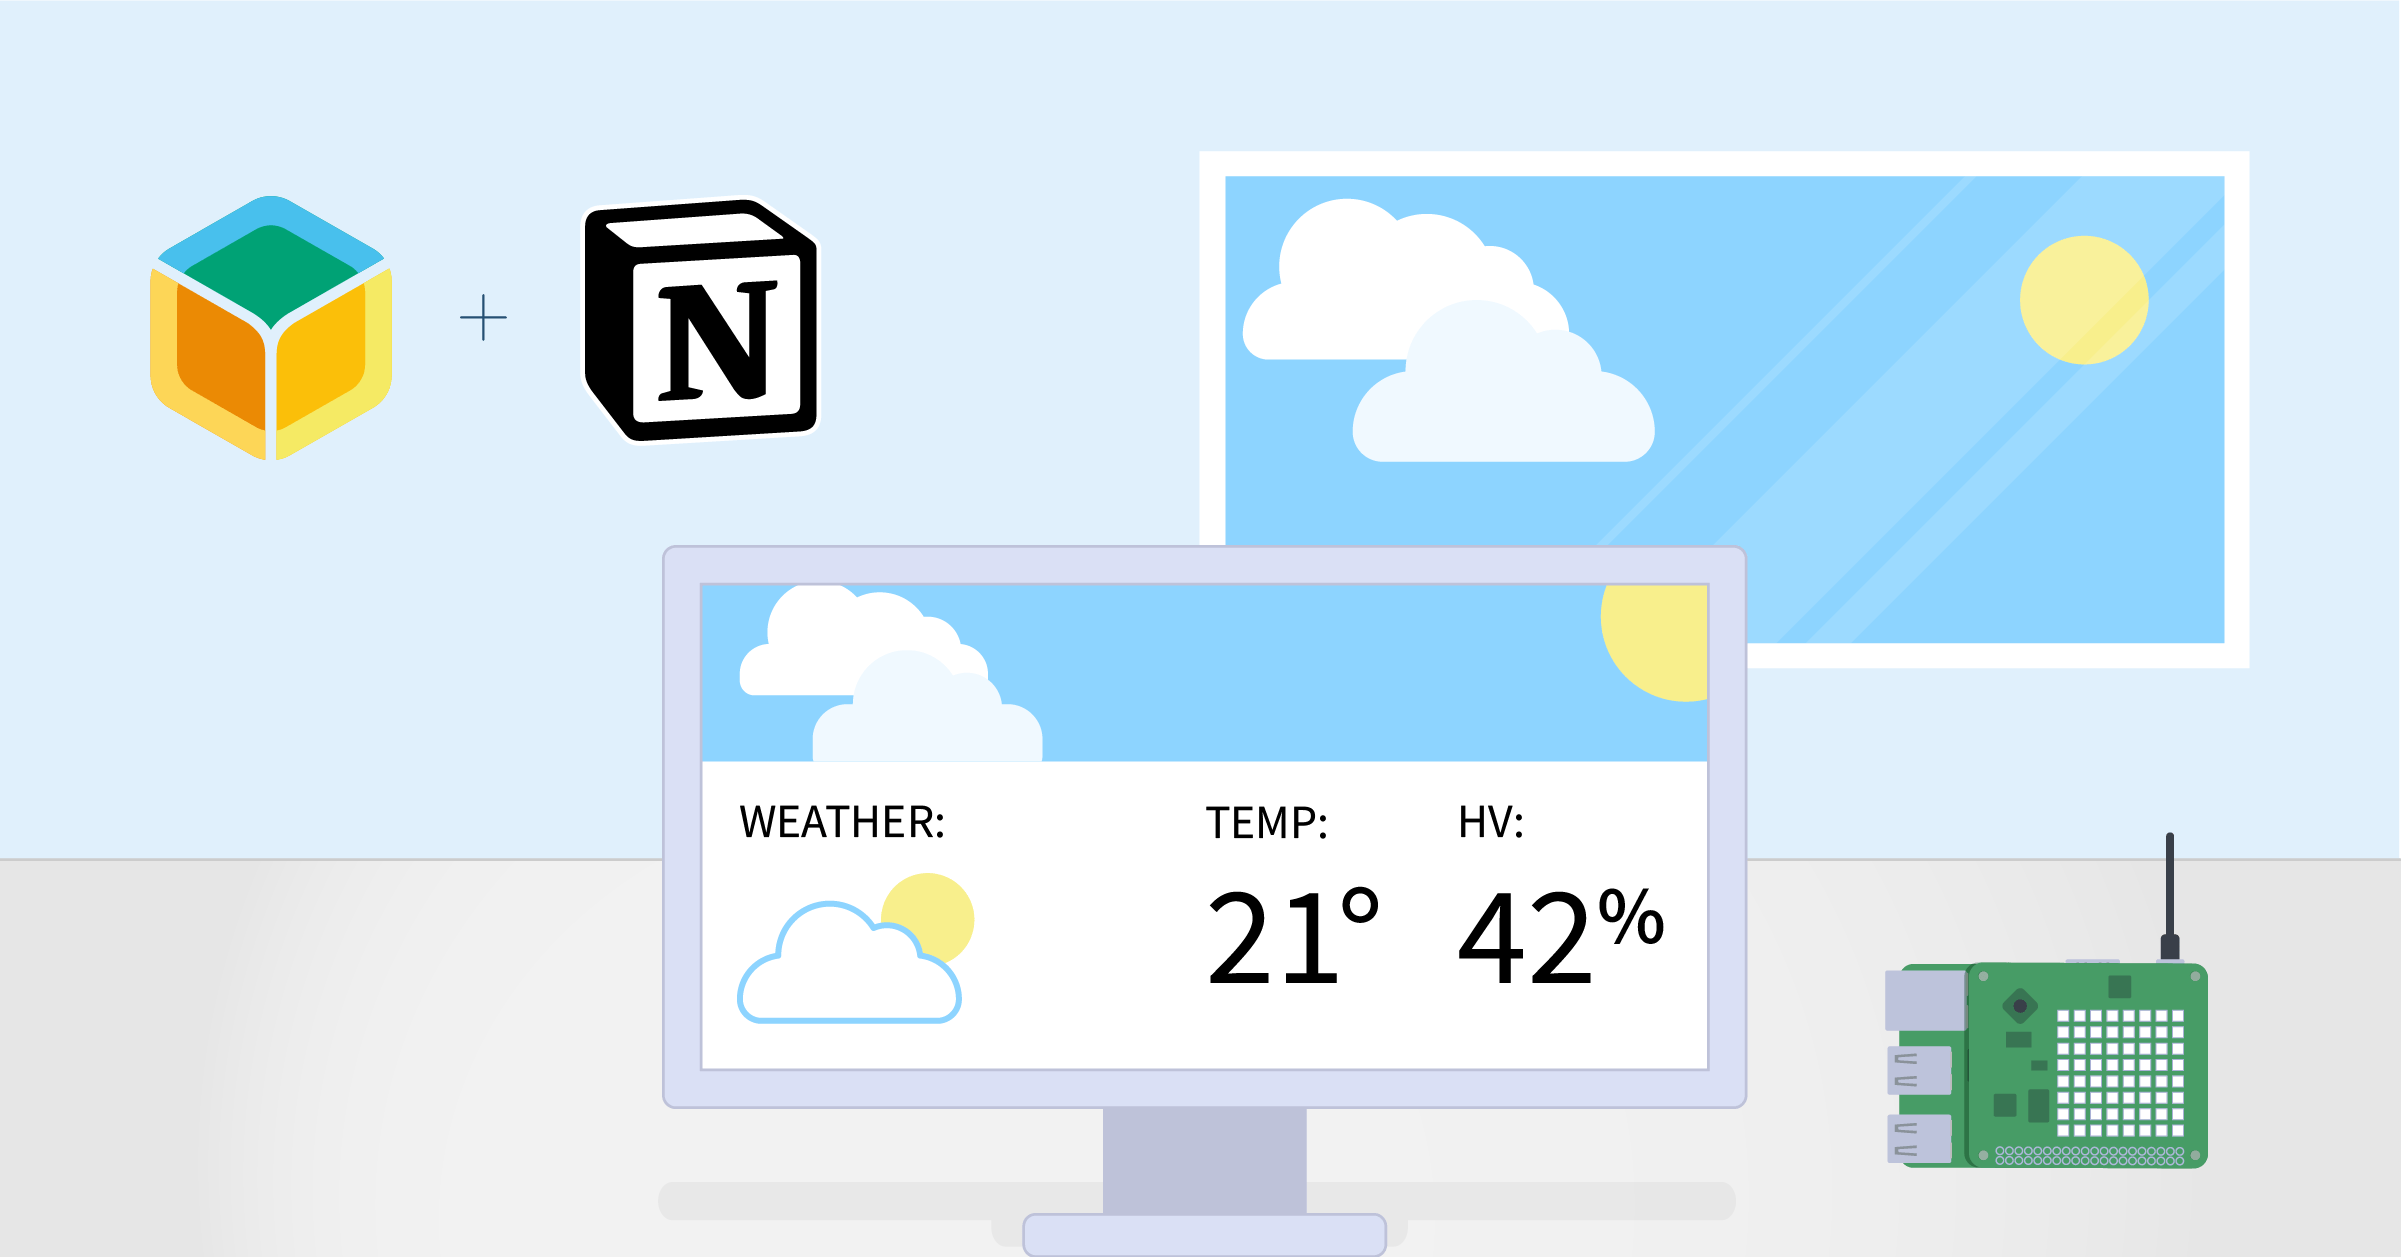
We’re well into 2022, and I hope you all are on track toward hitting your ambitious goals out there. I know I am. I’m keeping my momentum going by showing you all how to use the Notion API to log weather and sensor data coming in from one of my balena devices.

I’ll walk through a bit of why I decided to build this. If you’re here for the build steps, go ahead and get started.
Some background
I was thinking about habits, and the quote, “What gets measured, gets improved,” stood out to me.
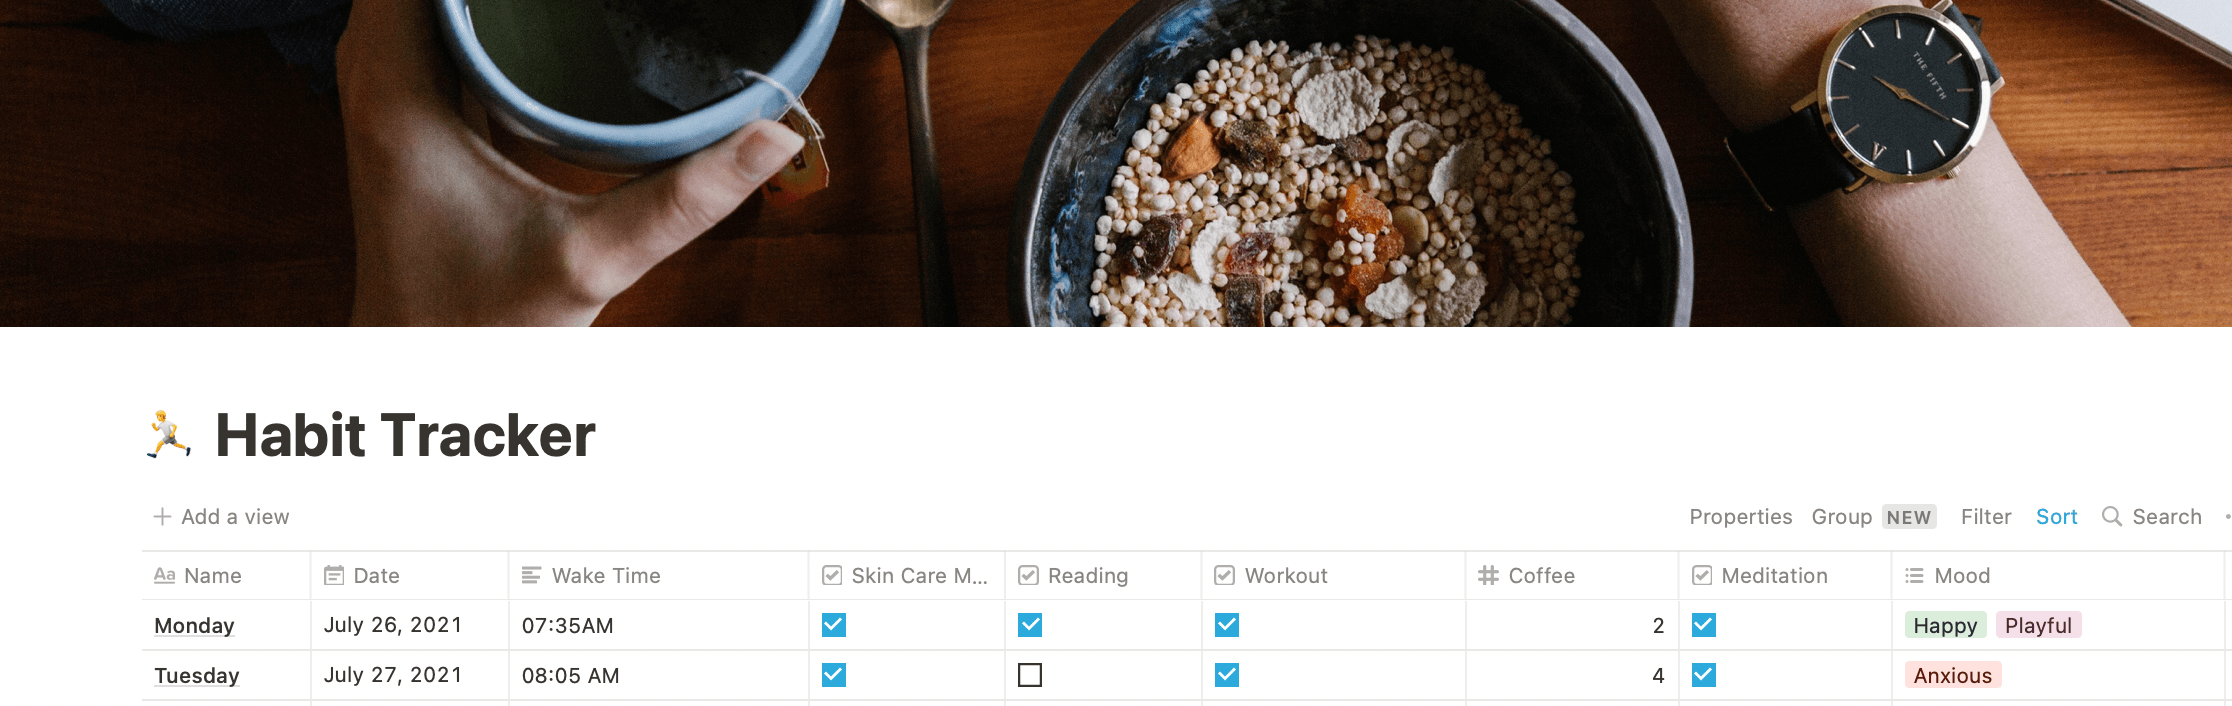
It’s possibly the reason I started tracking my daily habits a couple years ago. I log my routine in a Notion habit-tracking page. It includes things such as ‘what time do I wake up?’ and ‘when do I go to sleep’. It even tracks if I exercised and meditated during a day. I also have it tracking ‘how many cups of coffee have I consumed?’, my screen time, my overall mood, and summary of my day.
Last year, I noticed a strange pattern that any day where I had more than 3-4 cups of coffee led to a day of anxiousness. After initial tracking, it turned out to be quite true when I finally cut down on my daily caffeine consumption.
Similarly, the days I listen to music are generally the days where I feel motivated and happy. It totally blew away my mind how tightly and intuitively our mood is coupled with our daily habits.
This year, I decided to add more external parameters to my habit tracker with a motive to improve and have better control on my mood and overall lifestyle. I’m going to log values of some sensors such as Temperature, Humidity, and Air Quality to the same page and see if they could indicate any trends over the coming few months.
How this works
Nowadays, we have better control on our home’s environment thanks to smart thermostats and air purifiers, and I want this data piping into my project. I also decided to add Weather data (fetched from a weather provider API) of my location on the same page, to be aware about the difference of my surroundings and my home environment.
Overall, I’m going to add following data to my Habit tracker page:
Data fetched from Weather API
- Outside Temperature (OpenWeatherMap)
- Air Quality (OpenWeatherMap)
Data fetched from Indoor Sensors
- Date (system)
- Indoor Temperature (SenseHAT)
- Indoor Humidity (SenseHAT)
Seeing how Notion released their beta API sometime back, and being a Notion power-user, I’m always looking forward to hacking it, and this project seems perfect to introduce Notion to the world of physical computing.
The overall idea is to use the Raspberry Pi sitting on my desk to fetch outside weather data, read values from indoor sensors, and log it to my Habit Tracker Page as a new row every day around 5:00 AM my time (configurable) and the rest of the things like – wake Up time, sleep time, exercise, meditation and caffeine intake, I can add manually on my own. All that said, let’s get to the build.
Tutorial
Hardware required
- Single-board computer: Raspberry Pi 4 Model B (5), NOTE: also works on a Raspberry Pi 3B+ (adding device testing and support is welcomed!)
- SD card: SanDisk Extreme Pro (5)
- Power Supply
- Sensors: Raspberry Pi SenseHAT (0), NOTE: I’ve used senseHAT for Plug and Play, but feel free to tweek and use discrete sensors.
I’m also planning to add support for the Pimoroni Enviro pHAT for Raspberry Pi – Enviro + Air Quality in the future, but feel free to contribute device and peripheral support where you see fit!
Software required
- a free balenaCloud account (your first ten devices are free and fully-featured, perfect for small-scale projects like this one)
- balenaEtcher to flash the os image onto your SD card
- optional balenaCLI if you want to tinker, hack, and better understand the tooling from the command line
- the project GitHub repo if you’d like to fork the project and learn more
- OpenWeatherMap account and API Key – to fetch outdoor temperature and Air Quality, free sign-up tier is more than enough for this project
- Notion account and API Key – to log data in a notion page, you can get this after creating an integration, steps later in the blog.
- This Notion template that I’ll explain how to use below.
Software configuration
Latitude and Longitude
We need to pass latitude (LAT) and longitude (LON) of our location to fetch current weather data. To get your location data, you can use something like whatsmylatlng. Wherever you get your coordinates, copy and save the values up to two decimal places to use later.
Weather API Setup
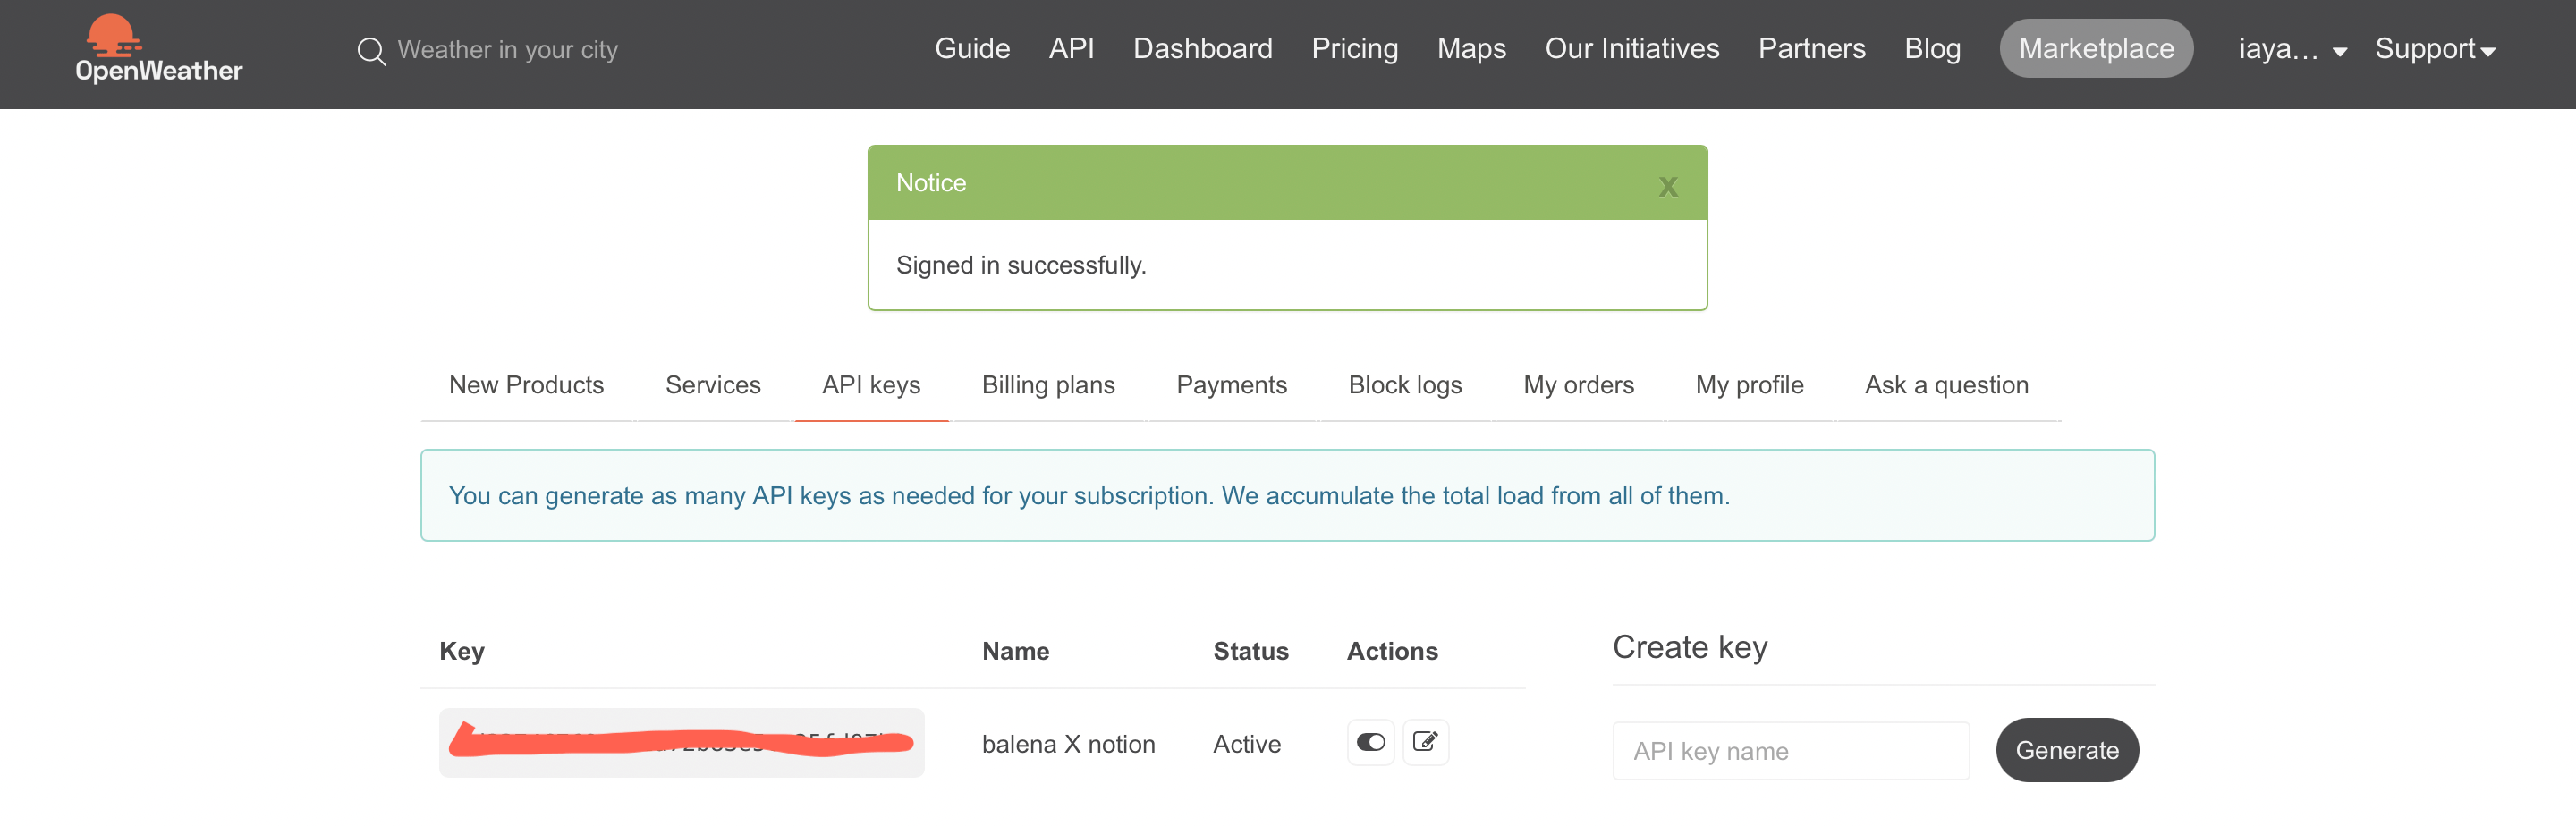
Start by creating a free account on OpenWeatherMap. Once down head to your account dropdown > My API Keys and copy this key somewhere safe for later use. (Note : This key gives access to your account, so don’t share it with anyone on publish it online)
Notion API Setup :
To publish data on a Notion’s page you need to these steps.
Duplicate my setup
Since we need to pass correct names with API calls corresponding to data types and values, I’ve created a Notion template for you which you can easily duplicate in your workspace. Just click this link and press Duplicate on top right to add this as a page in your Notion workspace. You can add / remove / edit data fields but avoid any editing on the first 5 fields because that is where our application will log data into.
Create an Integration
Log in to https://developers.notion.com using your Notion’s account and navigate to My Integrations > + New Integration
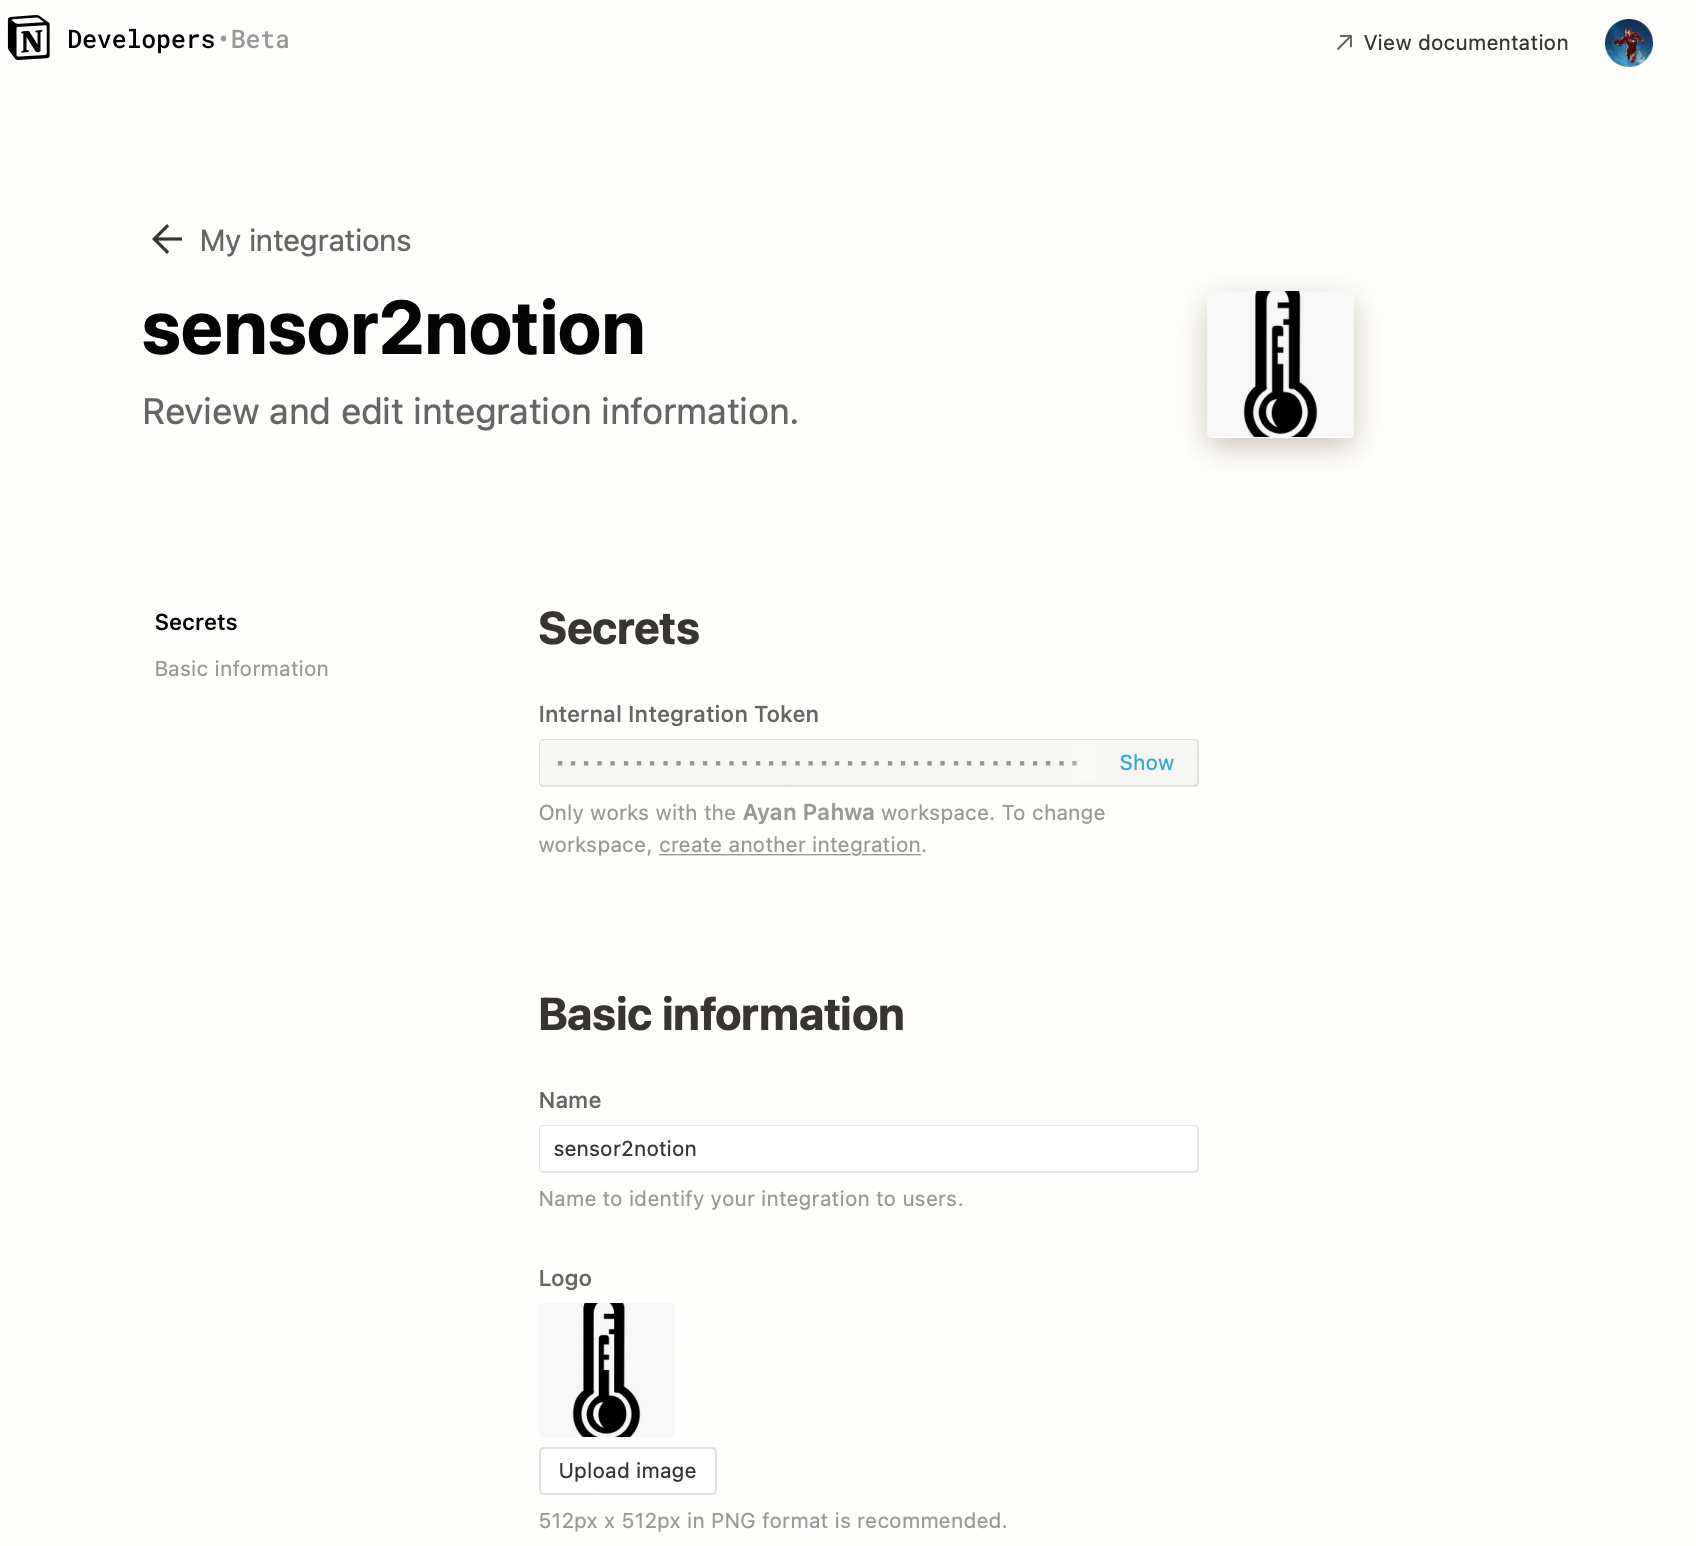
In this page you need to create your integration, you can give it any name like sensor2notion, make sure to check Insert Content access which is needed for this project . For the sake of this project, you can keep the integration as Internal Integration and not make it public.
Copy and save the Internal Integration Token (API KEY) available on this page for future use and keep it secret (IMPORTANT:this key gives access to your account, so don’t share it with anyone when you publish it online).
NOTE: This part can be avoided if you use my Public Integration (still under review), but ultimately, it’s best to have as much control of your application as possible. So, please try to build this with your own secret keys if you want full control.
Connect your integration
Invite the integration you just created to the page where you want it to create, read, update, and delete data (CRUD operations).
Open the Notion on web (prefered) or app, navigate to the page where you want to log the data from this project (the duplicated template in this case), and then click on Share on top right.
After that, click on Invite field and a pop up will appear where you will see your newly created integration from above step, click on that and invite it to that page.

Connect API Integration Key and Database ID
Now we need to obtain the database ID of this page, which you can find in the browser URL. It should be after your username:
For example, see: https://www.notion.so/ayan/habits/habit-tracker-6erghjgskvuawjhdav6470480a9d4b30.
In this example, 6erghjgskvuawjhdav6470480a9d4b30 is the database ID which you want to copy and save for later. With Latitude, Longitude, Weather API Key, Notion Integration Key and database ID, we are all set to deploy our fleet.
Deployment
Alright, now it’s time to deploy the software. I’ll get into the how and various configurations after you get the software deployed. There are two options.
The advanced way
If you are already a balena user it might be better for you to use this way. You can clone the project from GitHub and use the balena CLI to push the application to your device. This is the best option if you want to tinker with the project and have full control.
The Getting Started Guide covers this option. After you’ve created the application and pushed the code using the CLI, follow the steps below.
The easier way
Sign up for a free balenaCloud account. Your first ten devices are free and fully-featured! Then use the button below to create and deploy the application:

You can name the fleet whatever you’d like. Push Create and deploy and you’ll see a new application with that name show up in the dashboard.
Once your application has been created, you can set up and add a device within that application by clicking the Add device button. When you add a device, you specify your device type, and if you are connecting to a wireless network you can set your WiFI SSID and passphrase here too.
Note: I have used a Raspberry Pi 4 in the image below but be sure to select the correct device type for the device you are using.
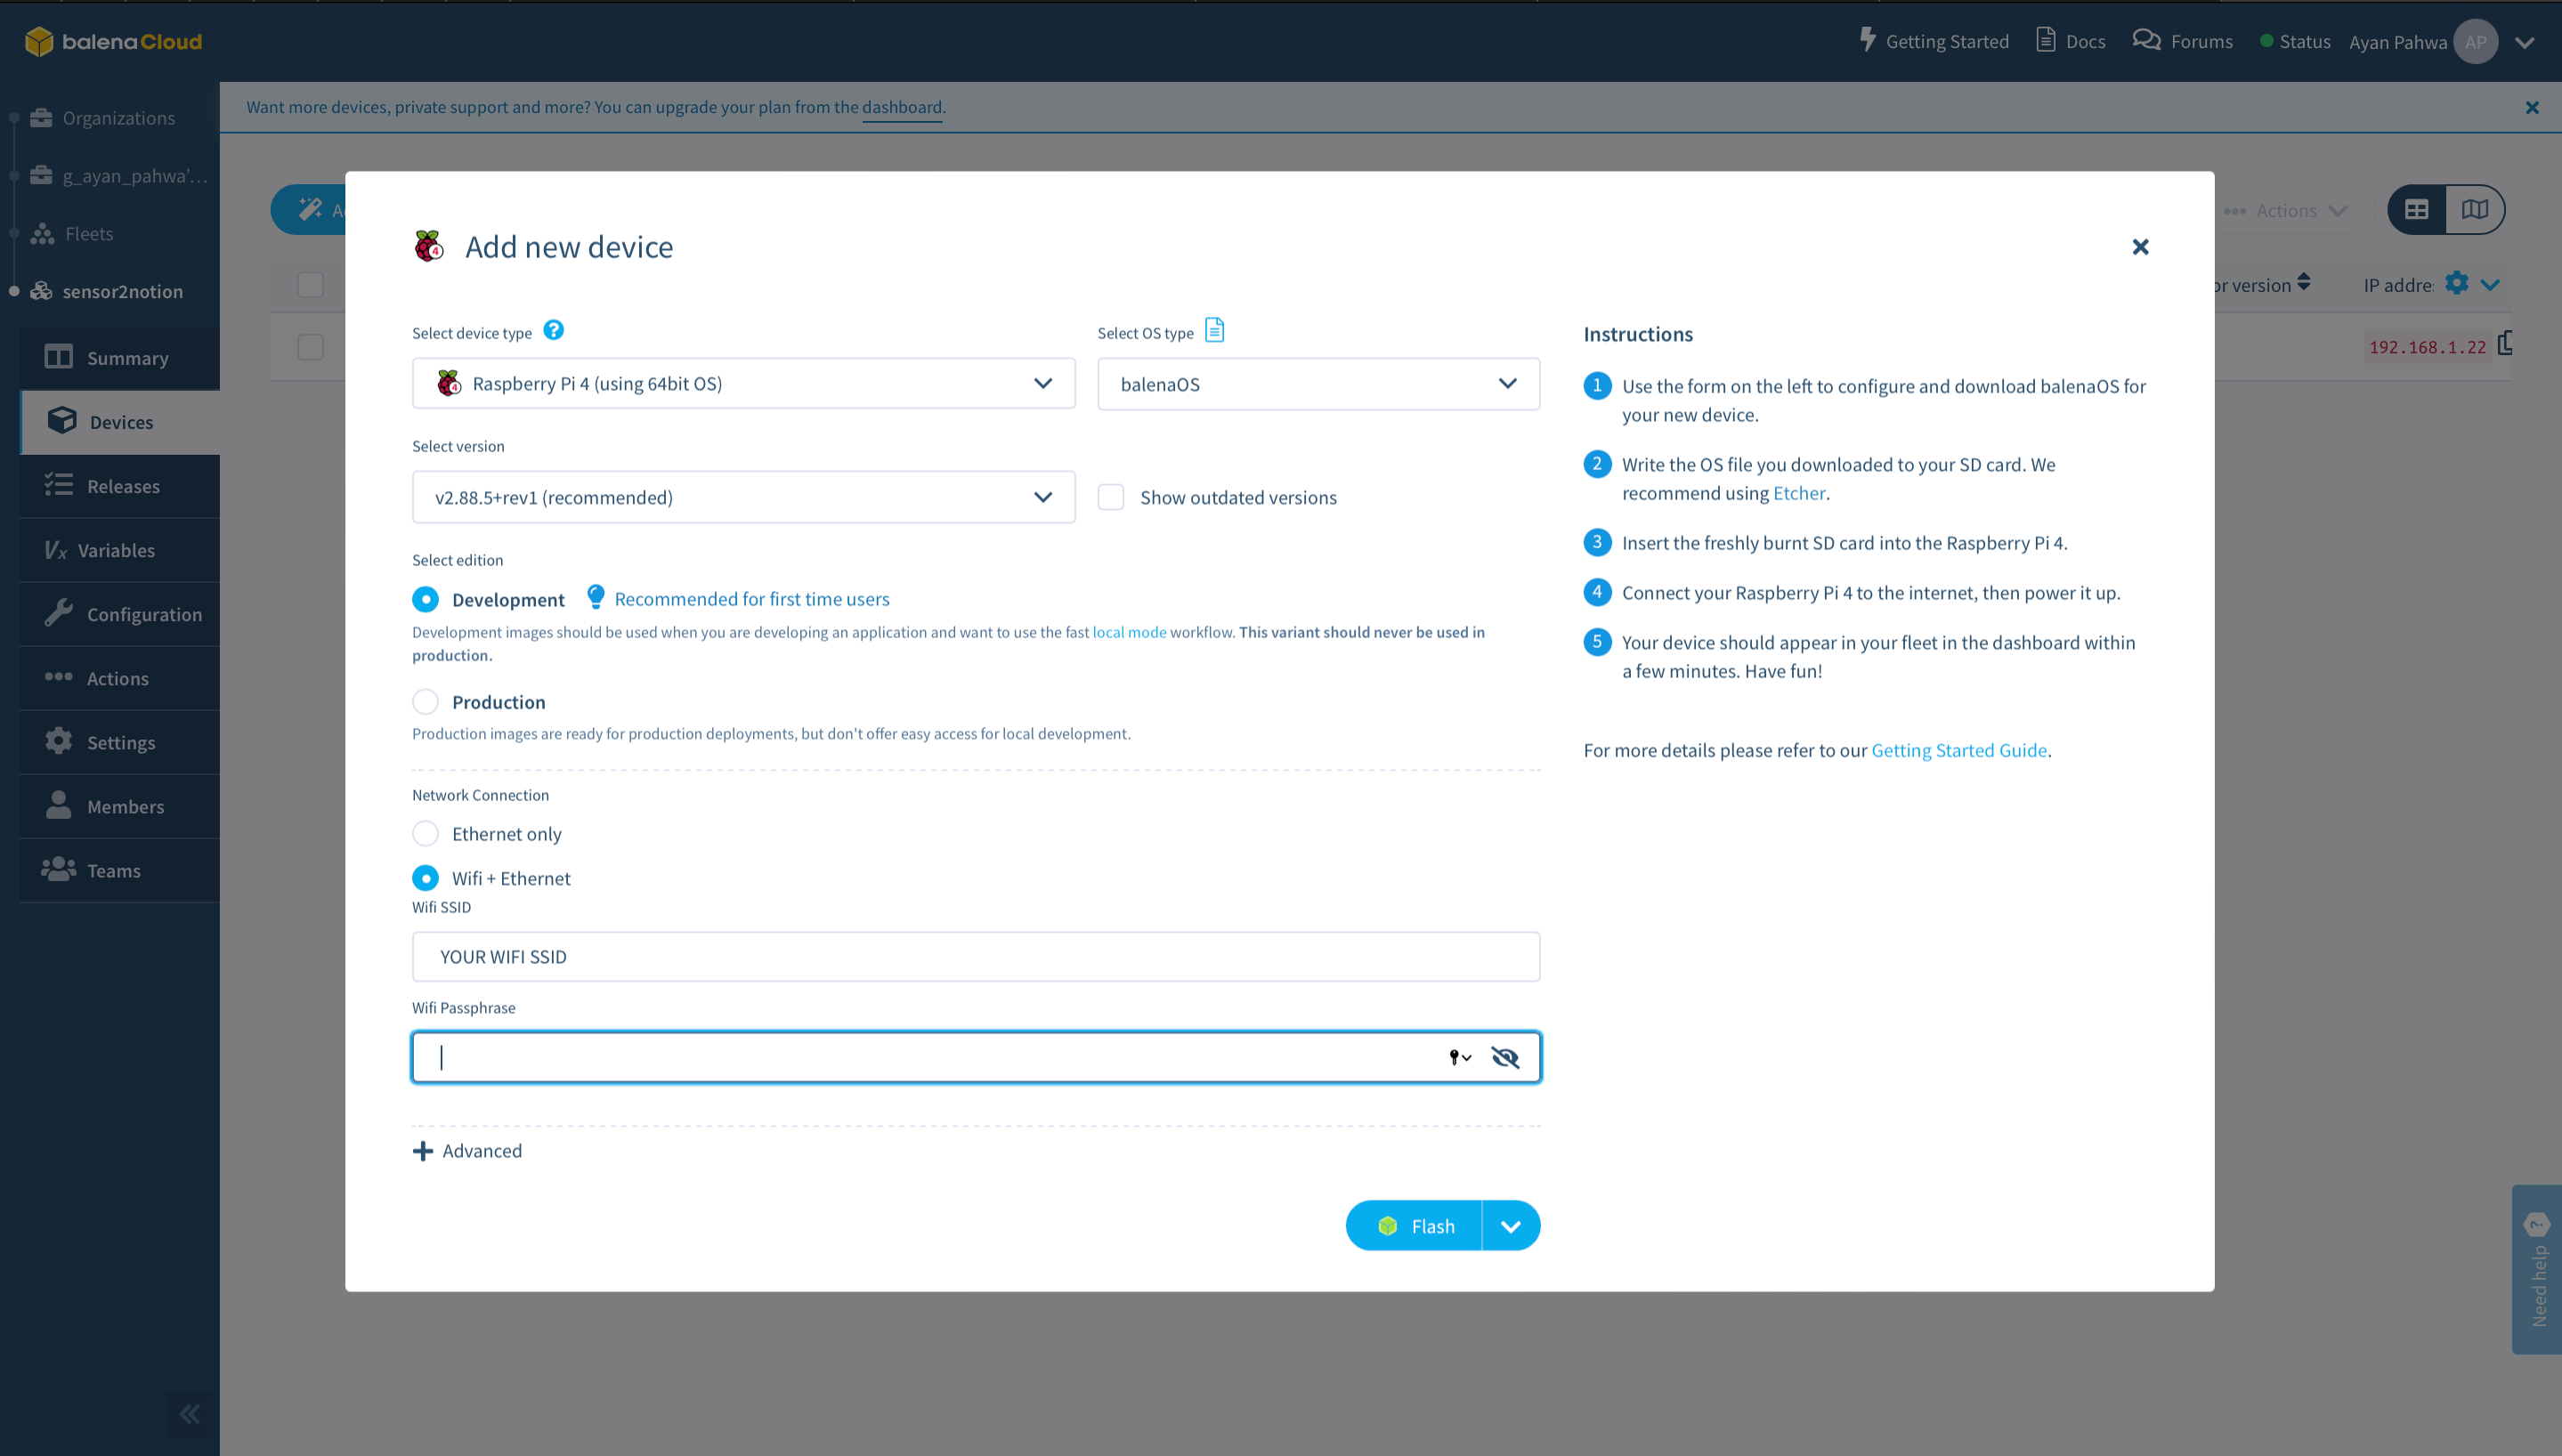
Notice that I selected the Development edition. This allows me to push to the device locally, speeding up my development significantly.
This process creates a customized image configured for your application and device type and includes your network settings if you specified them. Once the OS image has been downloaded, it’s time to flash your SD card. You can use balenaEtcher for this.
Once the flashing process has completed, insert your SD card into the Raspberry Pi and connect the power supply.
First device boot and configurations
When the device boots for the first time, it connects to the balenaCloud dashboard, after which you’ll be able to see it listed as online.
Now we need to pass all the configuration values and API keys to our devices using balenaCloud Device Variables tab.
| Name | Value |
|---|---|
| WEATHER_API_KEY | API key received after signing up on http://openweathermap.org/ |
| TEMP_UNIT | default is metric but can imperial or kelvin |
| LAT | Latitude of your location |
| LON | Longitude of your location |
| NOTION_API_KEY | API key received from notion |
| DATABASE_ID | Page ID of notion database |
| TIME | Time at which new notion row is created with data every day (default 05:00 AM UTC) |

Next Steps

Here’s my habit tracking app adding a new line of data at my desired time configuration.
After updating the device variables, the main service will restart and you now just have to wait for the TIME at which you’ve set up the app to work on. You can change that to test it right away by setting the time to 5 minutes. I’m also planning to add a manual mode for this project. e.g. pressing a button to run the script and add data to Notion whenever we want (PRs welcome if you have a good idea about how to make this happen).
With this habit tracker up and running, my teammate, Marc, also has the idea to integrate a coffee machine with this so it even logs how many cups we brew in a day. I look forward to adding this to the setup.
A Notion block might also make sense in the future when the Notion API is out of beta and more stable. I’ve made this project in Python to easily integrate with the SenseHAT. However, the official Notion API has a NodeJS package which you can also use to make life a bit easier.
Feel free to play around this project, make changes, and as always if you’re facing any issues, feel free to reach me at the balenaForums. I hope you enjoy making this project and I also hope it’ll help you improve your lifestyle. See you next time!