
I’ve been wanting to make this alternative controller game for a while and found the perfect opportunity to do so at balena. Read on to learn about my idea, how I used balena to prototype my project, and what next steps I’ll take to bring this edge project to life.
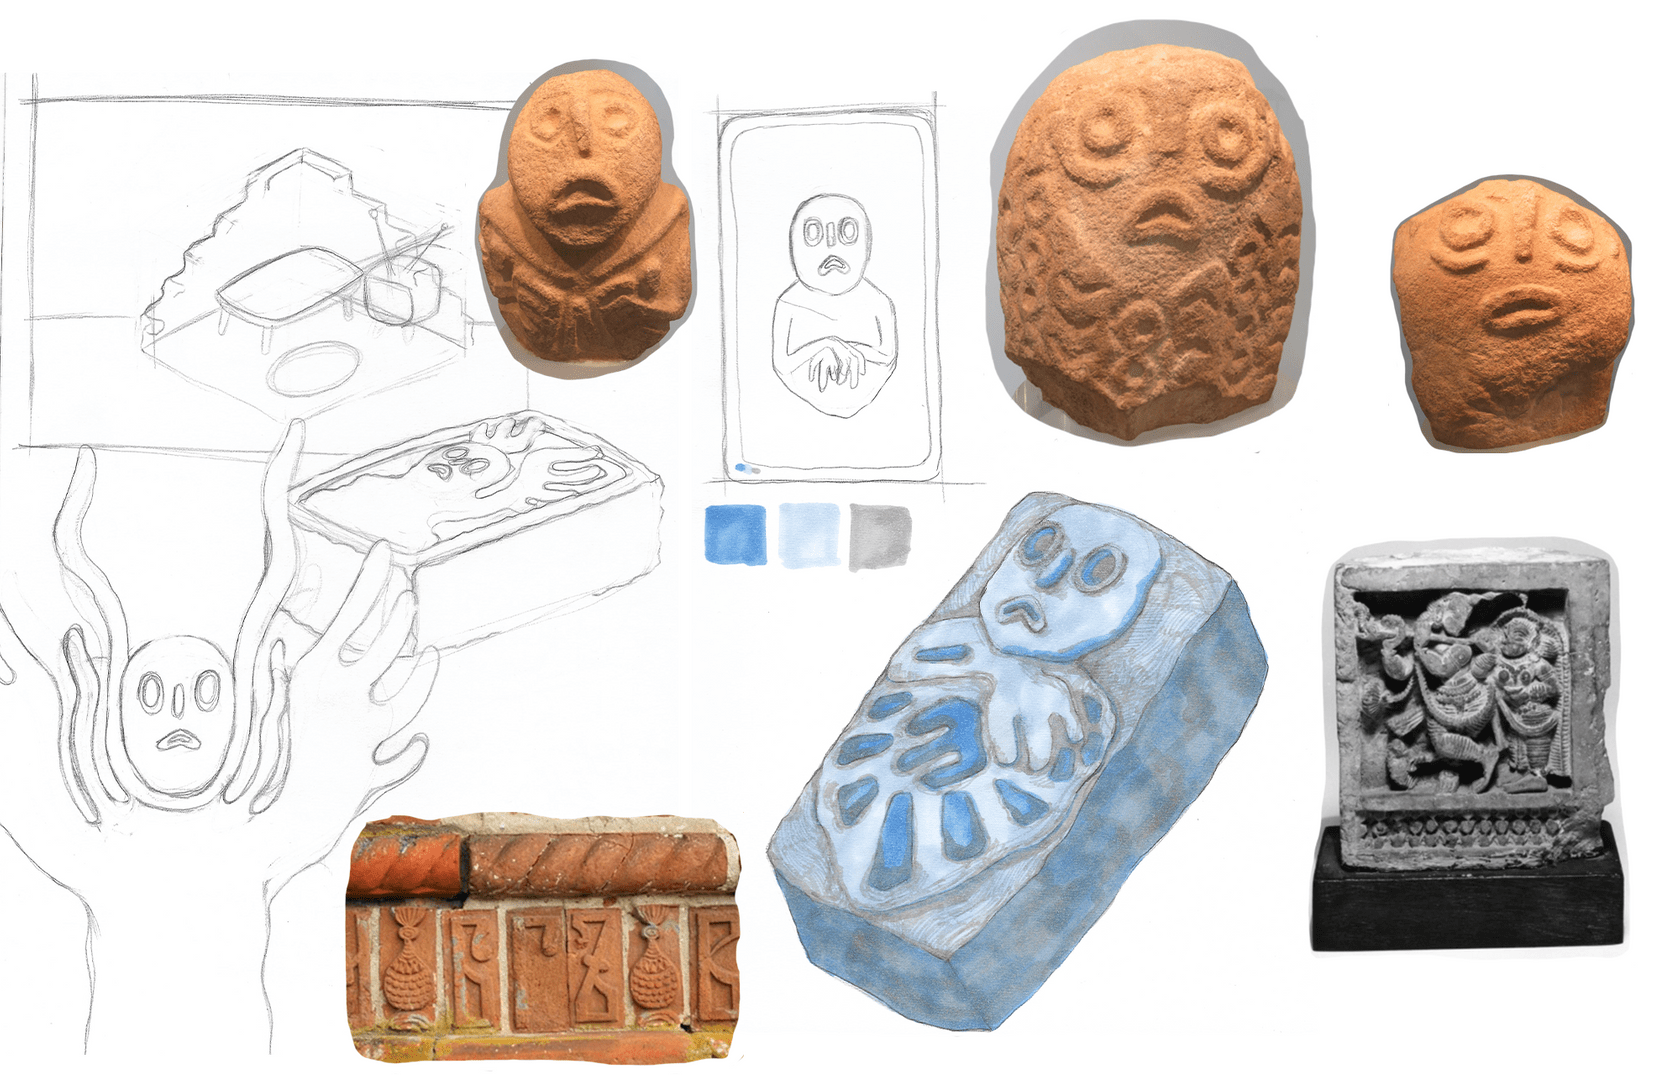
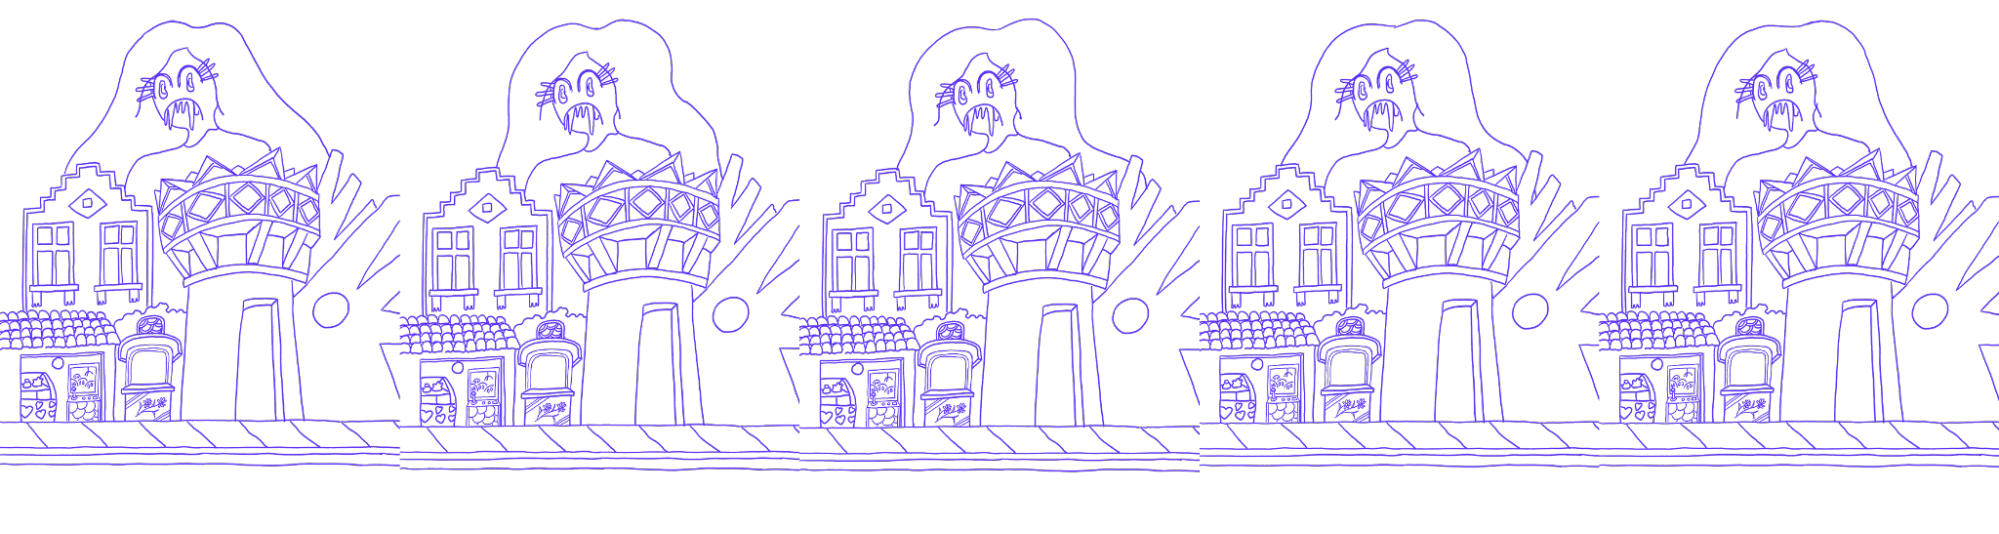
My game is about an ancient spirit trapped inside of an ornate brick. The picture below shows some concept art for how I would like the brick to look. The player moves this brick to control the passage of time in the game. When the player gets to a certain point in time in the game, the spirit will be freed from the brick.
“Whoa, are you a game developer?”
At the moment, no! I recently joined balena as a front end developer, and am part of a new residency program with balenaLabs, a public-facing research and experimentation team within balena. We build and test products to better understand balena and how our community and users put it to work. During this residency, we make personal projects using balena’s technology.
Although the residency is primarily geared towards newcomers, all balena employees are encouraged to have a “side project” where they build something unique using balena’s tools. It’s a way for our teammates to learn more about our platform, products, and understand what it’s like to be in the shoes of our users.
Before joining balena, I designed alt-control games. “Alt-control” stands for alternative controller and implies a game controller which does not use a standard input device like a mouse, keyboard, or mainstream gaming console. These controllers are often put together using microcontrollers, sensors, and other hobbyist electronics. They are usually not intended to be mass produced.
You can view examples of various alt-control games here.
About my game
This game is an ongoing personal project and is far from complete. This blog post details the progress I made during my balenaLabs Residency, including:
* using the Johnny-Five library to access data from an accelerometer
* using websockets to send data from an accelerometer to a webpage
* adding 2D animated sprites to a web-based game.
This game has two major components: a physical hardware component (the controller), and a digital game which is displayed on a webpage. The controller consists of a Raspberry Pi 3 B+, an accelerometer, two vibration motors, and a USB power bank. All of these components are stored inside of an enclosure which looks like an elaborately engraved brick.
The digital game runs on a web server which is hosted on the Raspberry Pi. This webserver reads signals from the accelerometer and sends them to a webpage. These signals affect the speed and movement of the sprites on the screen. When certain events happen in the game, the vibration motors vibrate to give haptic feedback.
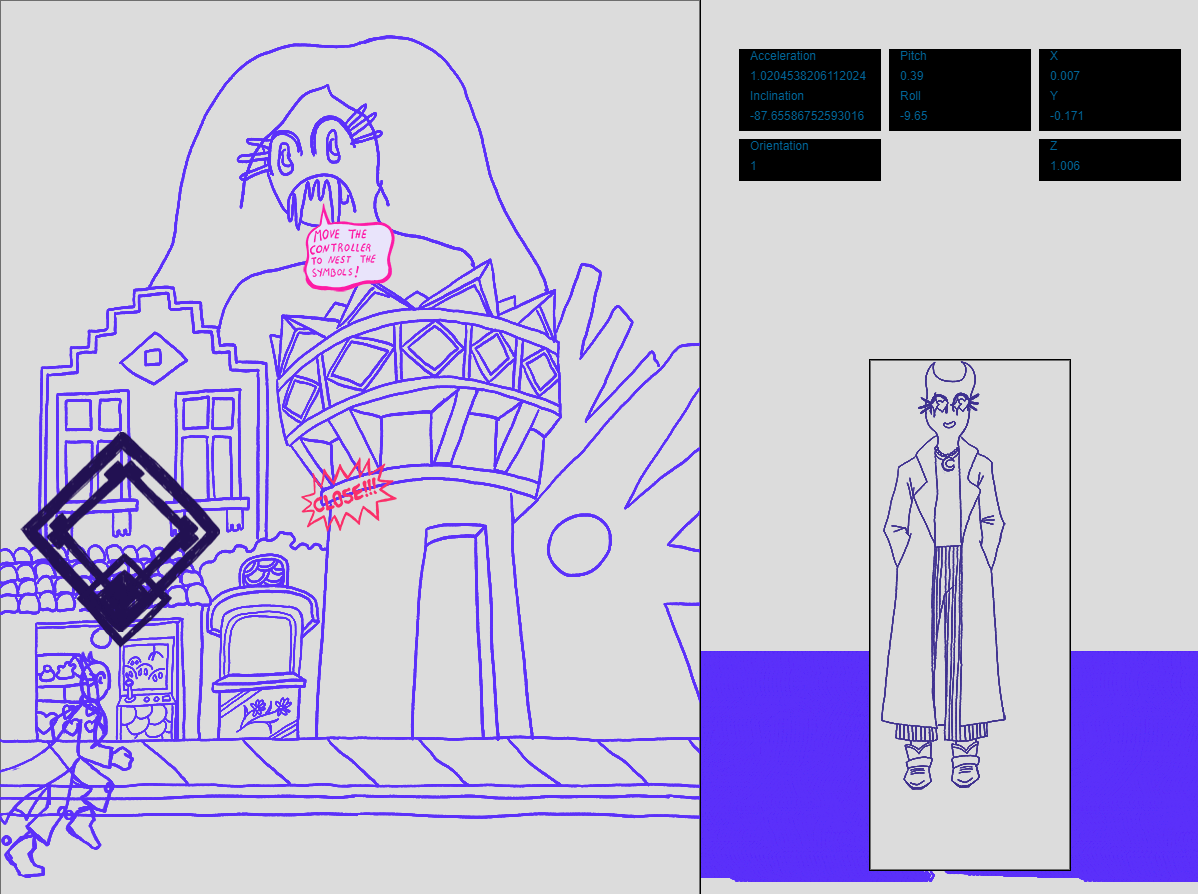
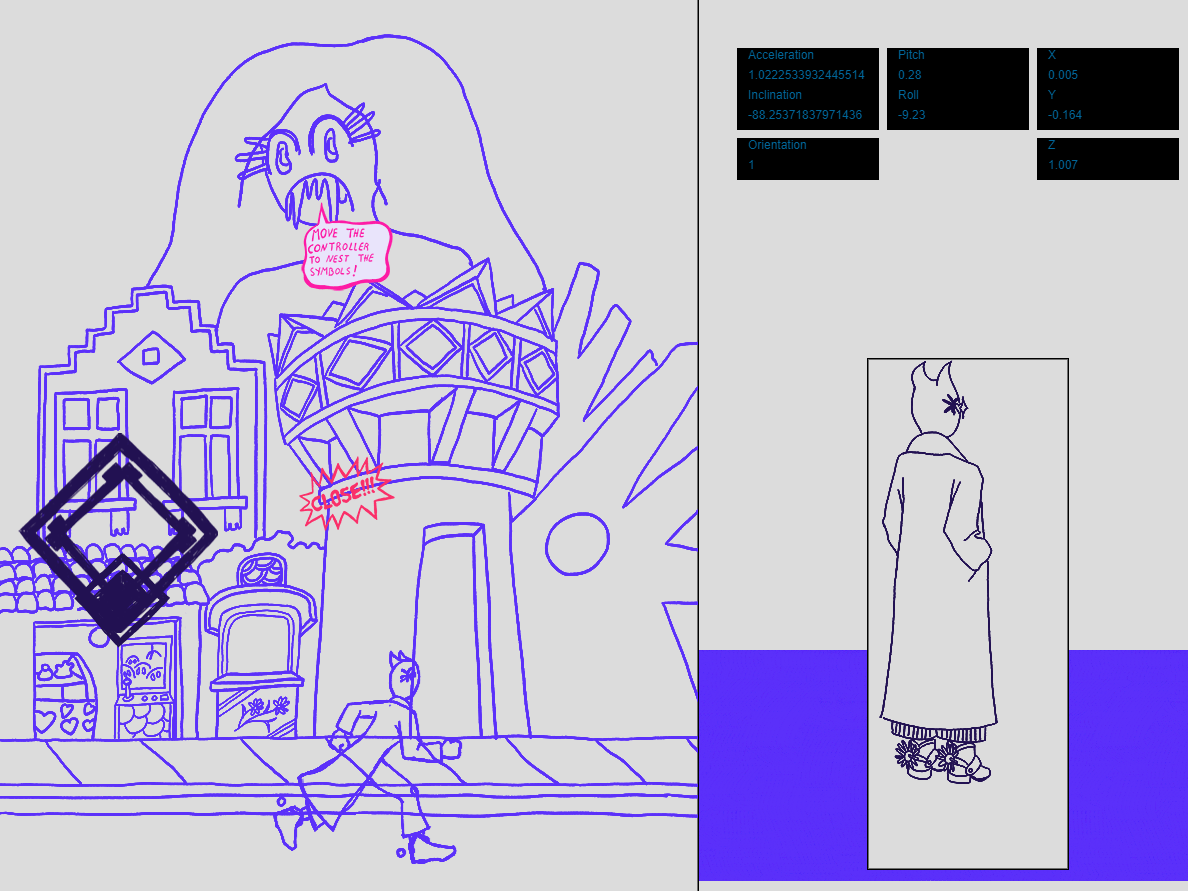
The goal for this demo is to nest the smaller symbol into the larger symbol. When they are close together, a little word bubble pops up. The symbols are taken from Slavic embroidery patterns where each symbol holds a unique meaning. This symbol means ancestors.
Below are more detailed screenshots from the game:
A demo of my project
Before we go deeper into its details, I had the chance to share this project on an episode of IoT Project Clinic. Check it out:
Okay, back to the article!
The design behind the controller
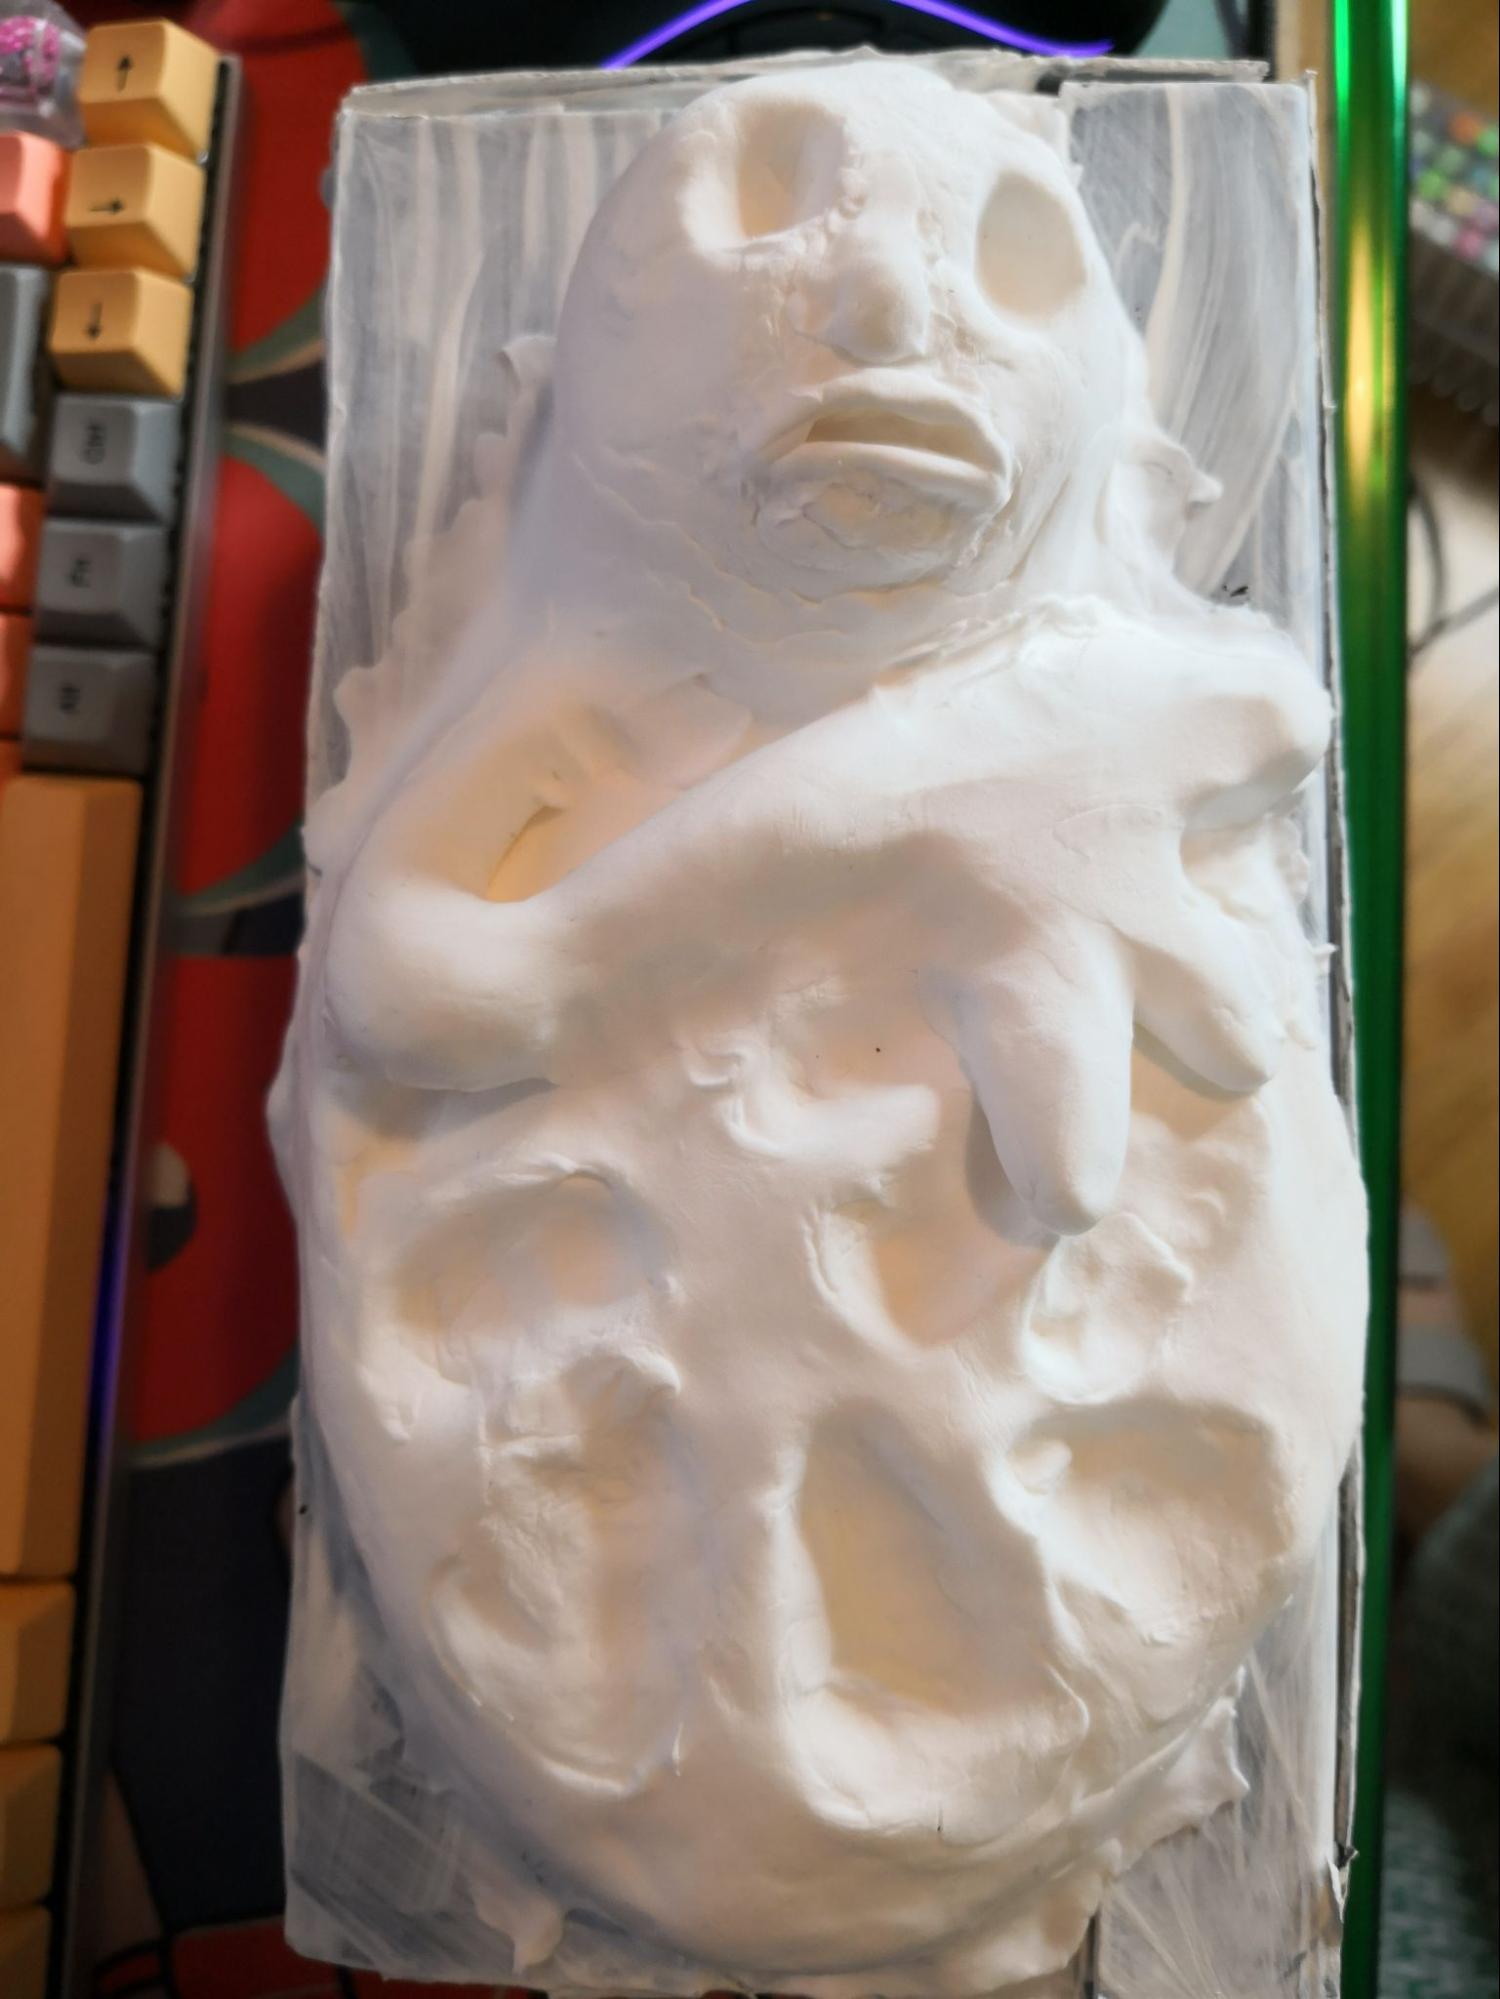
The “brick” case for this controller is still a work in progress. I built the frame for this box by repurposing a shoebox. I gessoed the box before adding clayfoam to sculpt the engraving for the spirit and the symbols in the game.
The clayfoam was a nice material to work with. It was quite pliable and easy to shape with sculpting tools. I had to work quickly because it dries within thirty minutes of being exposed to the air. After 48 hours the clayfoam will be cured and ready to sand and paint.

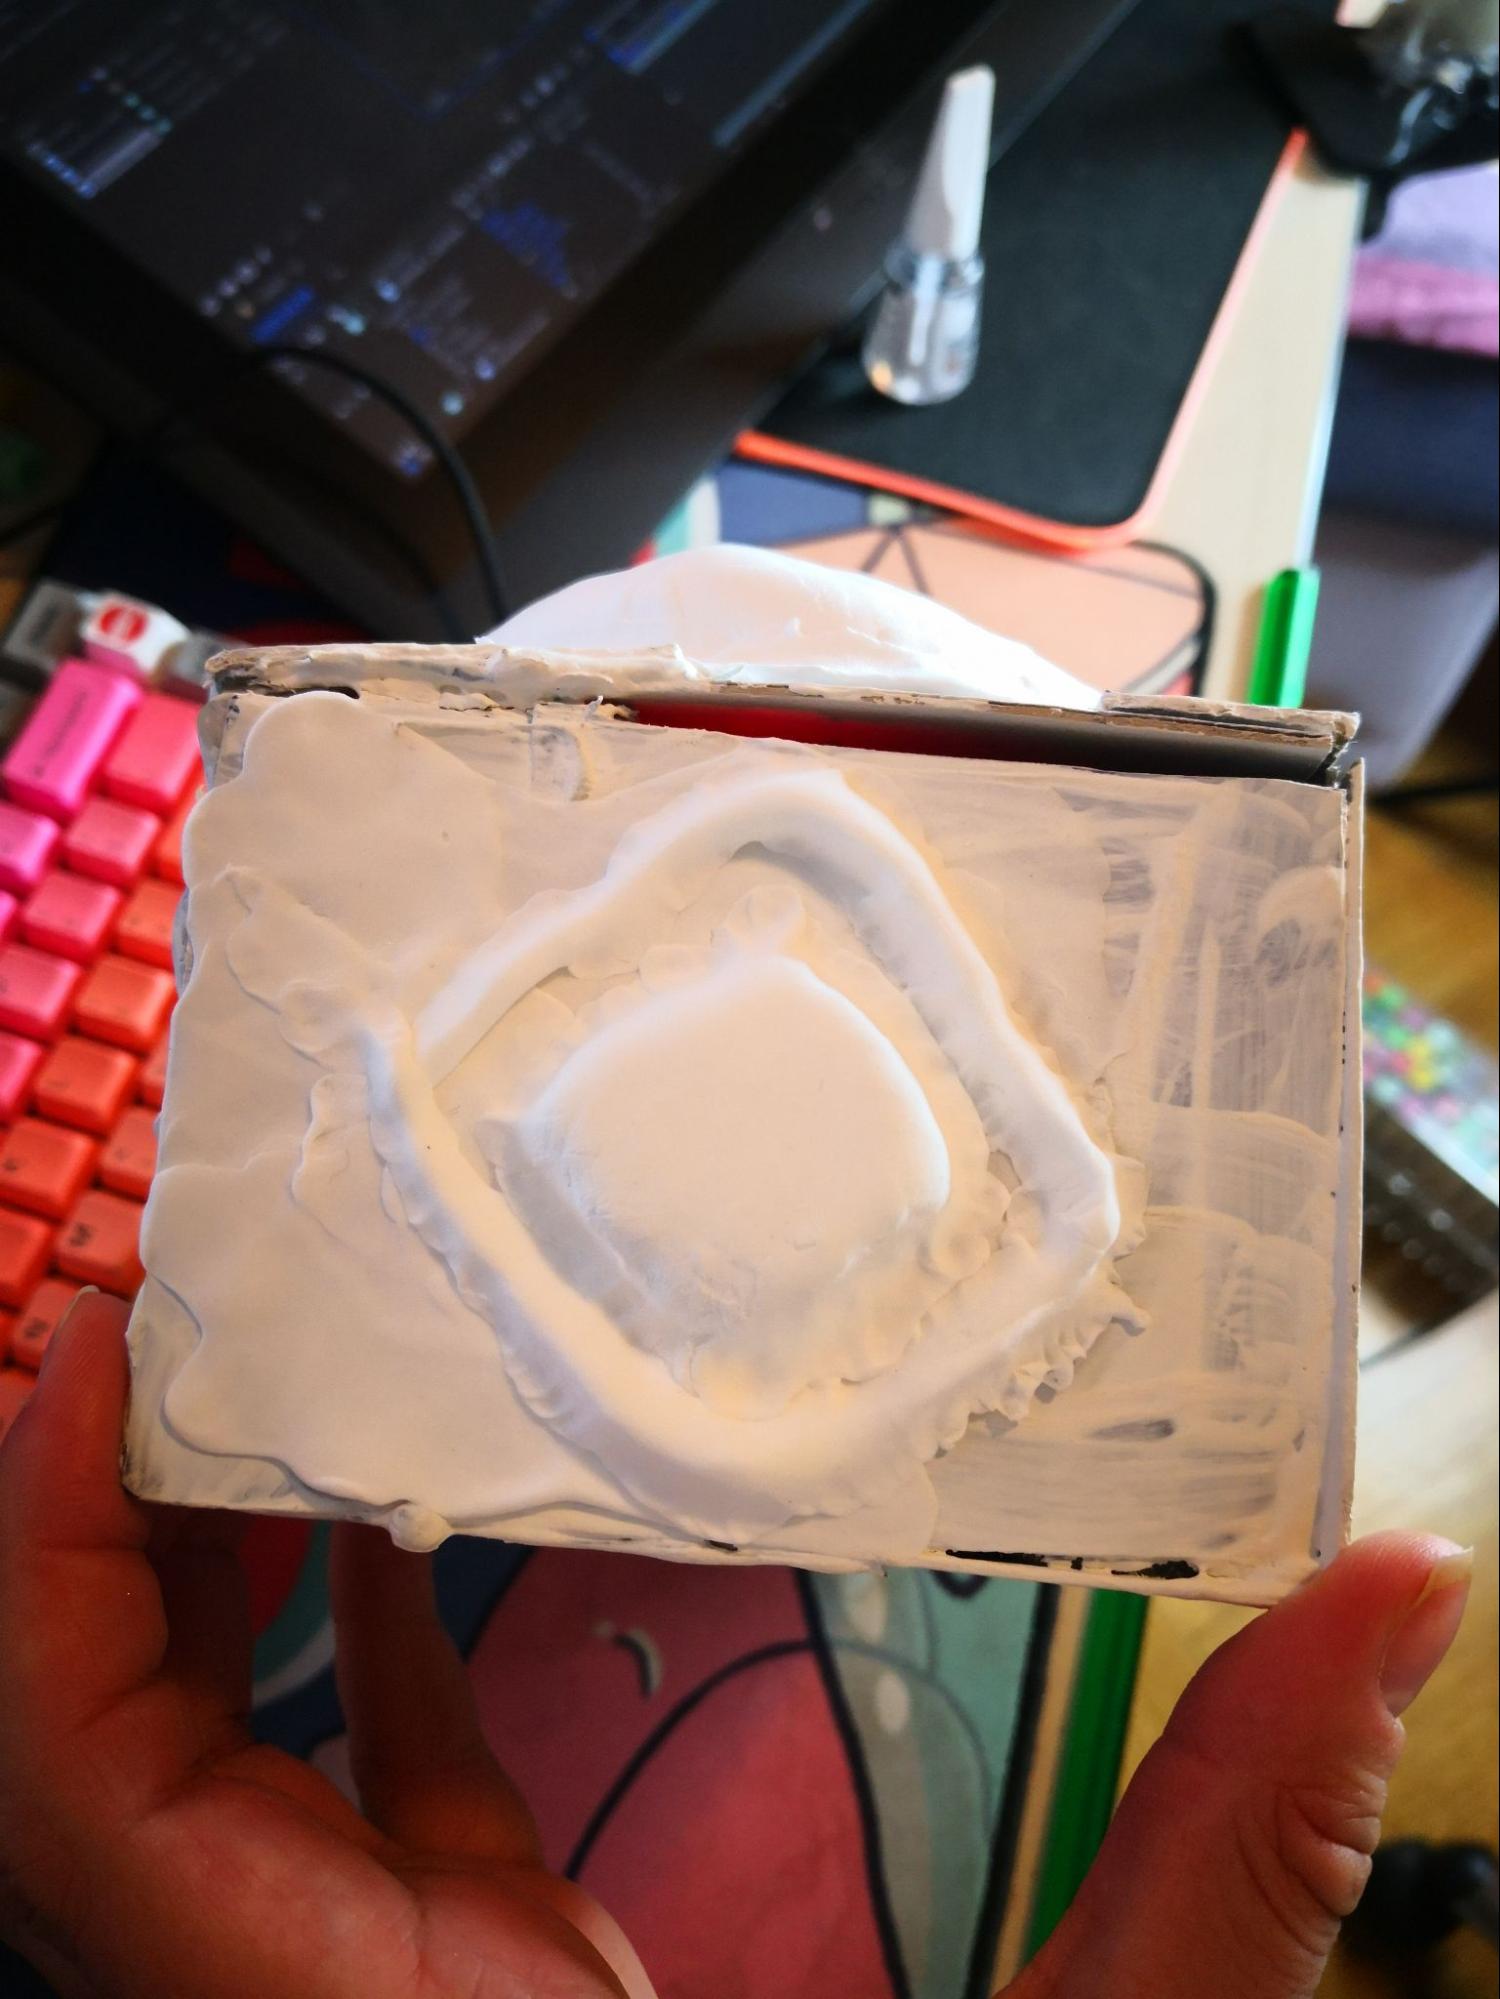
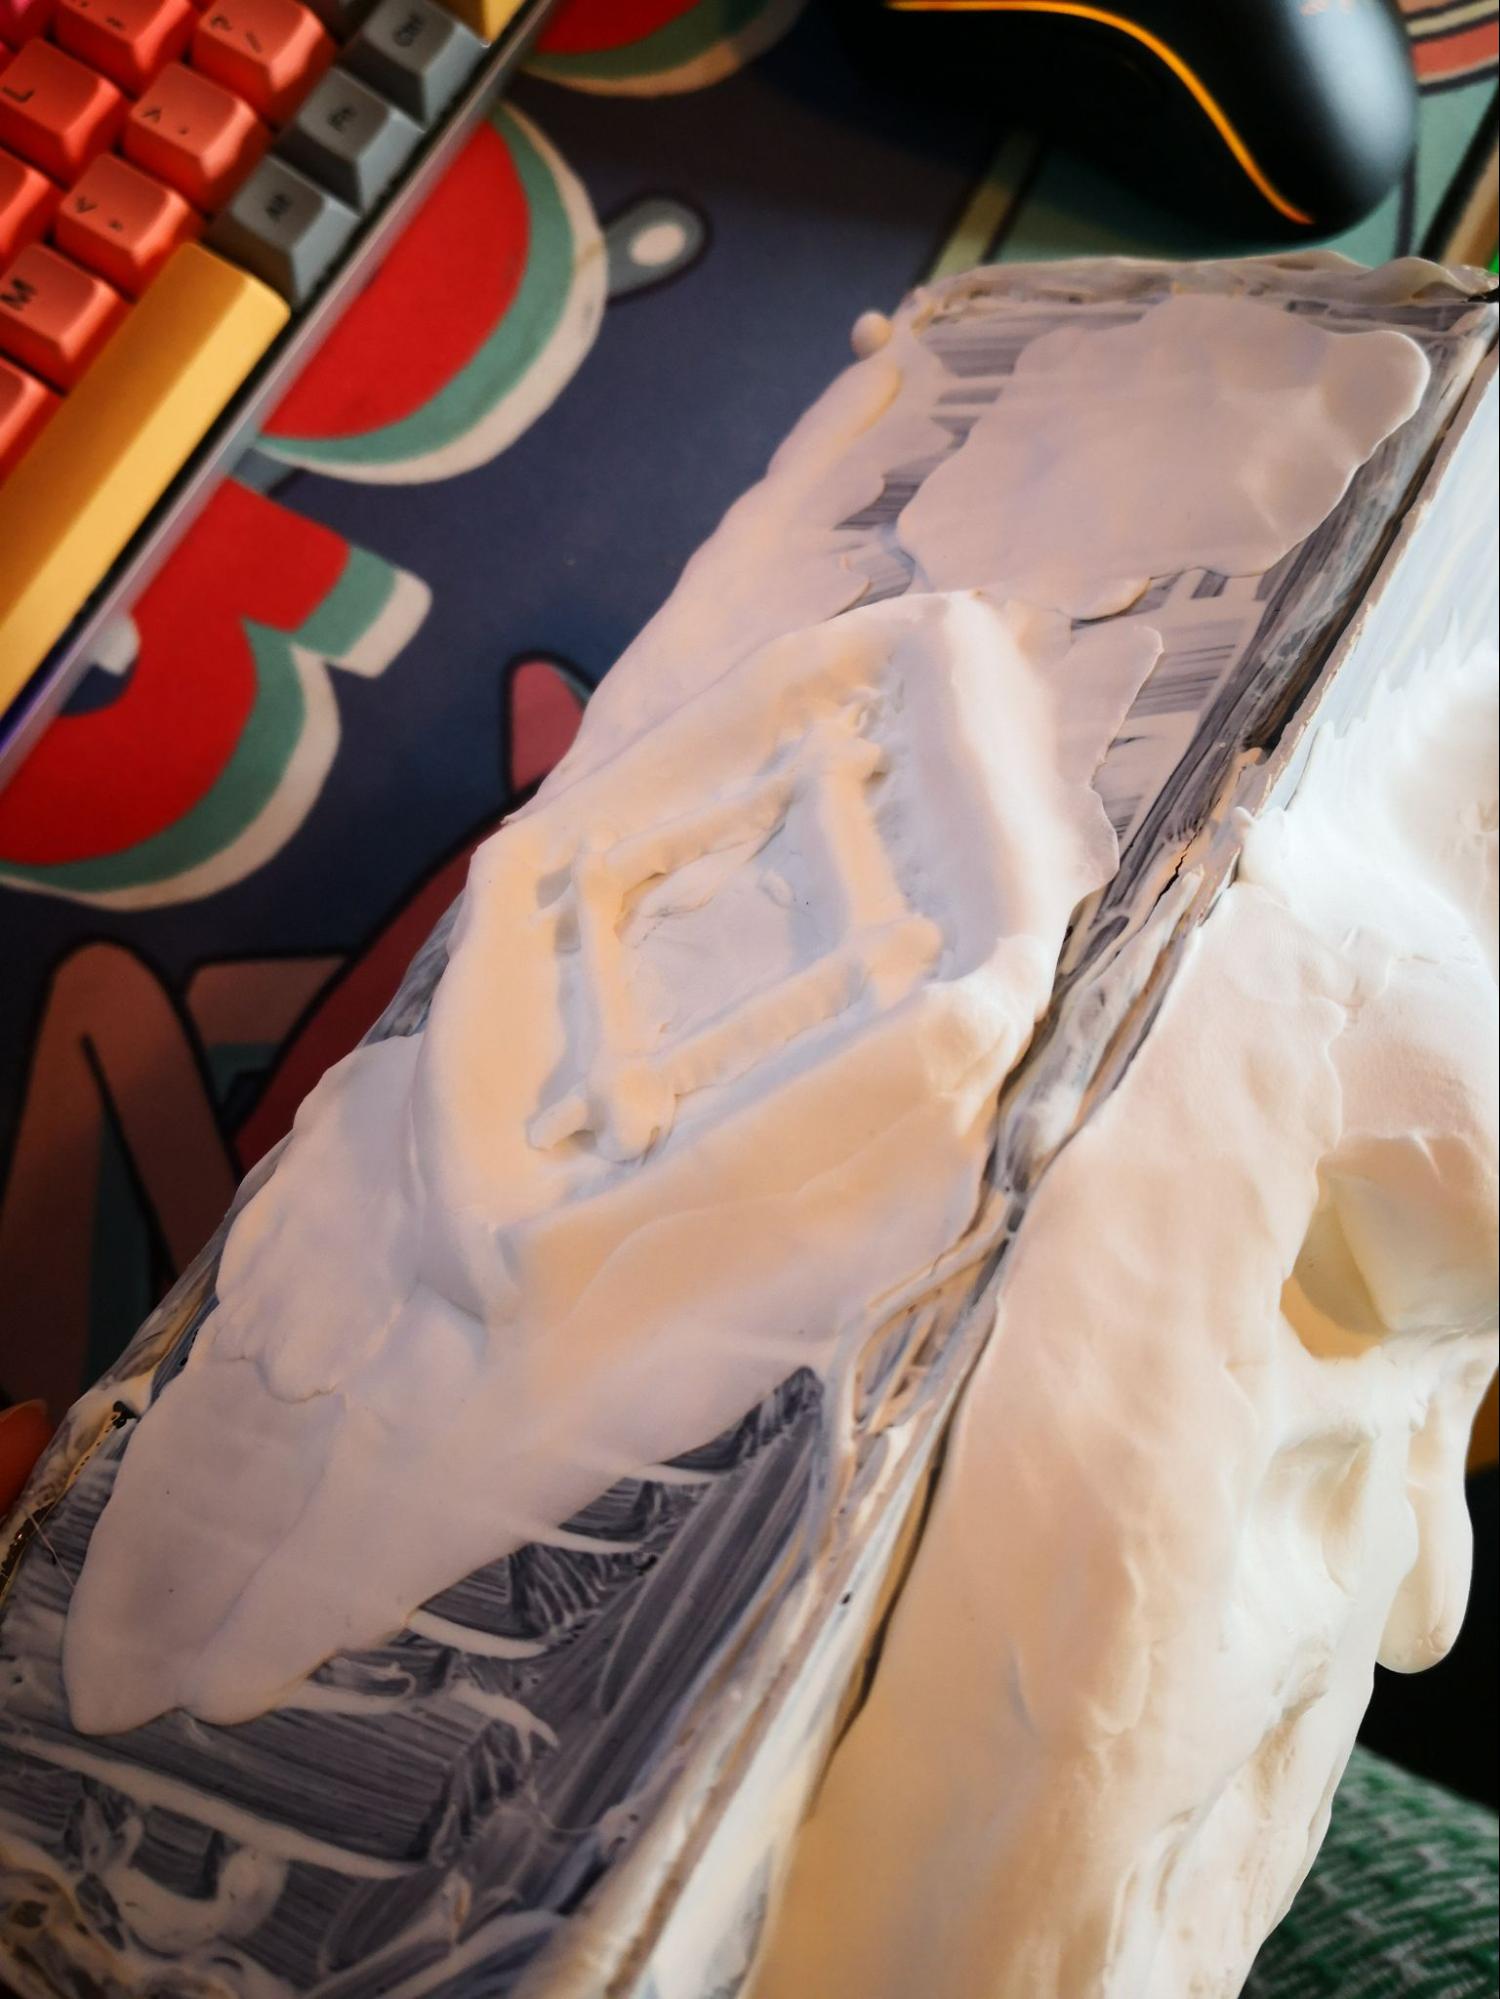
These are the most up to date photos of the “brick”. I have the face of the spirit on top, and the symbols from the game on the sides. I left the other sides blank because I’m working on an interaction where players need to search the “brick” for the right symbol and then align it with the symbols they see on the screen. I’m still deciding what sort of symbols to use and where to place them.
Once I have sculpted all of the ornaments, I’ll spray paint the box with a light blue color and then add texture and shading with acrylic paint.
This box can be easily opened to access the electronics inside. The vibration motors are taped to the top while the USB power bank rests on the bottom. I don’t envision the final design to open like this, however this is good for prototyping and testing.

Building my prototype
Now let’s walk through the steps that I took to build the Raspberry Pi-powered game portion of the project.
Hardware required
Here are the materials I used to create the controller:
* Raspberry Pi 3 B+
* LIS3DH Accelerometer
* 2 vibration motors
* Raspberry Pi prototyping shield
* USB power bank
Software required
You’ll want to download and familiarize yourself with these open source software:
* balenaCloud
* balenaEtcher
* PIGPIO
* Raspi-IO
* ExpressJS
* Socket.io
* Johnny-Five
* p5
Here is what the controller circuit looks like outside of the brick enclosure:
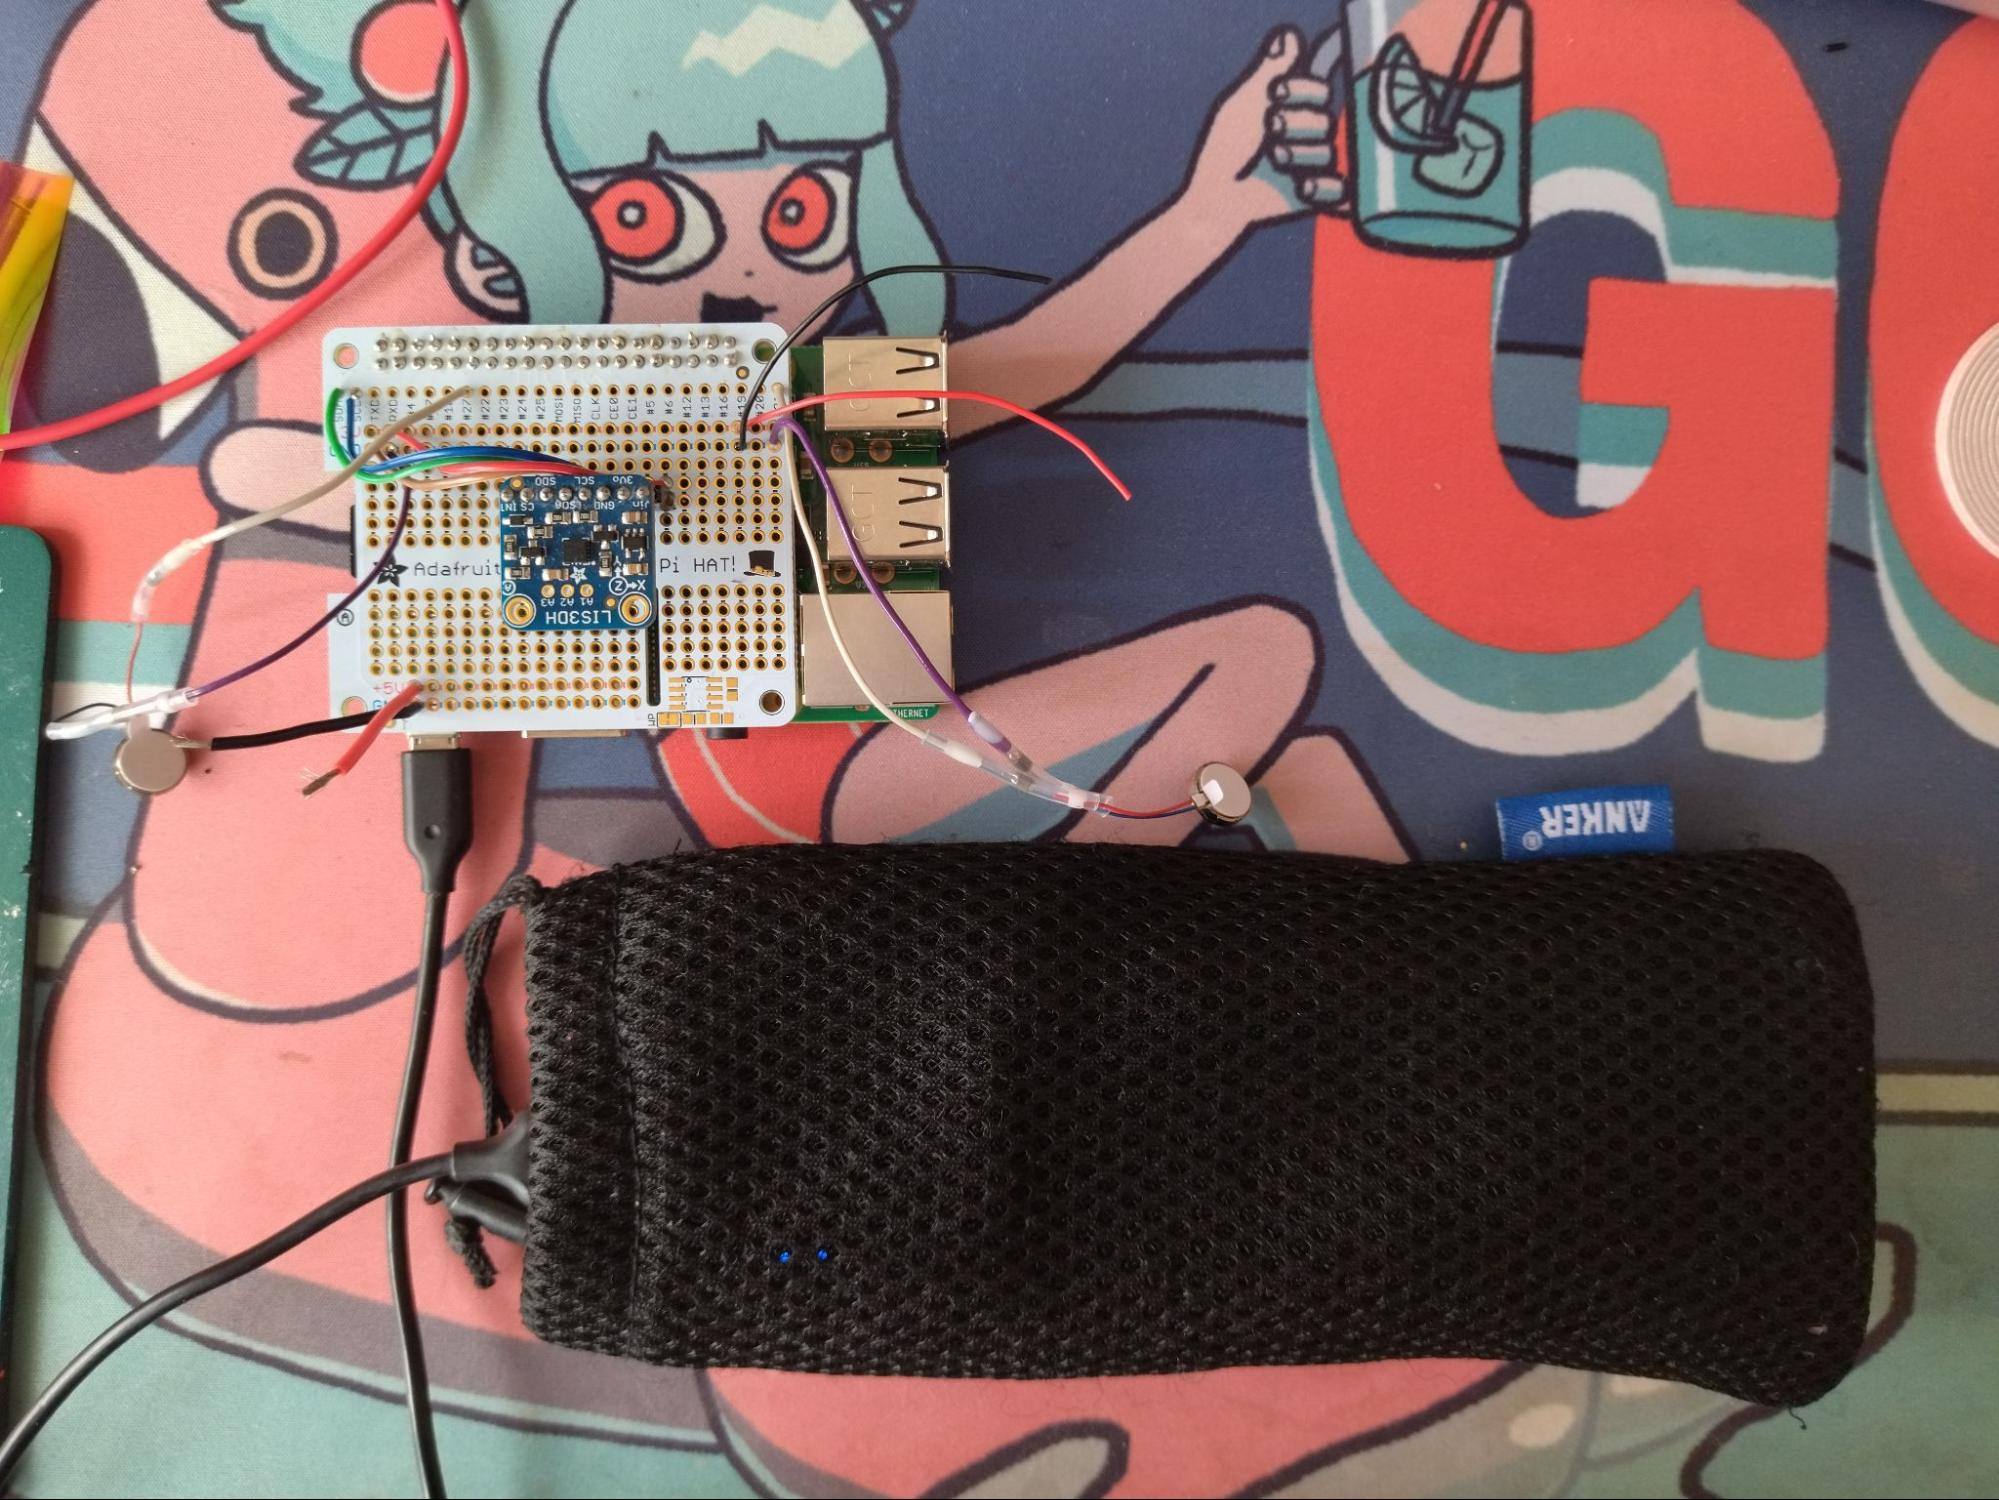
Putting the Hardware Together
I followed this guide on how to connect the LIS3DH accelerometer to the pins on the Raspberry Pi. I used i2c wiring for this sensor. I connected the positive wire for the vibration motors to GPIO27 and GPIO21. However, any GPIO pin will do! I used a micro USB cable to connect the Raspberry Pi to my USB power bank.
Setting up the Dockerfile
Before we begin writing any code, we need to set up a Dockerfile. A Dockerfile creates a container image which will contain the necessary environment, dependencies, and tools which will allow the Raspberry Pi to properly run the code for the web-based game and sensor. Read more about using Dockerfiles with balena.
In this Docker file we set up an environment with Node already preinstalled. However, we need to install the latest version of Python in order to run the PIGPIO and Raspi-IO libraries that will allow us to access the GPIO pins on the Raspberry Pi. Afterwards, we install Johnny Five, a library which lets us program the GPIO pins using NodeJS. It supports many kinds of sensors and motors, including the LIS3DH accelerometer used in this example. This simplifies sharing the accelerometer data with the webpage because the digital game will also be written in Javascript.
Finally, install Socket.io and ExpressJS in order to host the web server and implement websockets to share data between the accelerometer and the digital game.
You can view my Dockerfile here.
Building the Digital Game
The digital game consists of two main components, the server side and the client side. The server side code runs on the server, the Raspberry Pi, and the client side is displayed in the web browser. The client side handles interactivity and user inputs, while the server side stores data and sends data to the client.
In this project, the server side hosts the web page which displays the game and programs the pins on the Raspberry Pi which control the accelerometer and the vibration motors. It will read data from the accelerometer and send it to the client. It will wait for certain user events to occur on the client side and then activate the vibration motors when these events occur.
I used websockets to exchange data between the client and server side in this project. I chose to use websockets as the communication protocol for this example because websockets allow for a persistent connection between the client and server instead of constantly polling the server for requests. Real time communication is crucial for a game, especially when any issues with latency might cause player frustration. Having a bidirectional protocol where the server and client can talk to each other independently would allow for instantaneous communication.
Setting up the server-side code
This code creates a server using Express and sets it to listen on port 8080 on the Raspberry Pi’s local IP address, which appears on the balena dashboard. Afterwards it calls the “board.on” function from the Johnny-Five library in order to connect to the GPIO pins on the Raspberry Pi and program the sensors.
I decided to program the vibration motors as piezos, tiny speakers which vibrate at varying frequencies in order to emit high or low pitched noises. Structurally, the vibration motors are not too different from piezos. Treating them as piezos would allow me to create many vibration patterns which could be used as different forms of haptic feedback during the game.
The “accelerometer.on” function continuously reads accelerometer data. This is an infinite loop, so any functions that come after it will not be reached. I chose to call on the websockets to emit the accelerometer data from within this function, and then to play the piezo based off of the data received from the websocket.
You can view the server side code here.
Setting up the client-side code
This code takes data sent from the web server and uses it to control the placement and movement of sprites on the screen. I used p5.js, a Javascript library designed for creative coding, to animate the sprites on the screen.
I created a Sprite class to manage the sprites on the screen. I preloaded sprite sheets and JSON files which contain coordinates of where each frame of the animation is located on the sprite sheet. Sprite sheets are .png files which contain densely packed frames from the animation. The JSON files and the sprite sheet are used to create an animation array where each index of the array stores a frame of the sprite’s animation. Then, I will loop through the array to animate the sprite.
Below is an example of a sprite sheet for the running character:

Here is a sprite sheet for the rotating cat to the right:

Here is the sprite sheet for the background animations:
The setup function defines the initial environmental properties of the game such as the canvas size and sprites. In most p5 sketches, a draw() function, which loops continuously, is called after the setup function.
However, in this code the socket.on function continuously sends data from the websocket to the client, behaving as a continuous loop. Each socket.on function listens for a particular type of data being sent from the websocket.
Several of these functions run parallel to one another and animate sprites asynchronously according to the type of data which is being received. Some sprites are only reacting to the accelerometers pitch, while others are changing according to the x and y rotation.
You can view the client side code here.
Deploying your Project with balena
Now that we have created the Dockerfile, the server side code, and the client side code, it’s time to deploy this code to the fleet. Read here to learn about the different ways of deploying your code. I used balena push when working on this project (part of balenaCLI).
Note: balenaCloud is free and fully-featured up to your first ten devices!
Scaling this project
I only used a single controller for this game. However, once physical alt-control events start happening again, I would like to start submitting this project to several exhibitions. Oftentimes these events overlap and I can’t be in two places at once. I can make several controllers and deploy and manage the code to each one using balena.
balenaCloud makes IoT and edge device management easy, where I can manage one Fleet of controllers and can easily provision, deploy, and manage additional controllers from one place. I can also monitor the state of my controllers and send updates even though I may not be physically in the same space as the installation.
Although I used an alternative game controller as an example on how to use this project, this fleet and the form factor of this project can be used for any number of interactive applications.
For example, rotating the controller in this way can be used to control the direction of a robotic arm, wirelessly control LED patterns using the orientation of the accelerometer, or even remotely maneuver a vehicle.
Let me know what you end up building with this project and please share it in our forums!
Next steps
I would like to add more puzzles and make the gameplay be about 5-10 minutes long. I want to find ways to make the physical aspects of the controller fit into the gameplay, as well. I would like to keep including physical markings on the controller which mirror symbols in the game. I’d like to use these to create puzzles where the player has to find the right engraving on the controller in order to continue further.
As I’ve documented in the forums, I’m still trying to find an ideal power solution. The USB power bank is a great solution for now, however I am still trying to decide whether I want to make an “openable” case for the controller or if I would like all of the components to be permanently sealed.
Follow my build log for more updates on this project!