It’s Aliiiiiive!

The little monster breathed it’s first this week when we assembled the first 6 units of the BeastTile. As can be expected with any first-born, we had a few teething issues, but all-in-all the build went smoooooth. Like a baby’s bottom.
The first chunk of this post is technical mechanical engineer grease-monkey stuff. Scroll on past if you’re here for the pictures.
Chassis!
The majority of the build revolved around assembling the acrylic chassis, the structure of the BeastTile. Our fine-tuning of the design for laser cutting paid off, and the interlocking design fit together really well. The idea was that the components would fit snugly enough that the assembly would hold together dry, and then to bond it all together with Tensol 12, a fantastic product for bonding acrylics. Conventional acrylic cement is essentially just a solvent (acetone does the job), that dissolves the material on the surface of the two acrylic components, which then cures to fuse the components together. Tensol 12 is different in that it is itself a solution of polymers dissolved in solvent. This means that in addition to fusing the surfaces in contact when it cures, it will also fill voids (to an extent). When bonding lasercut edges where structural strength is important, this filling property compensates for the kerf of the cut edge by filling the wedge-shaped void. This results in a significantly larger bonded area. Tensol 12 also has a good, workable viscosity and take longer to cure than pure solvent, so you’ve got time to fine tune the joint.
The build process looks like this:


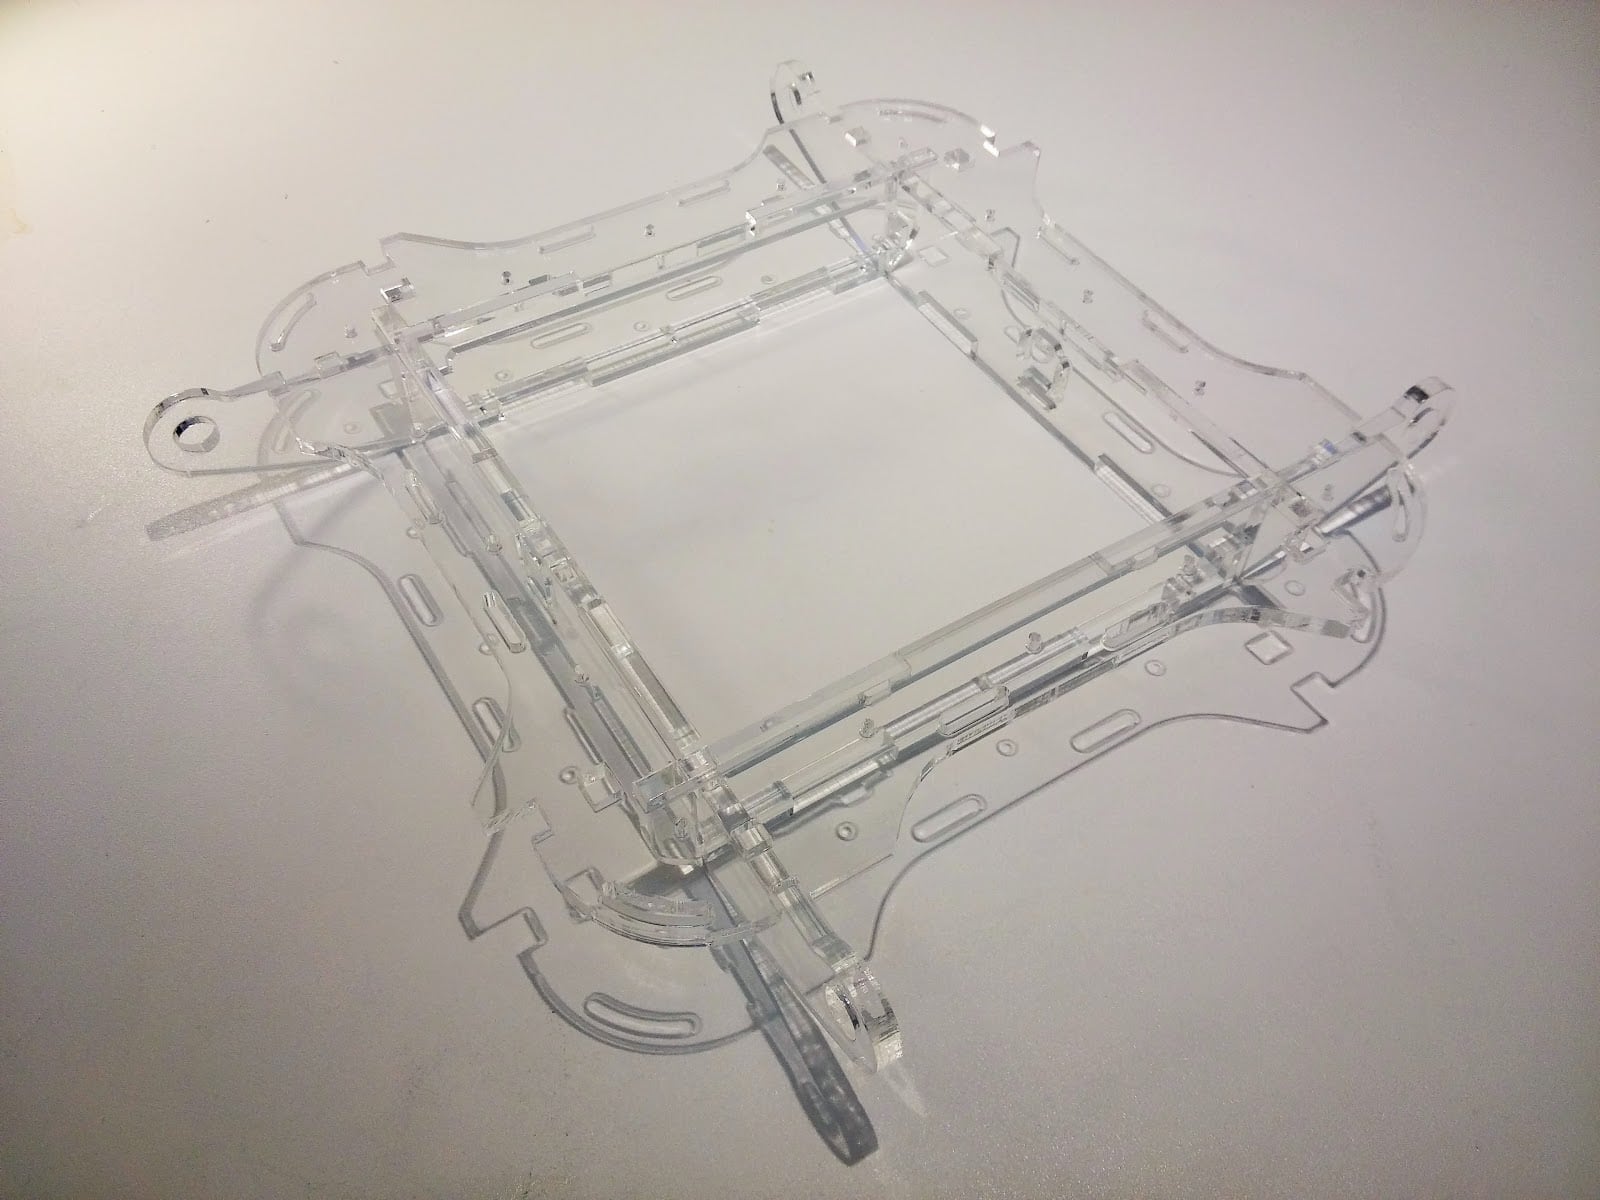

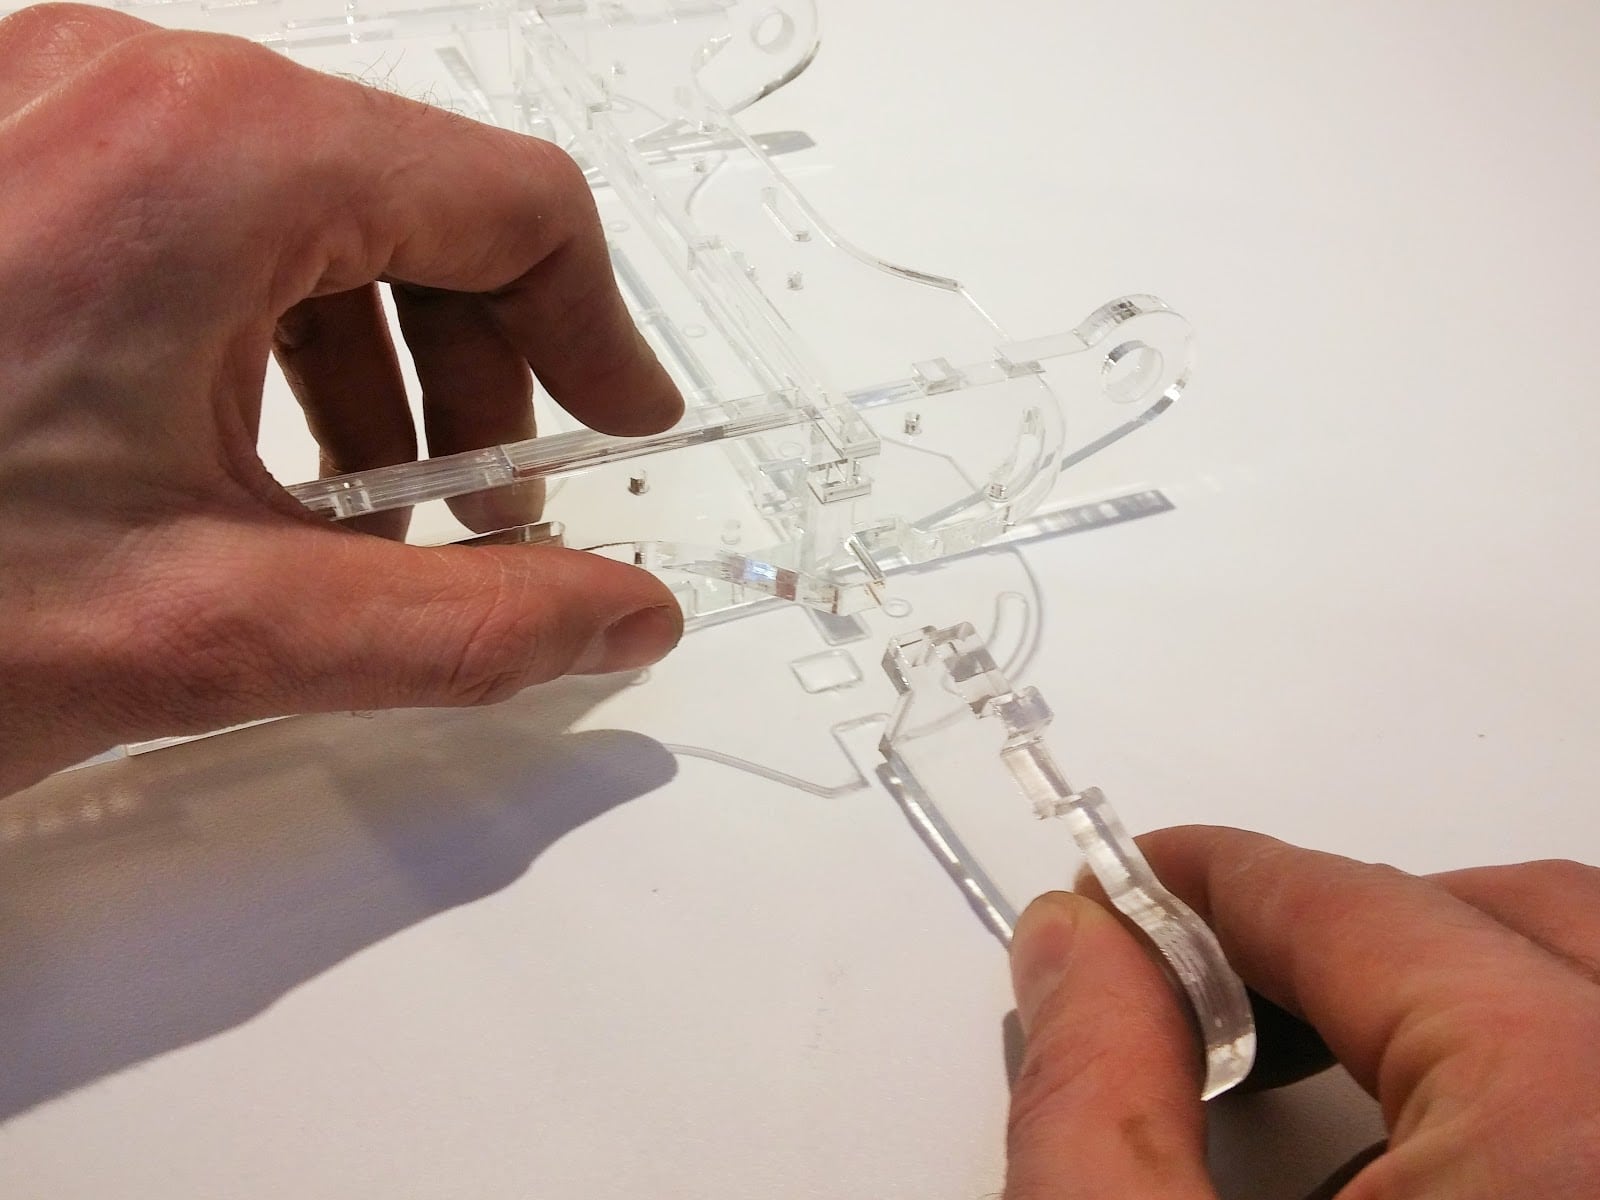

We found that with the help of capillary action and gravity, the adhesive makes its way deeply into the joints. There’s some technique to it, but once you’ve got it down it’s as easy as Pi (sic).
Caution: The fumes of these solvent are really bad for your brain and liver. Use them in a well-ventilated area and find somewhere safe to leave them while they cure. Tensol 12 forms a bond within a few minutes, but it takes several hours to cure completely. We are fortunate to have a purpose built, extraction-fitted fume cupboard…

Tap That.
The tile connect via a threaded hinge axle, which screws into the tiles. It was critical that the tapped holes (M10 x 1 mm) were perpendicular with the faces. The lowly drill press came in handy here. We set the spindle to its slowest (around 190 rpm) and found an appropriate gripping tool (DON’T USE YOUR FINGERS). We found a cool method of doing multiple taps in a row, then unloading the lot by releasing the thread tap from the chuck, rather than having to unscrew the component each time (alas, our drill press couldn’t be easily switched into reverse).
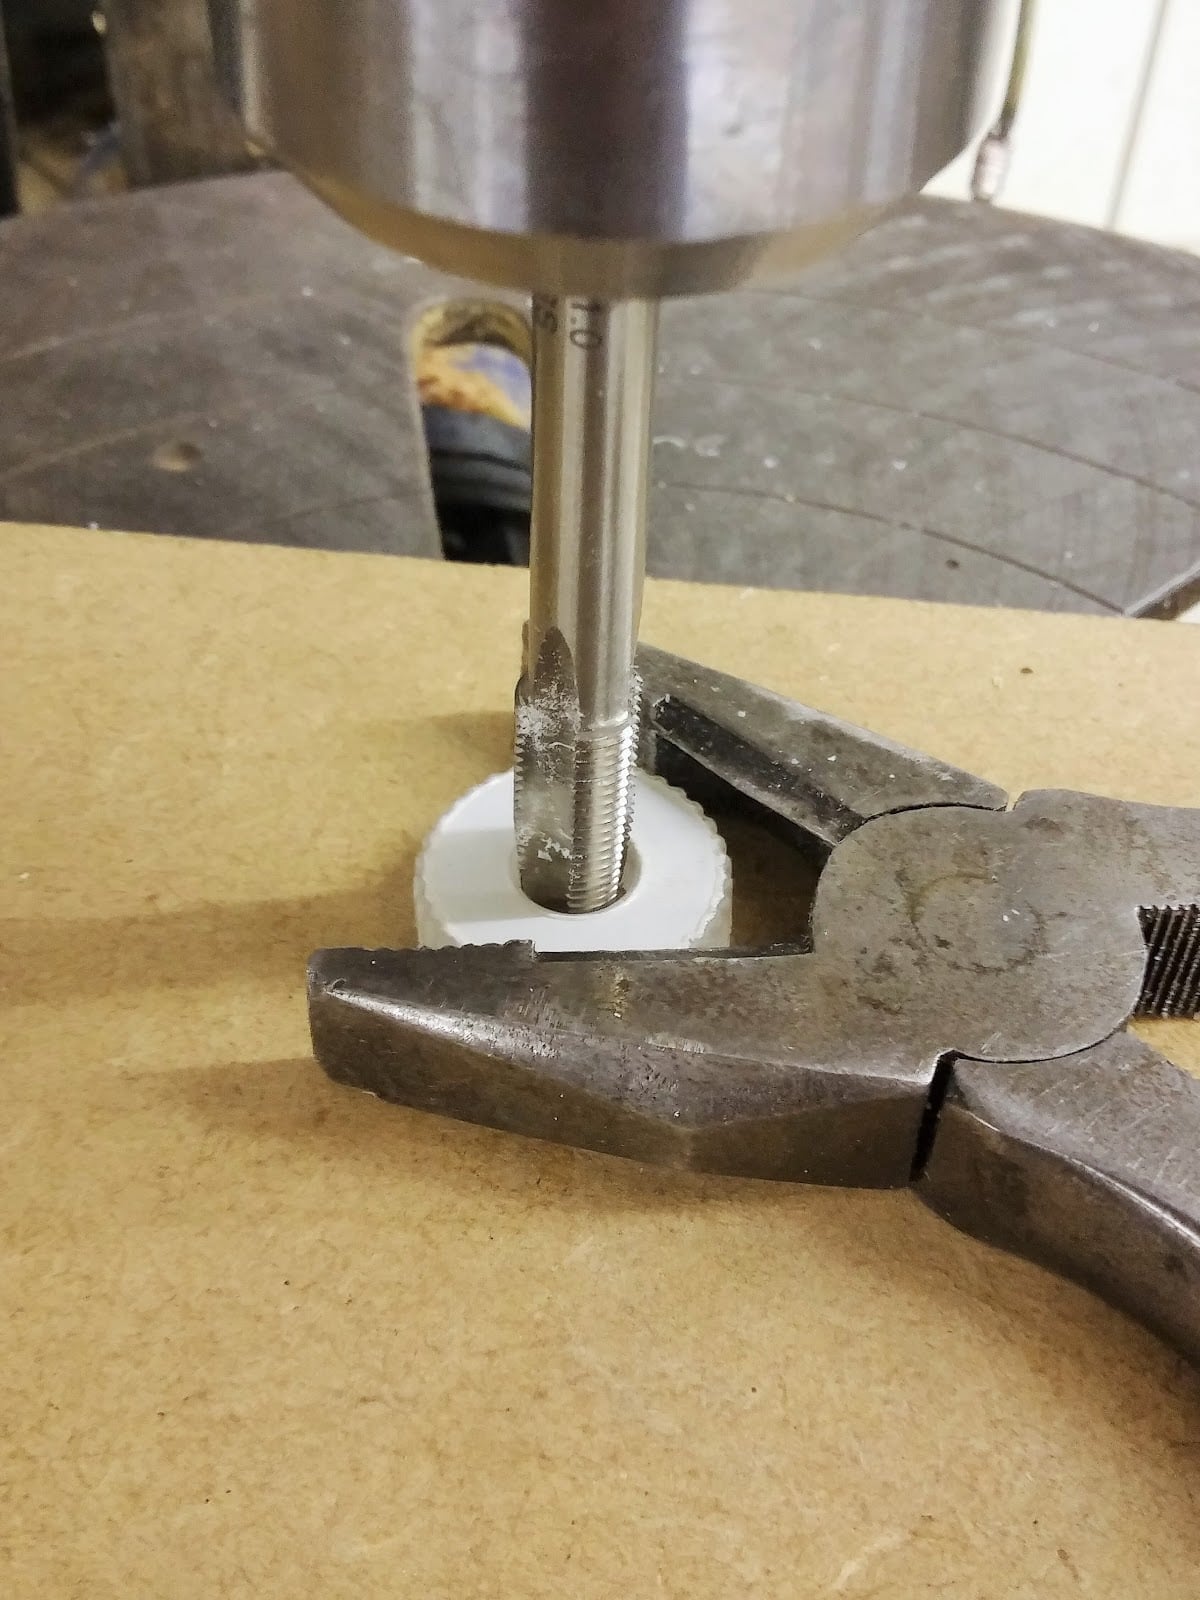
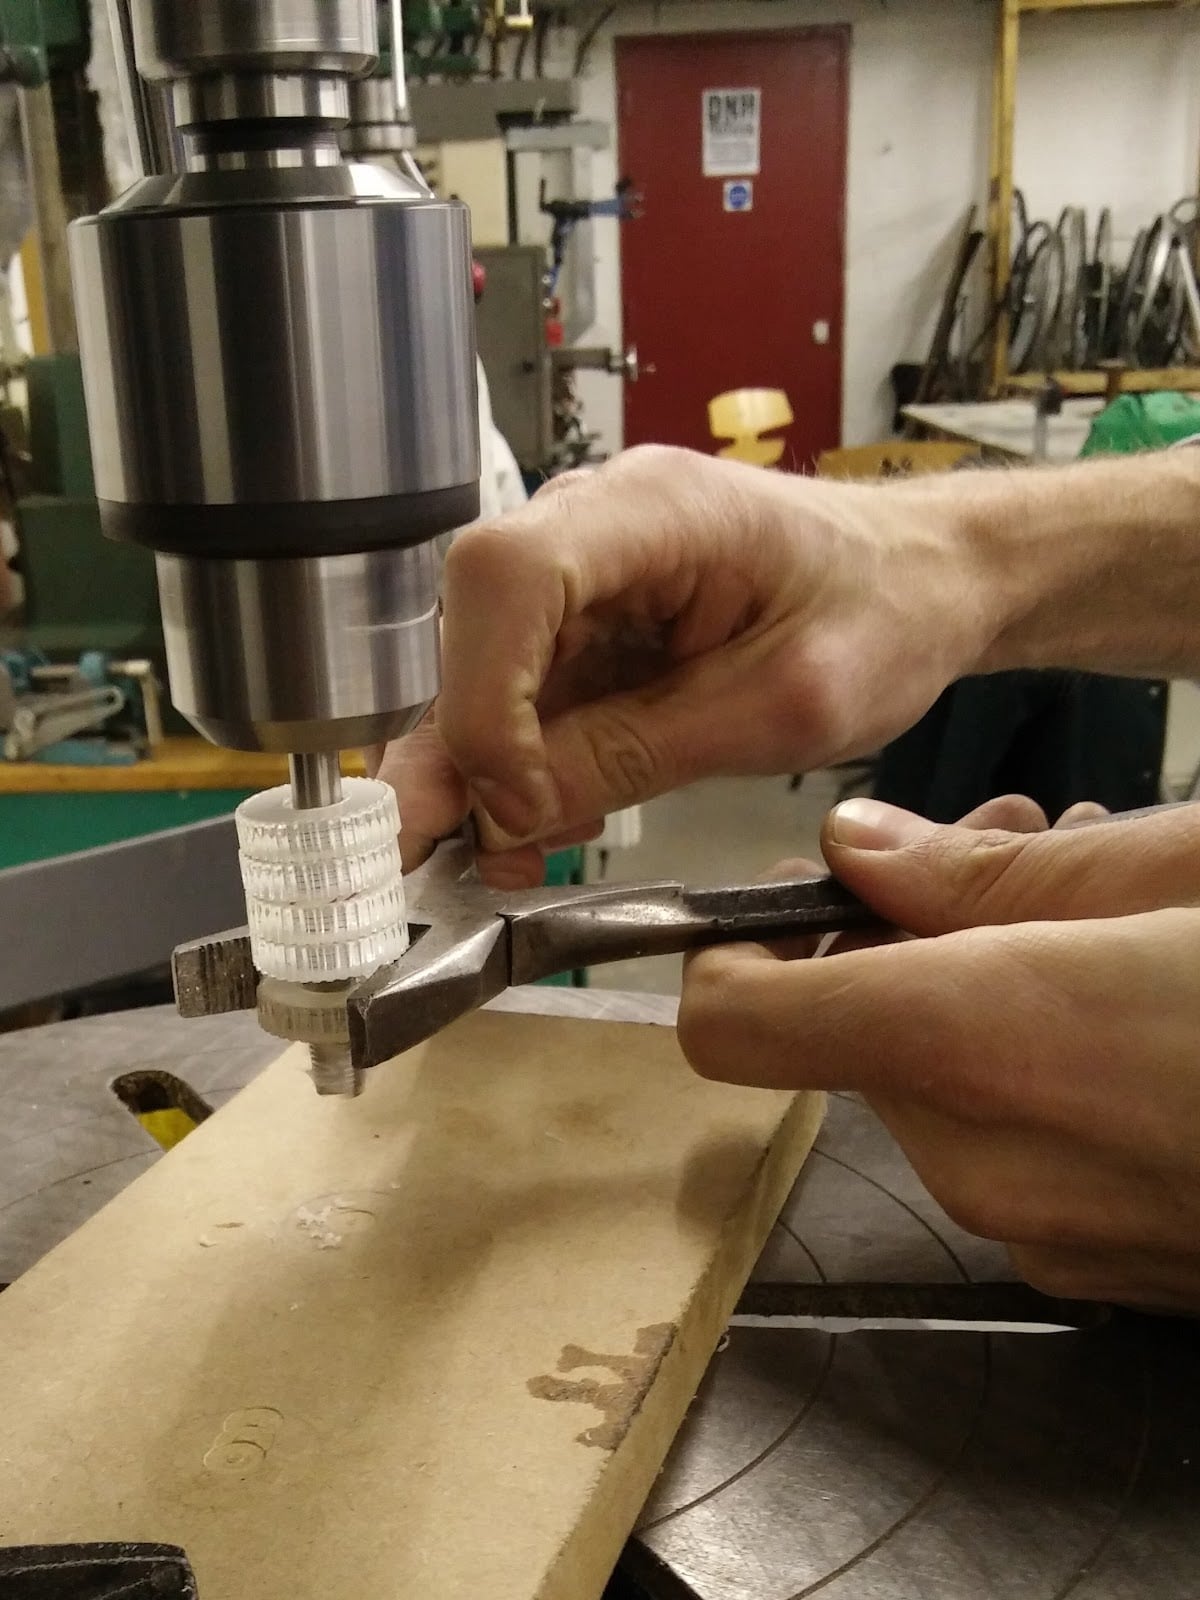
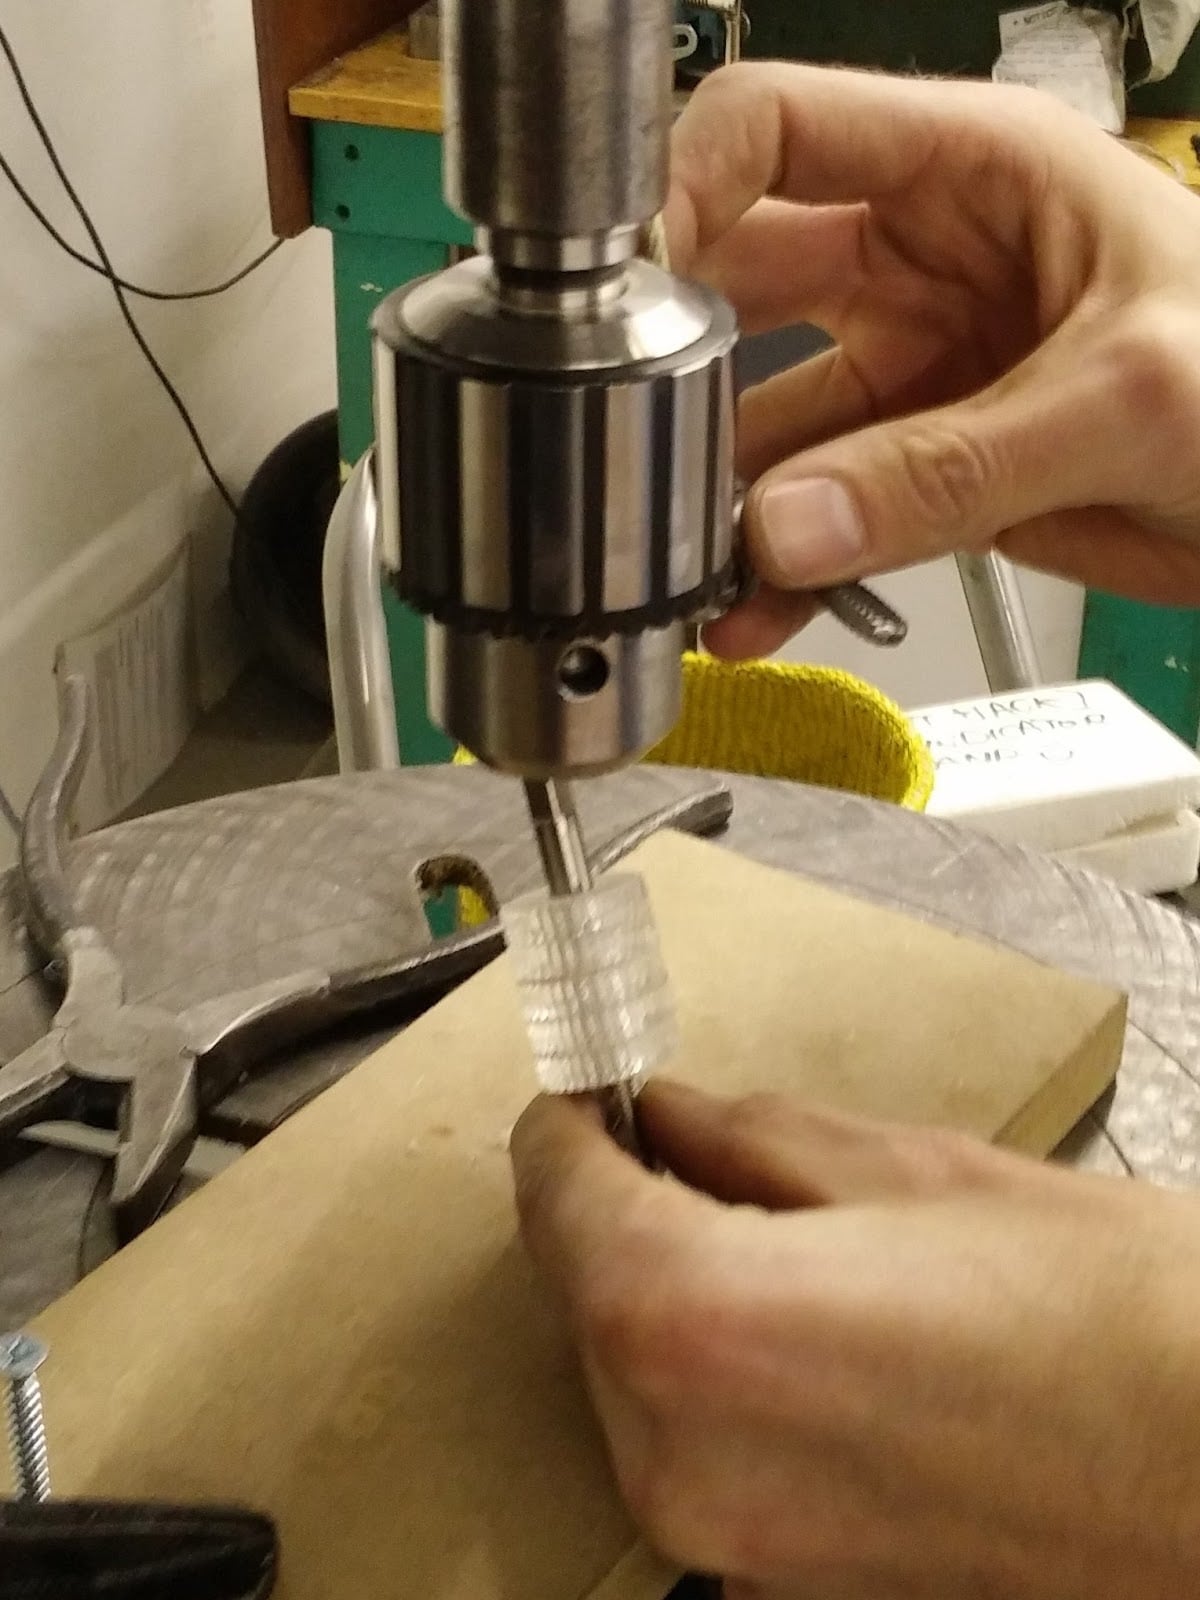
Perspex is brittle and doesn’t take well to machining, especially types that produce a lot of heat. That said, with a good, sharp, hardened steel tap, the thread tapping process was painless. We didn’t use any cutting fluids, but that might be a good idea for larger thread sizes.
Cable Management… he vomits a bit in his mouth
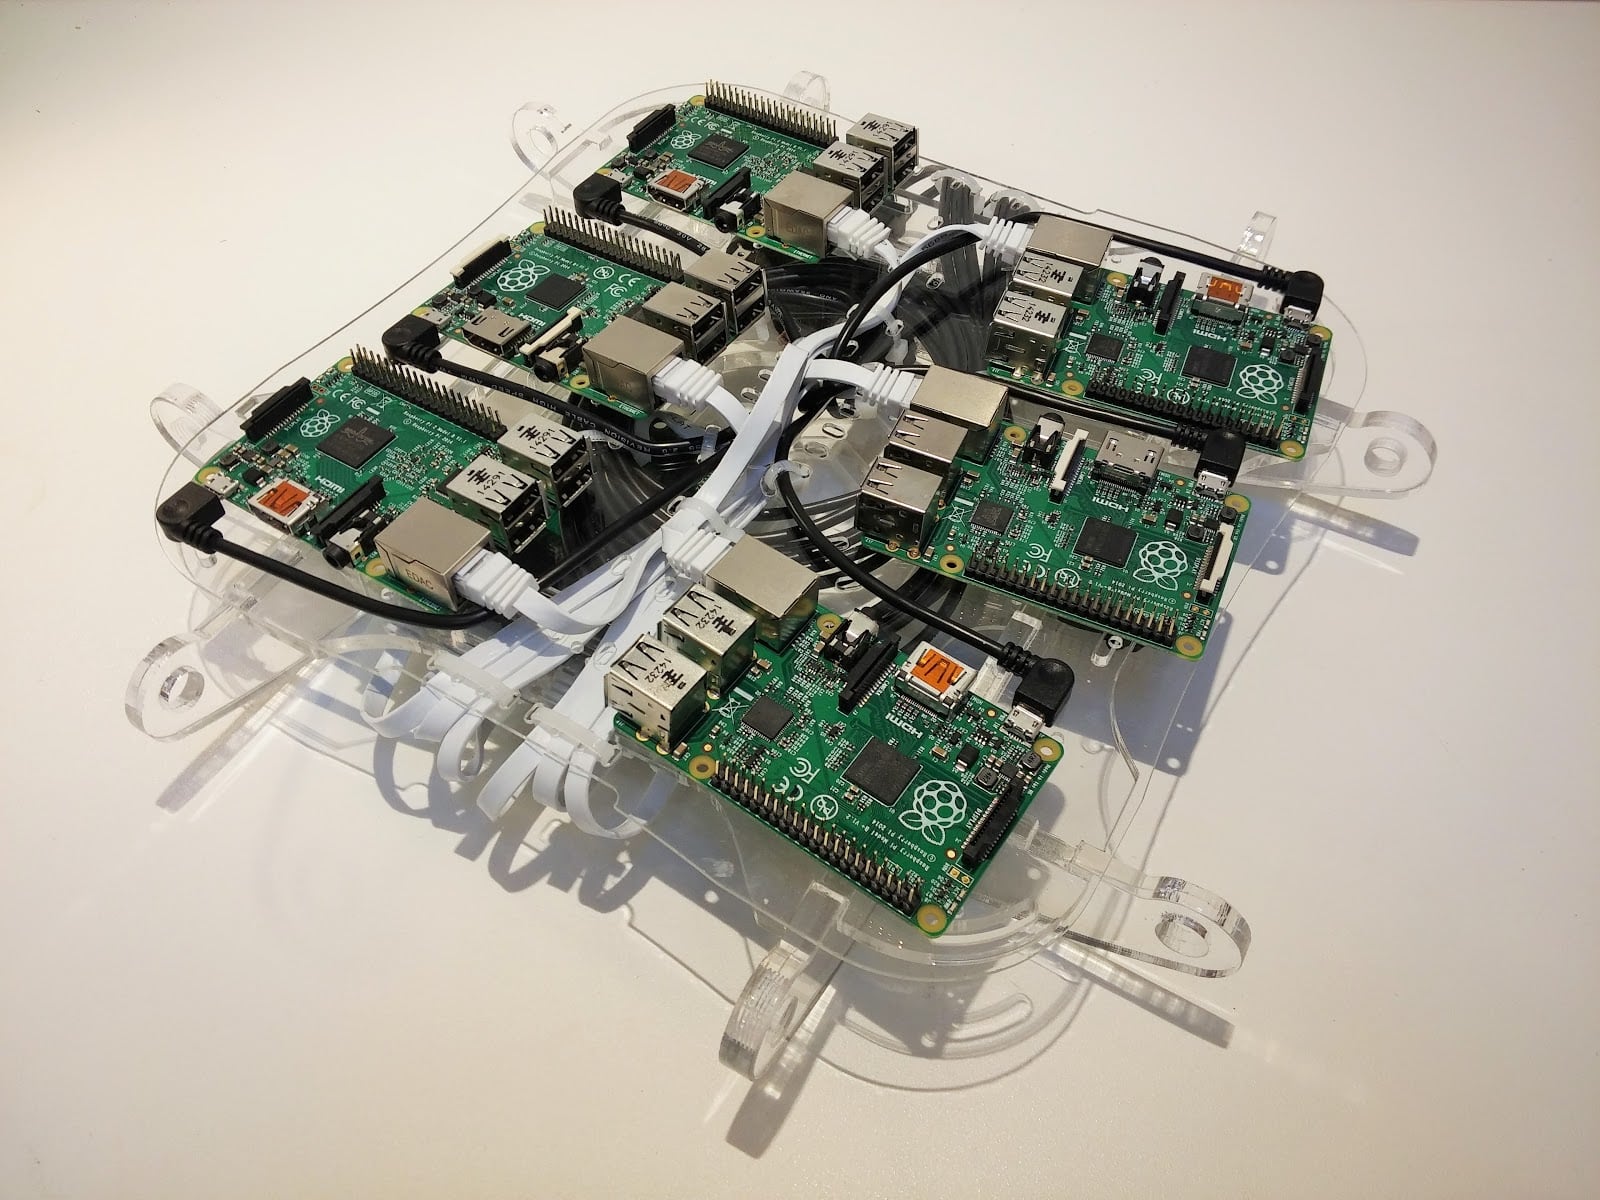
Alas, wireless power transmission is not yet practical, so in the meantime we do our best to avoid the rat’s nest. On the other hand, we have heard of wifi, but we decided to make provision for wired networking, with an internally mounted 8-port Gigabit switch.
Our first stab at intra-tile cabling looks like this…

Cliche Wisdom
Prototype everything you can as early as you can. This allows you to weed out the ideas that don’t work, to refine those that almost work and it lets you be adventurous with your designs. If you think you only have one shot at making something that will work, you can’t help but be conservative with your ideas. Prototype and try the risky ideas – they’re very often the coolest, funnest and bestest. Prototyping also gives you the confidence to back your ideas because you know they work.
Assemblage.
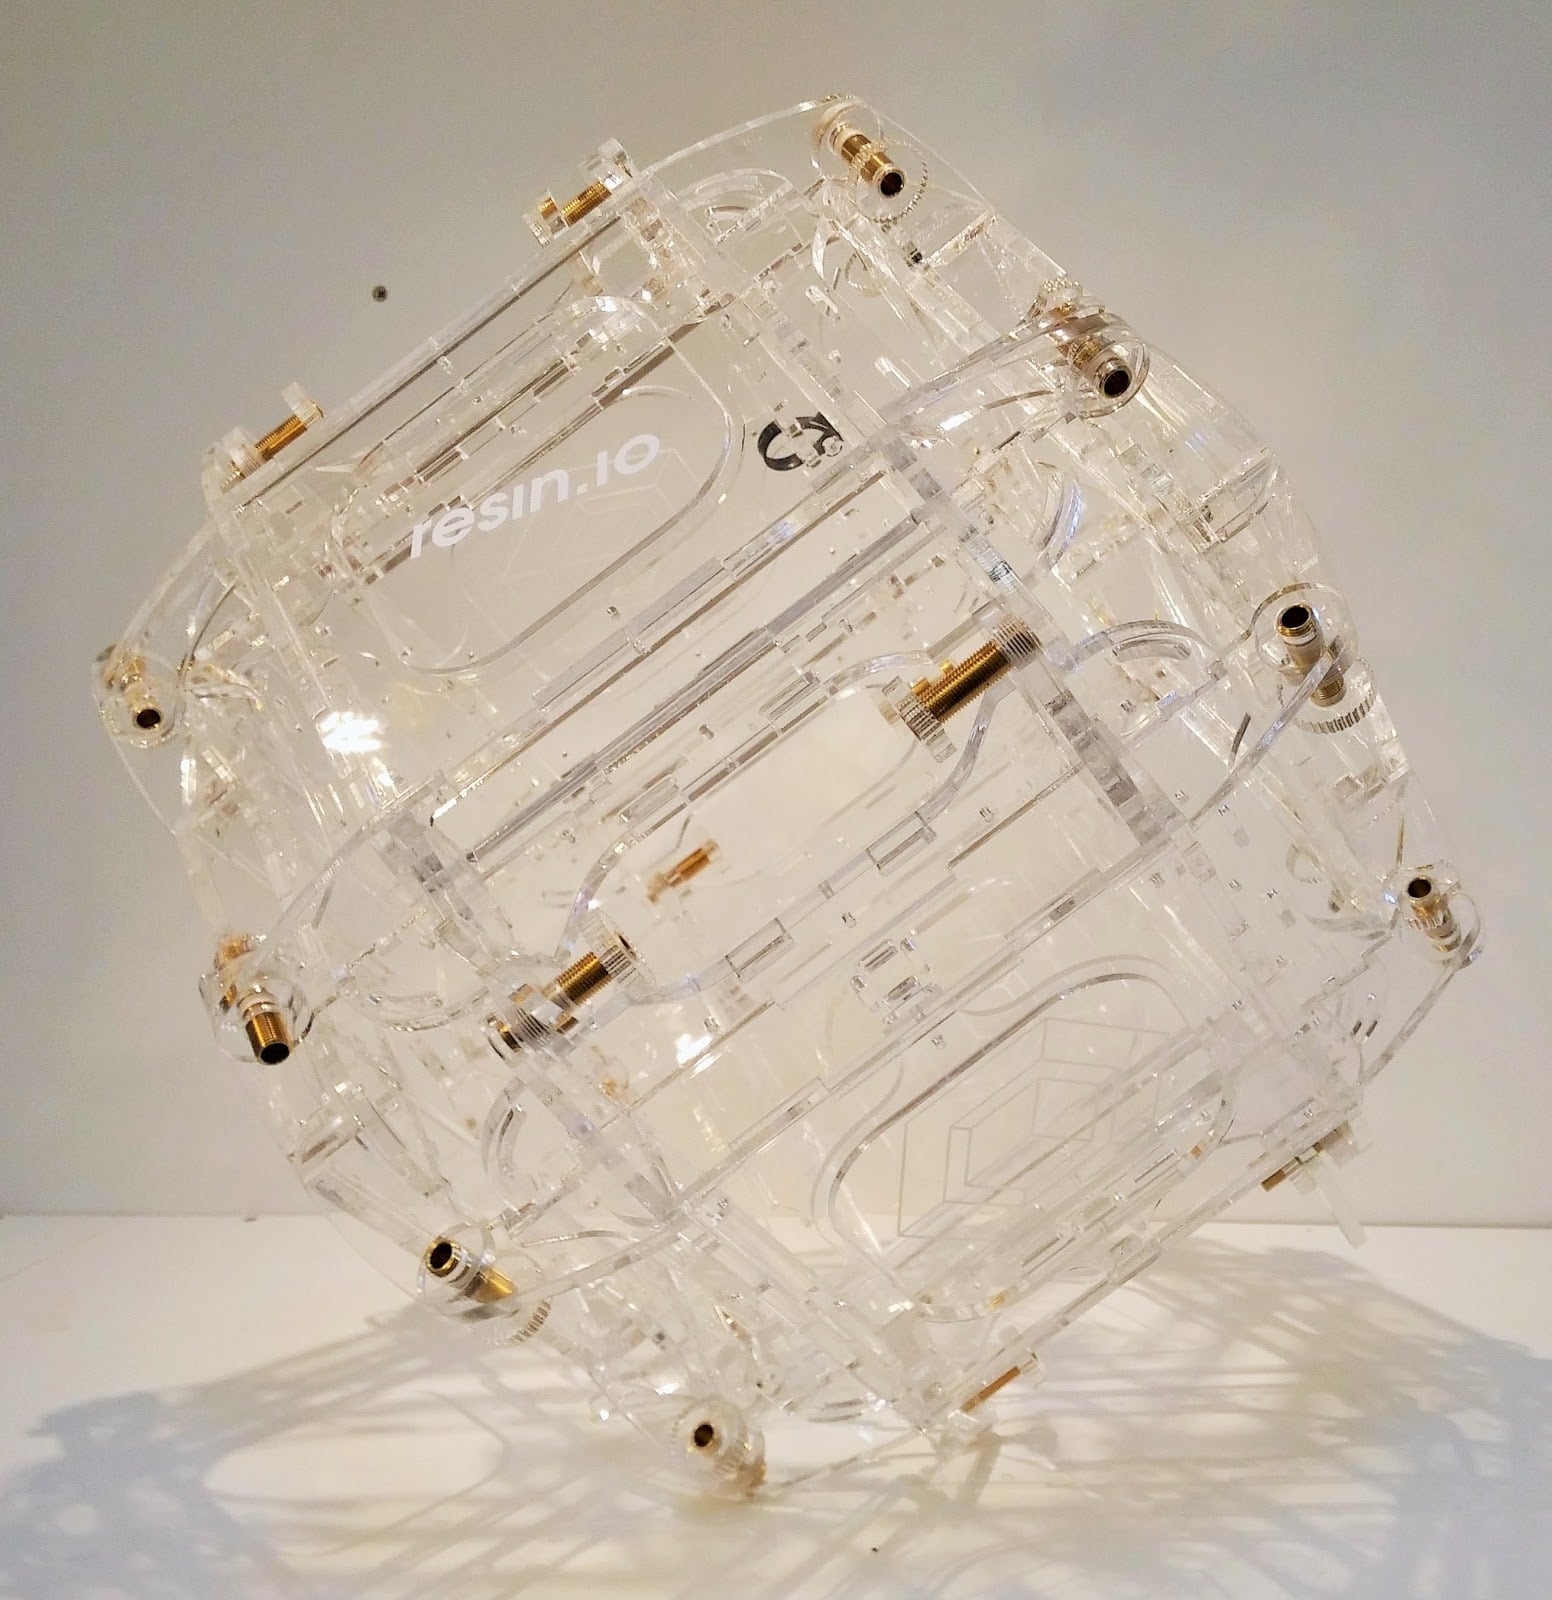
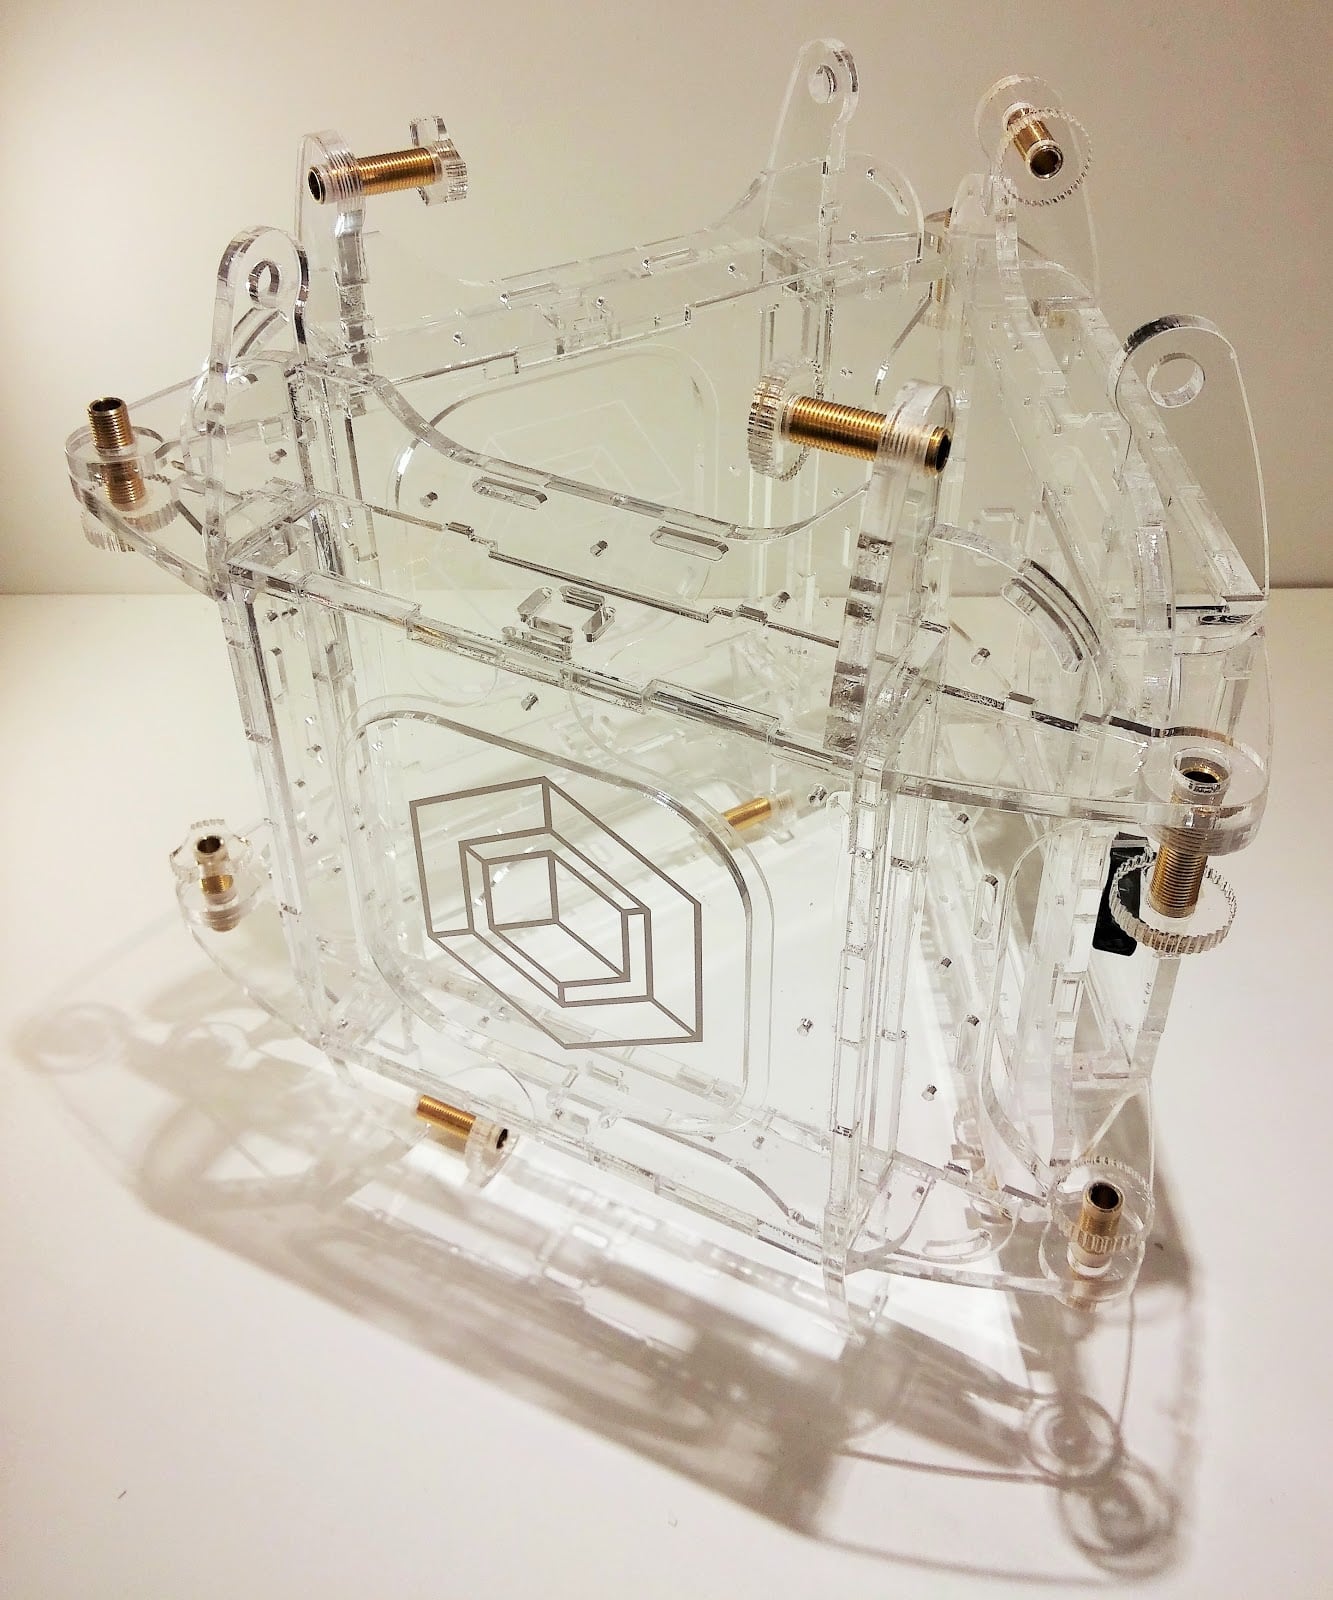
Aaaaand here are a few examples of what you can build.
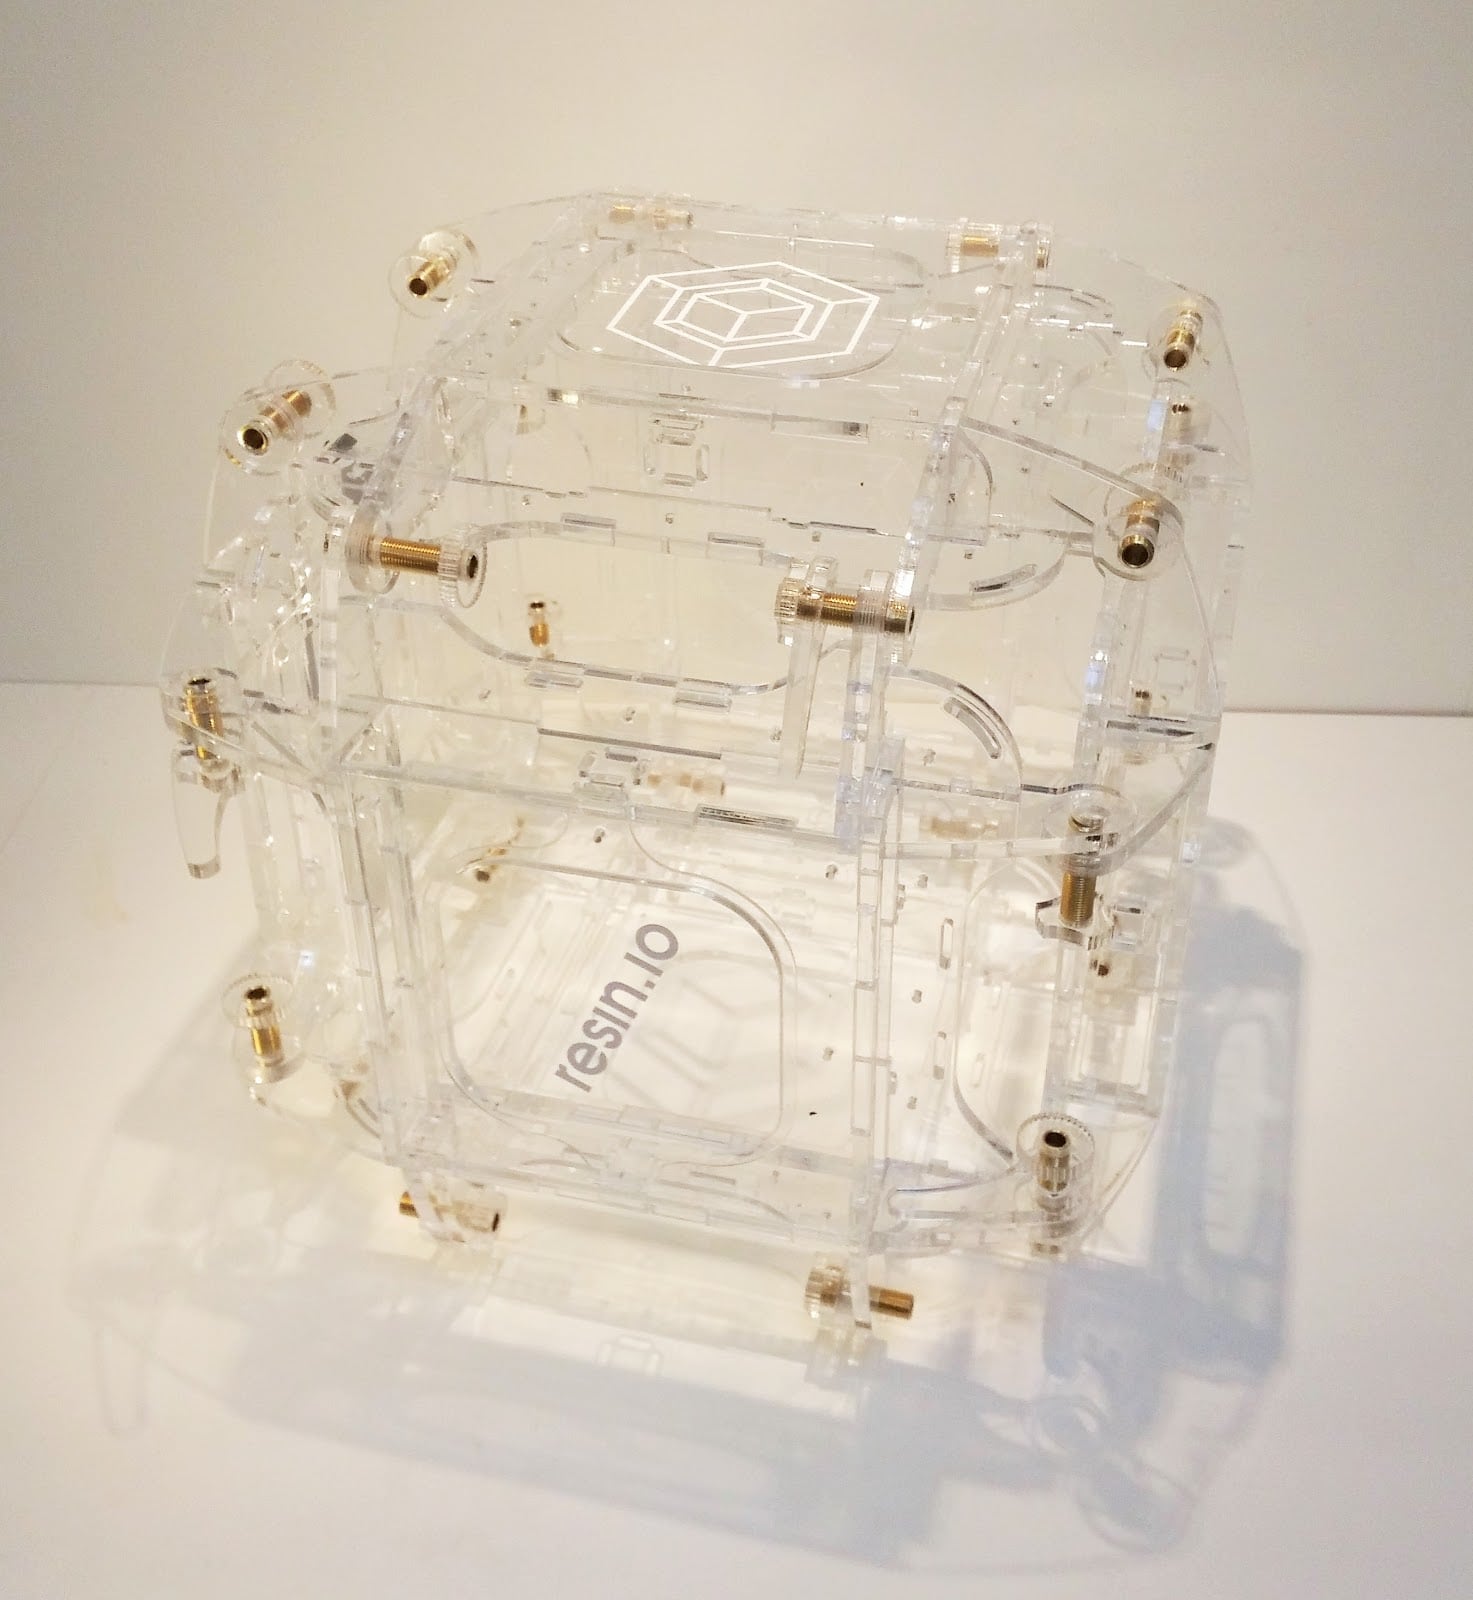
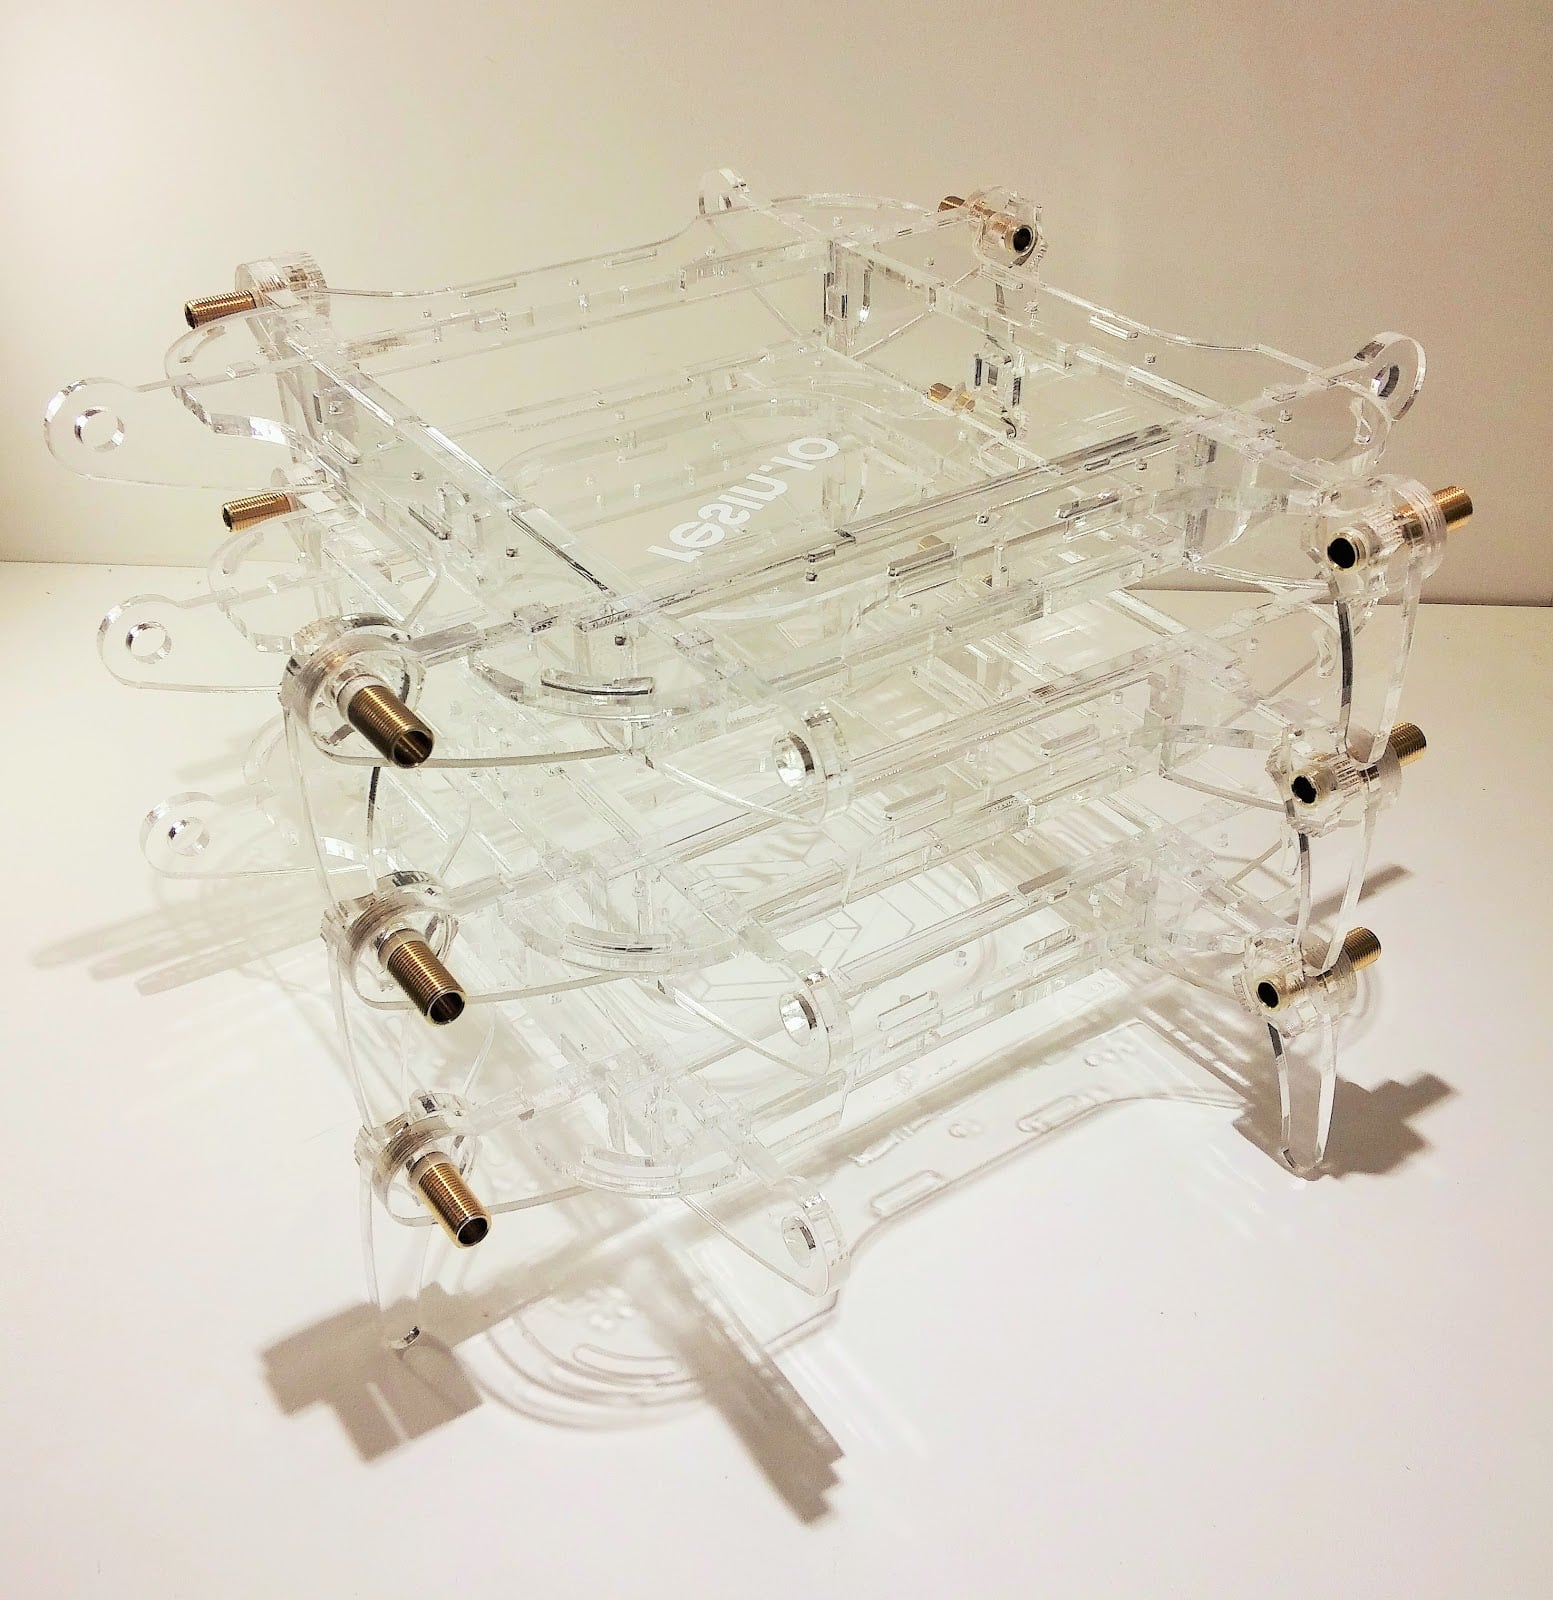
Next up…
We’re ironing out the details of the power supply module and the network switch, so next week we’ll be powering up and saying “hello world.”
We’ve asked before, but maybe seeing it in the flesh will inspire some more cool application ideas from y’all. What would you do with the Beast and what would you like to see us do? Catch us on gitter
