
UPDATED 11 Jan 2023: Note that as of 11 January 2023, we have an updated guide here with a more streamlined method to accomplish the examples in this post, as well as more background information about using NVIDIA Jetson devices with balena.
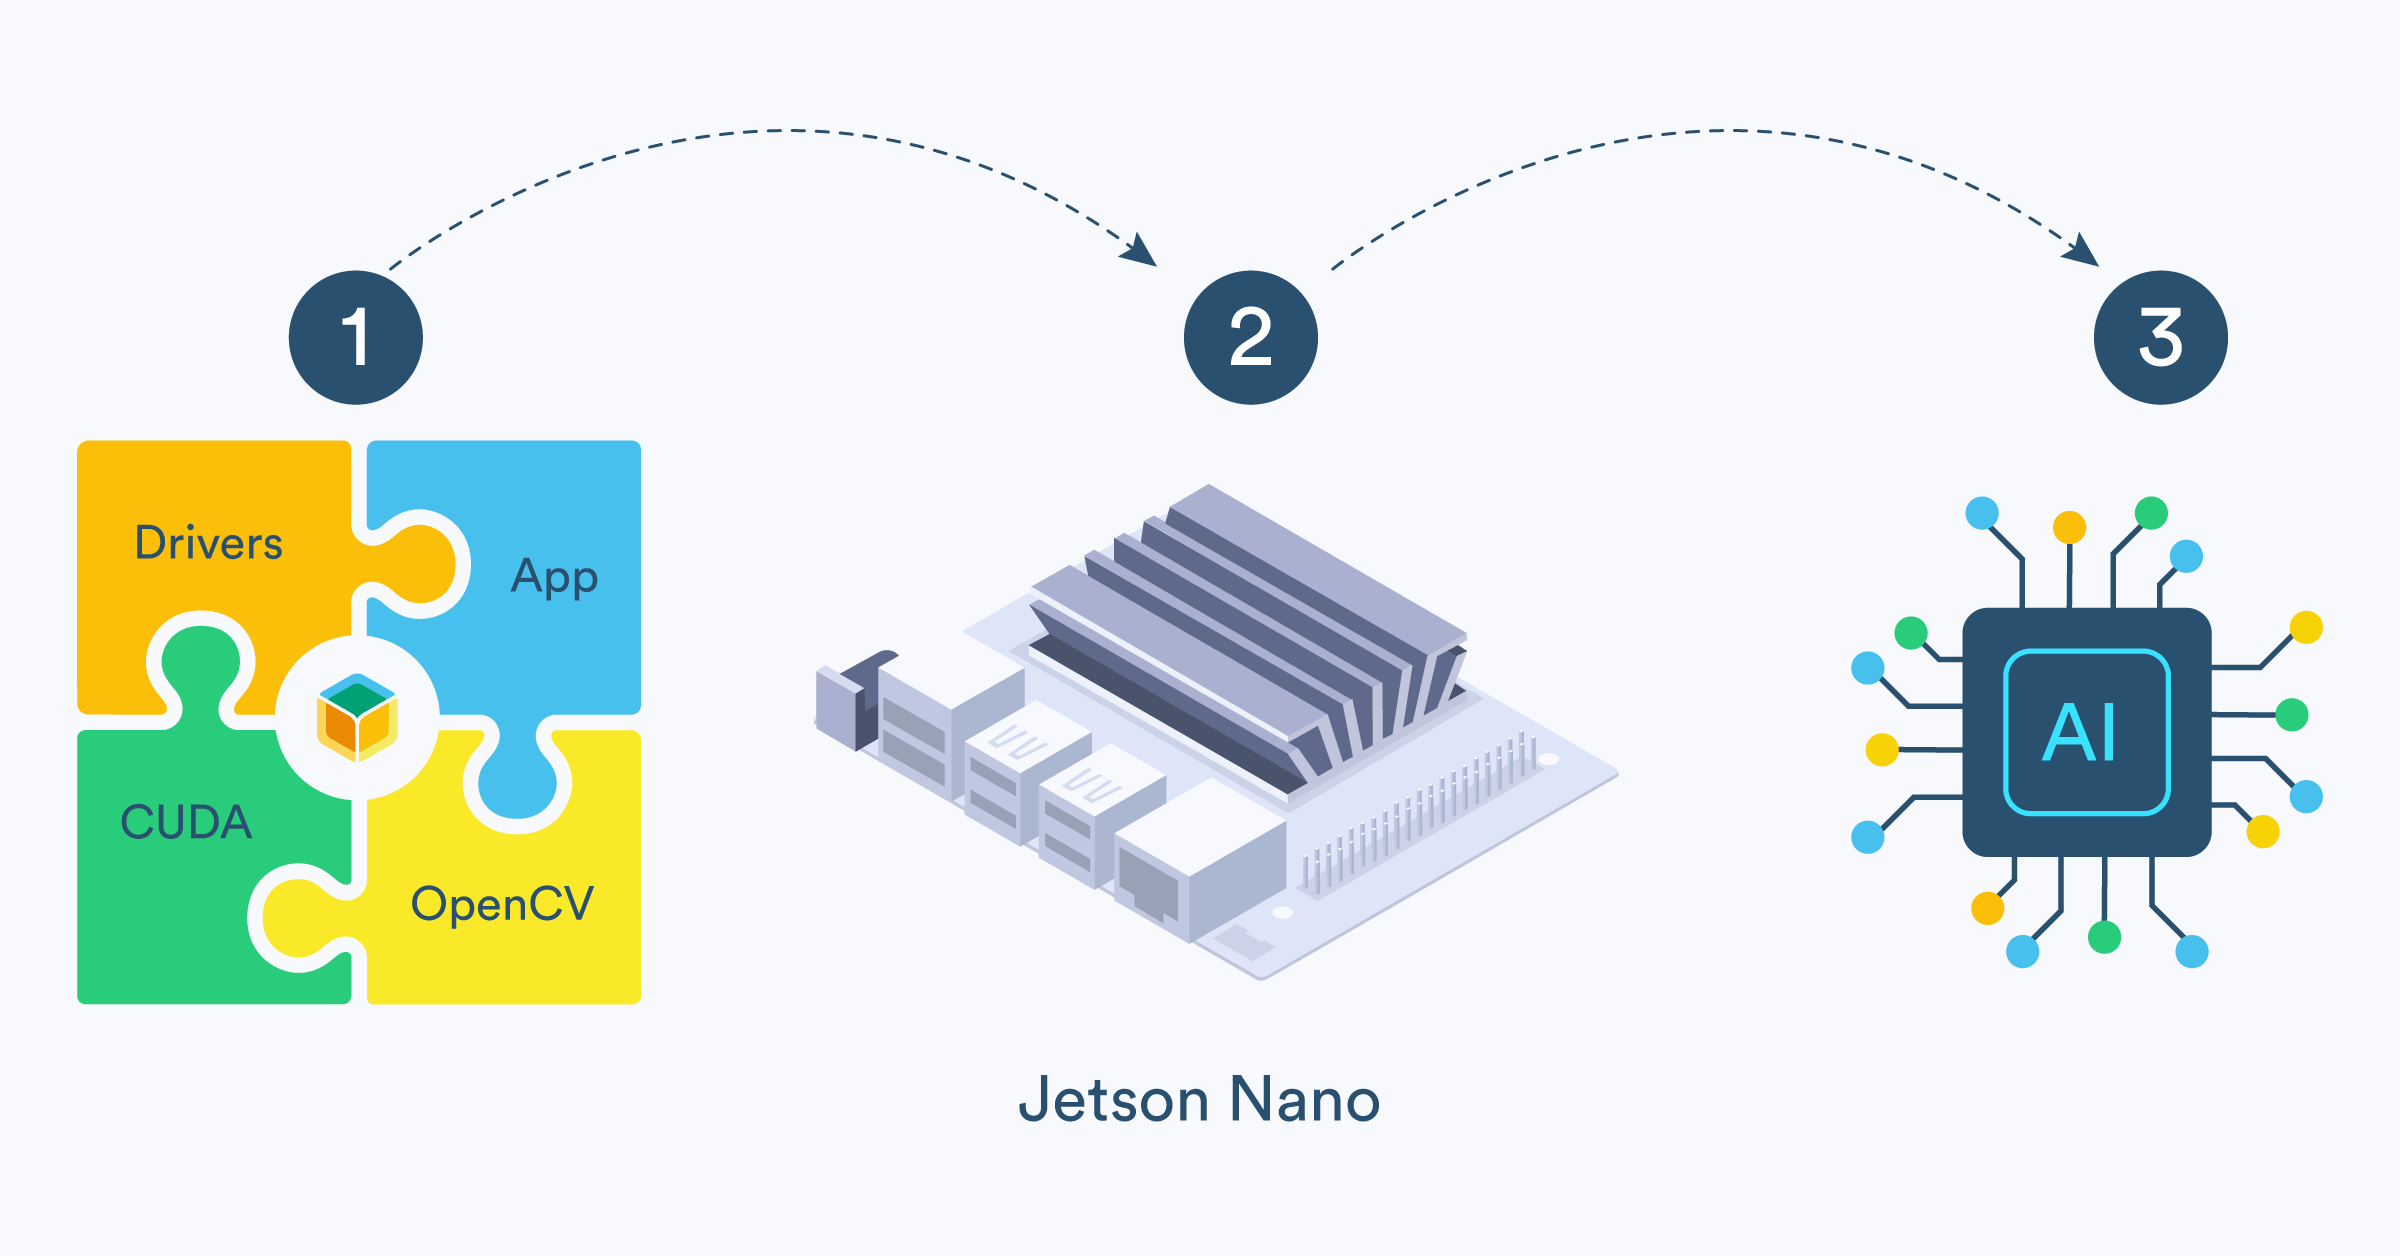
When you’re building applications to run on the NVIDIA Jetson Nano, you’ll often have a list of underlying libraries and dependencies such as CUDA, OpenCV, and cuDNN that need to be included. These are fairly straightforward to install on a full OS such as Ubuntu, but in this tutorial, we will review how to build such dependencies in a Dockerfile and run them in a container on a minimal, Docker-based OS such as balenaOS.
For the examples below, we’ll run demos in a container that require CUDA and/or OpenCV without installing any software on the host OS. We will, however, need to download some required files from NVIDIA to install via our Dockerfile. This is where it can get confusing among references to software such as JetPack, SDK Manager, NVIDIA-docker and the NVIDIA container runtime, to name a few. For our purposes, we will only need the NVIDIA SDK Manager.
Getting started
To download the SDK Manager, you’ll first need to join the free NVIDIA Developer program. The SDK Manager will only run on Ubuntu 16 or Ubuntu 18 with a minimum of 8GB RAM. For the examples below, we’ll be showing the GUI version, but it can also be run from the command line.
Once the SDK Manager is downloaded to your development computer, it can be installed either through the Ubuntu Software Manager or by typing the command sudo apt install ./sdkmanager_filename.deb, where sdkfilemanager_filename.deb is the name of the downloaded file.
Once installed, open the SDK Manager (you should find an icon for it on your desktop when clicking “all applications”) and select your development environment. We will only be downloading the development files so you do not need to connect your Jetson to your computer and we will not be using this tool to flash the device (flashing the device using the SDK manager results in a desktop Ubuntu image).
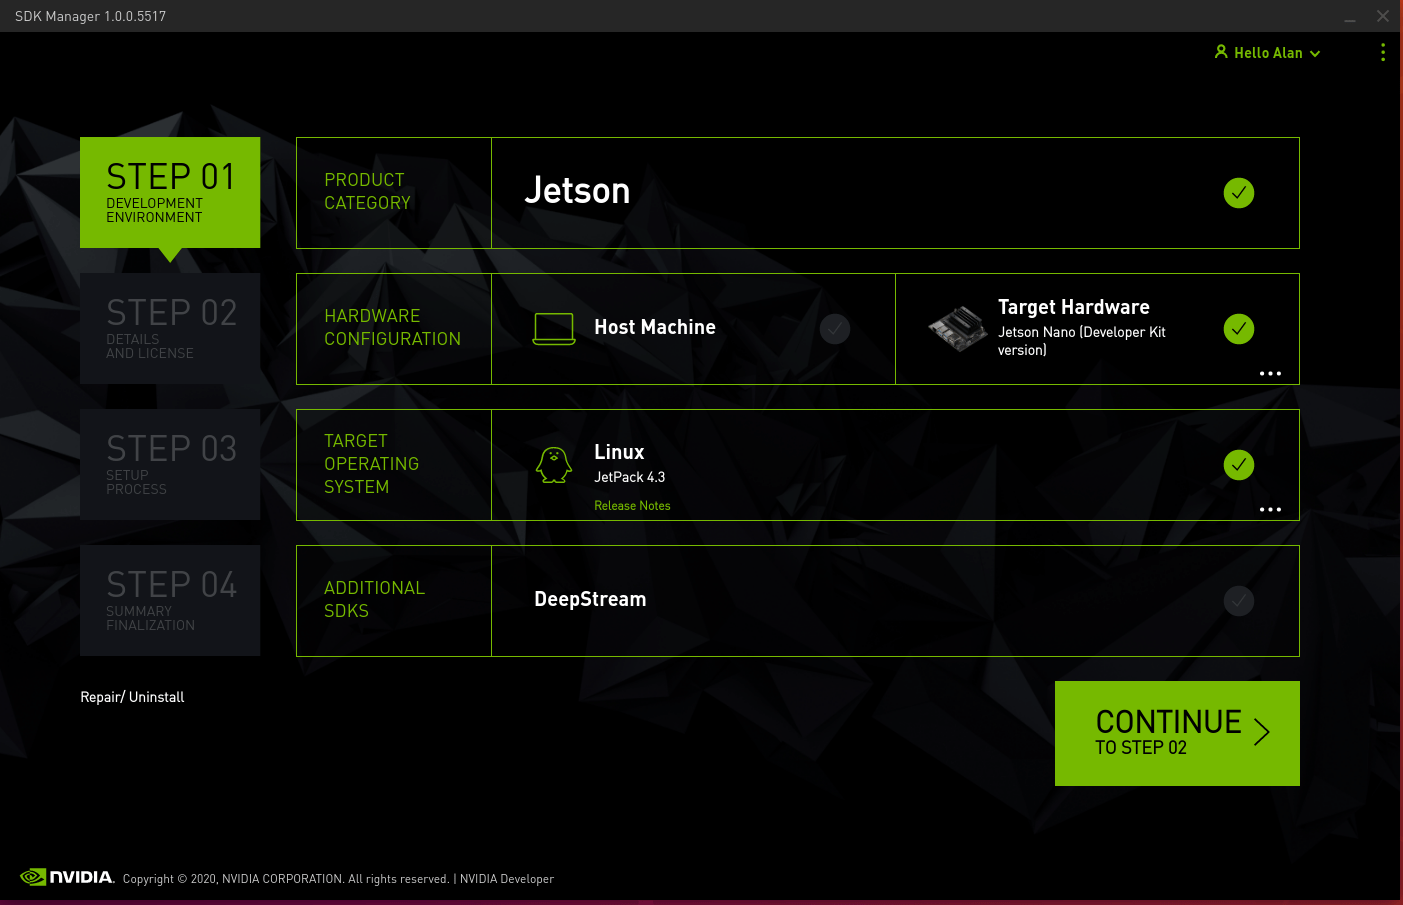
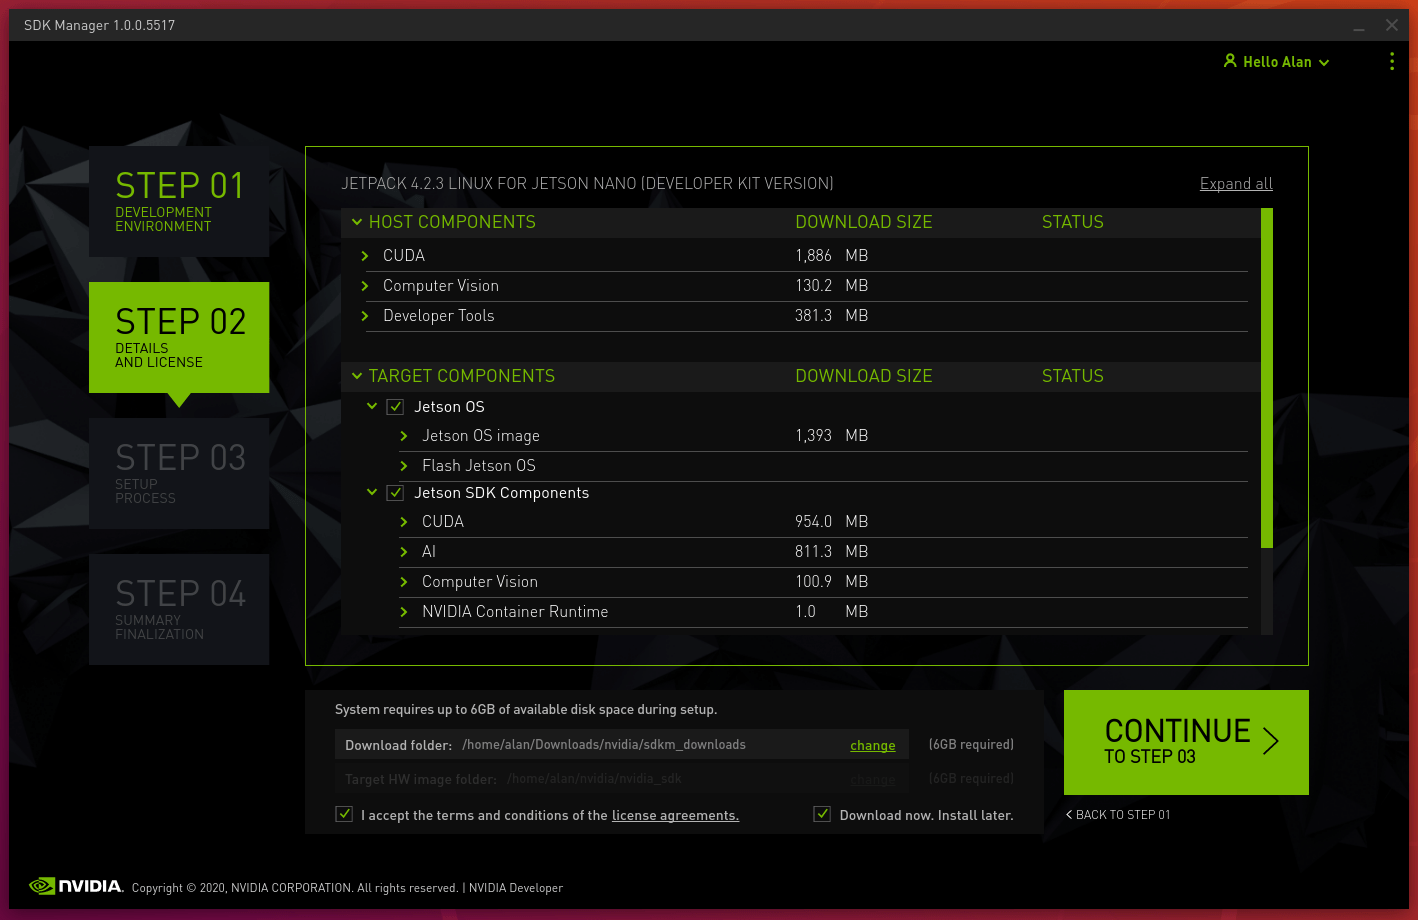
Make sure to select “Target Hardware” and click “Continue to step 02.” Once you get to step 02, make sure the “Jetson OS” box and the “Jetson SDK Components” boxes are checked. Take note of the download folder (or change to one of your choice) so that we can find the downloaded files later. Also be sure to check the “Download now. Install later.” box to let the software know we will not be flashing the device right now. You must also consult and accept the license terms for all the packages you intend to install and use in your Jetson Nano project by checking the “accept” box.
When you continue to step 03, the files should begin downloading. While the files are downloading we can prepare our Jetson Nano to use the balenaCloud. The basic steps are below but if you need more details, check out our getting started tutorial.
- Log into your balenaCloud account and create a new Jetson Nano application from the dashboard.
- Add a device and download the balenaOS disk image from the dashboard.
- Flash your SD card (we recommend using balenaEtcher) with the balenaOS image, insert it into your Jetson Nano and power it up. After a minute or so, it should connect to the internet and show up on your balenaCloud dashboard.
Deploying the sample app
By now, the files from the SDK Manager should be finished downloading so let’s prepare the software to be deployed to the device. Go ahead and clone this repository on your computer. You’ll notice a file named “prepare.sh” which we’ll use to copy some of the files we downloaded to our local repository. Since the downloaded file names will change with each version, you’ll need to edit this shell file on the line that begins L4Tv= (around line 10) to match the version of the Jetson file as shown below:
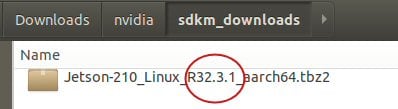
In this case, the line in the file would would read: L4Tv="32.3.1"
You’ll need to do similar renaming of the files in the next line in the shell script, changing any file names to match the names that are downloaded (only the version numbers towards the end of the filename should need editing.)
Once you have updated the file names in the prepare.sh script, execute it (in your local repository folder) by providing the name of the folder that contains the downloaded files, for example:
bash

./prepare.sh /home/alan/Downloads/nvidia/sdkm_downloads
If the script completes successfully, it will return Done copying necessary files. You may now build the docker file. Otherwise, re-check your file naming and try again. Now that the necessary files have been copied, we can try our first sample. In the local repository folder, rename the file Dockerfile.cudasamples to Dockerfile. You’ll also need to edit this file to match the downloaded file names in the first set of COPY and RUN lines in a similar manner to the shell script.
Note that this Dockerfile utilizes a multi-stage build functionality to cut down the size of the final image that gets uploaded to the device. We’ll provide more details about that below.
Now that your Dockerfile is edited and your Jetson Nano is connected and showing on the dashboard, you can deploy the project code. Use the balena CLI to push the application to your device. For example, if you named this application “cuda-samples” you would type balena push cuda-samples in the CLI.
To run the sample apps, you can either SSH into the app container using the balena CLI with balena ssh <ip address> main (where is the IP address of your Nano), or use the terminal built into the dashboard. You’ll need to connect a monitor to the HDMI port on your Jetson Nano to see the demo. You can enter one of the lines below to run the listed demo:
bash

X & ./smokeParticles

X & ./postProcessGL

X & ./simpleGL

X & ./simpleTexture3D

X & ./deviceQuery
You can hit CTRL + C to stop a running demo and load another. In some cases, it may take a few seconds for the X Server to restart. If it hangs, restart the main container.
Using CUDA
If you are looking to run software on the Jetson Nano that requires CUDA, you now have a working example of a container running on balenaOS that supports it. You can modify the Dockerfile in the final stage (the second FROM line) to load your CUDA-compatible program, or COPY the required CUDA files to a new stage and build your program there.
One of the benefits of building in stages is that you only need to copy your required files to the final stage which gets uploaded to the device, thus potentially reducing the size of your image (and resulting upload time/bandwidth usage.) You can further reduce the size of this example project by eliminating the samples altogether. In addition, if you will be performing headless computing without a display, you can also remove the CUDA runtime and xorg. A GPU API only image can be cut down to less than 400MB.
OpenCV examples
We’ll perform similar steps to build and run the OpenCV examples. Change the CUDA Dockerfile name back to Dockerfile.cudasamples and then rename Dockerfile.opencv to Dockerfile. Once again, we need to edit the file to make sure the Debian (.deb) package file names match the ones we downloaded in the earlier step, by modifying the version number included in the filenames inside the Dockerfile. Once that is done, go ahead and balena push the application.
When the application has been uploaded, SSH into main or use the dashboard terminal to issue the following command:
bash

export DISPLAY=:0
Then type one of the following lines:
bash

startx ./example_ximgproc_fourier_descriptors_demo

startx ./example_ximgproc_paillou_demo corridor.jpg
If all goes well, you will see example images on the monitor plugged into the Jetson Nano’s HDMI port. While these examples are not particularly exciting, they are meant to confirm that OpenCV is indeed installed.
Going Further
You can easily combine these two examples and create a Dockerfile that includes both CUDA and OpenCV. In fact, the OpenCV example already has a minimal CUDA installation.
If you had trouble getting the project running or have any other feedback we’d love to hear it; everything helps to improve our projects and tutorials for the next time. You can always find us on our forums, on Twitter, on Instagram or on Facebook.